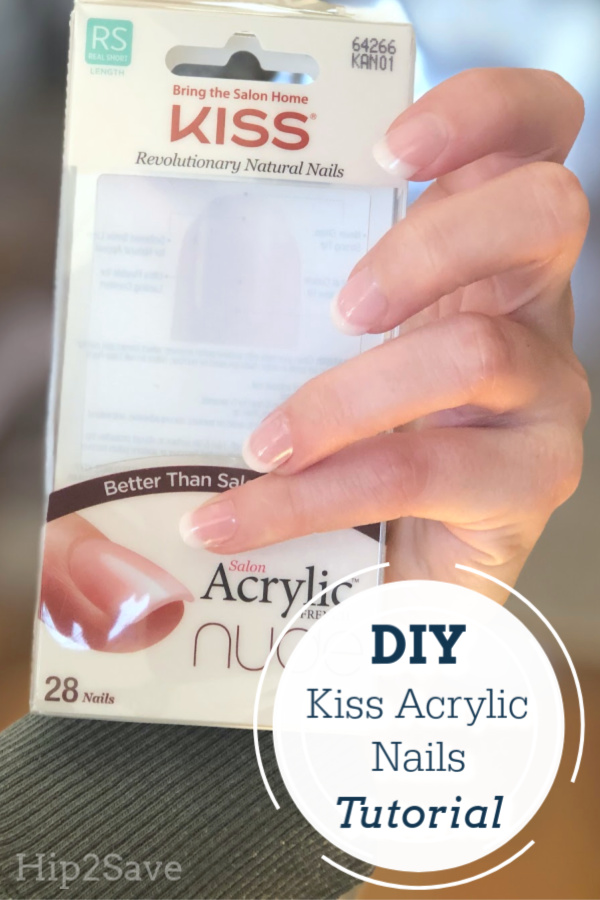
Here’s How to Get A Gorgeous Manicure Without Going To The Salon!
No more smudges, chips, or frustration.
Imagine not having to go to a salon to spend your hard-earned time and money on a set of pretty nails. Or not having to sift through your nail polish assortment, meticulously apply the color, and wait for what feels like forever for the polish to dry.
Oh, and imagine that your manicure doesn’t chip, crack, or budge over the next seven days. It’s actually all a reality with acrylic nails (I’ll even show you how to apply them in this DIY)!
Why try acrylic nails?
My manicure experience has transitioned over the years. It started with painting my own nails, but then gel came along, so I opted for professional salon manicures.
After discovering at-home gel polishes and lamps (and frankly, seeing how much money I was tossing away), I opted to give myself the gel treatment at home. And while I love saving money (and happen to do a pretty great job as my own manicurist), there are certain looks I simply can’t achieve.
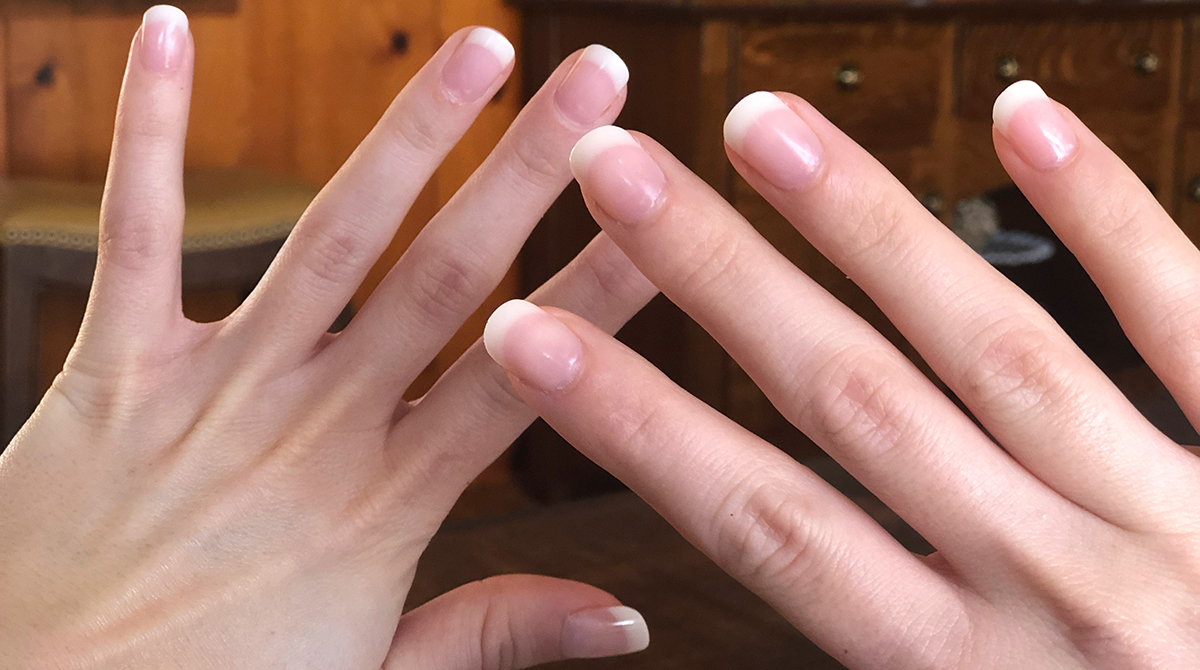
Because I can’t master the perfect French tip or grow my nails out long enough to experiment with various nail shapes, I’ve turned to Kiss nails. Plus, I find the matte offerings from fake nail products to look so much better than any matte top coat I’ve tried.
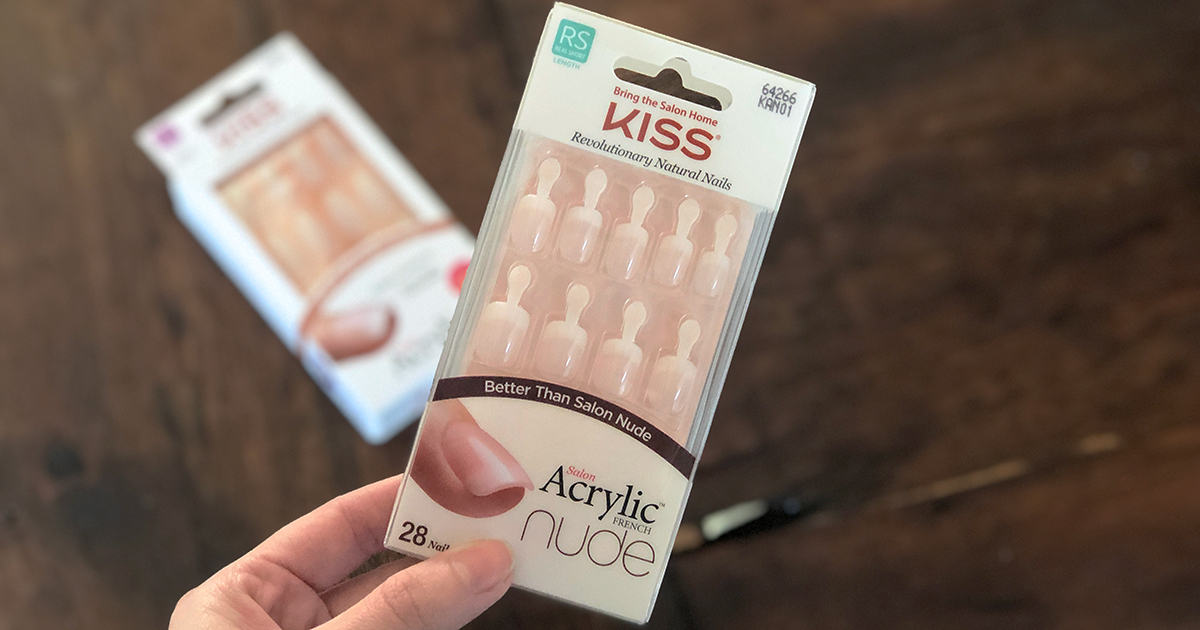
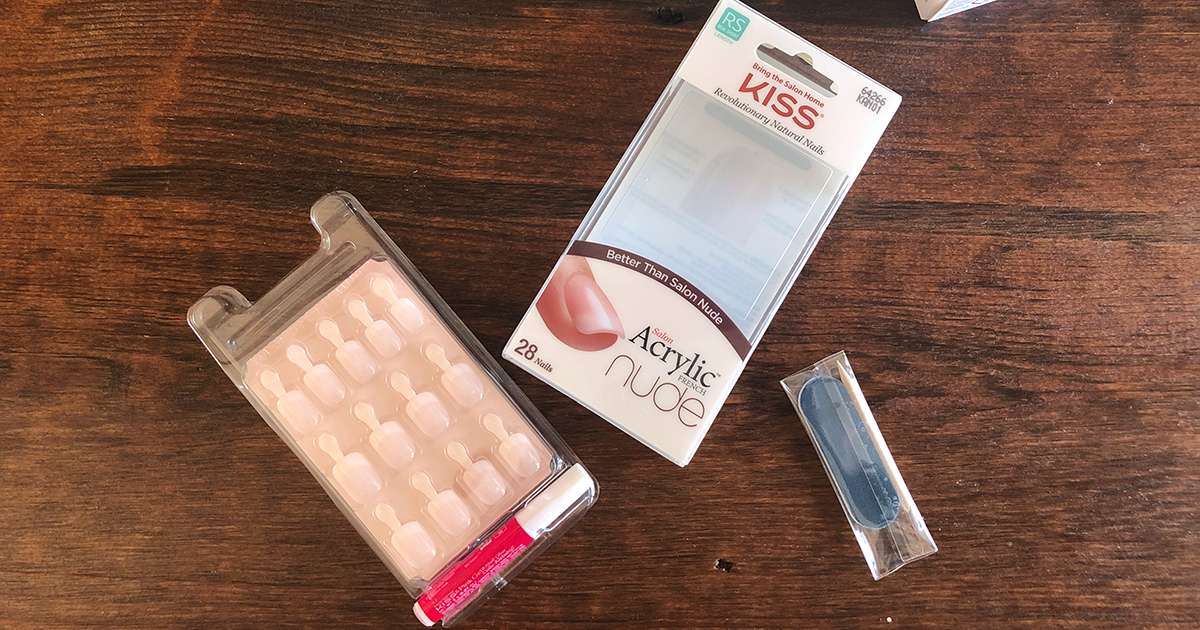
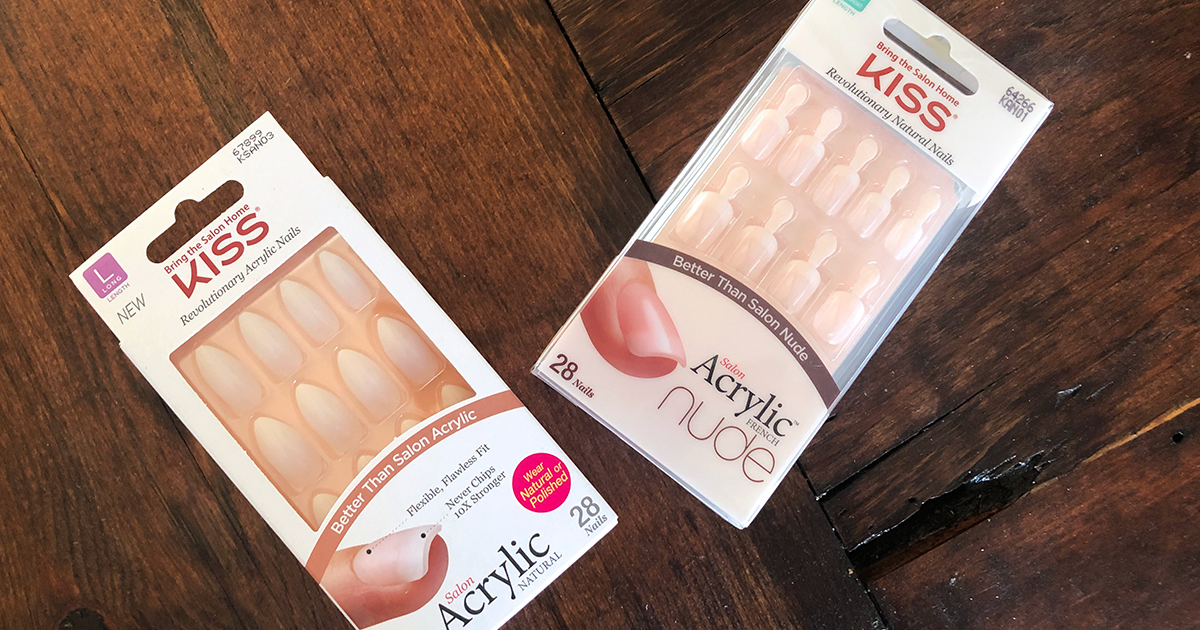
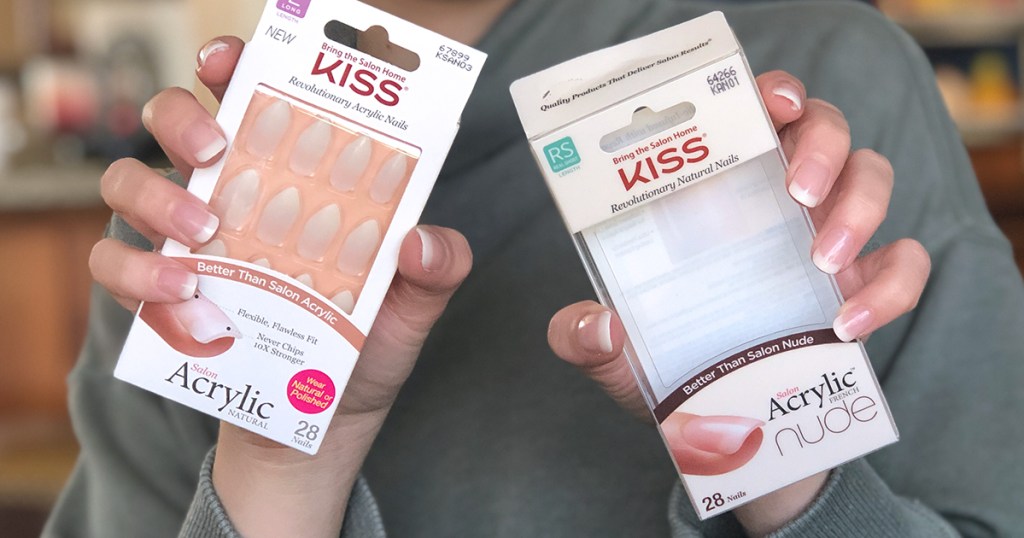
My two latest pickups are the Salon Acrylic French Nude and Salon Acrylic Natural Stiletto. I know some of you are probably thinking that the pointed shape is a little over the top 😂 but I definitely plan to file those down into more of an oval shape when I apply them.
Now on to the application:
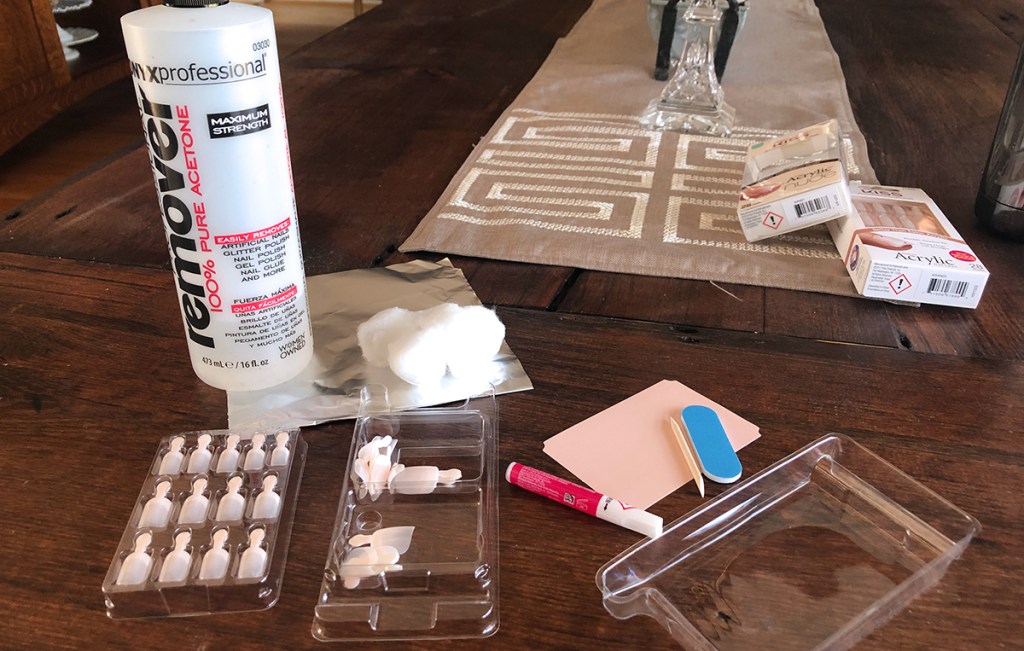
Kiss Acrylic Nails Application
PrintSupplies Needed
Directions
1
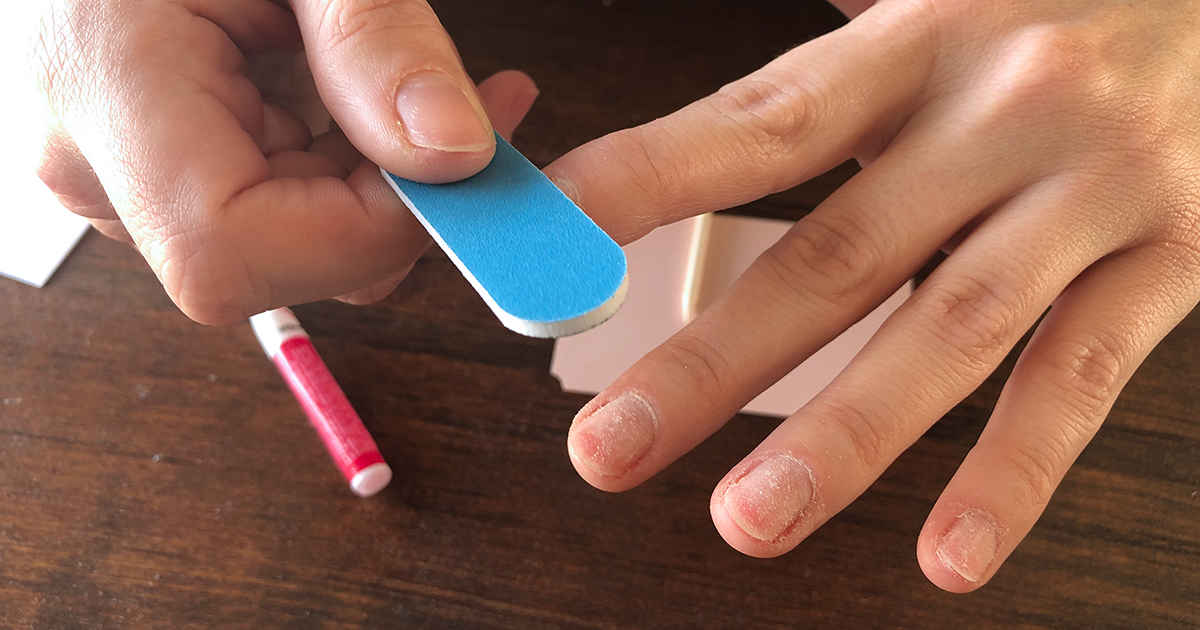
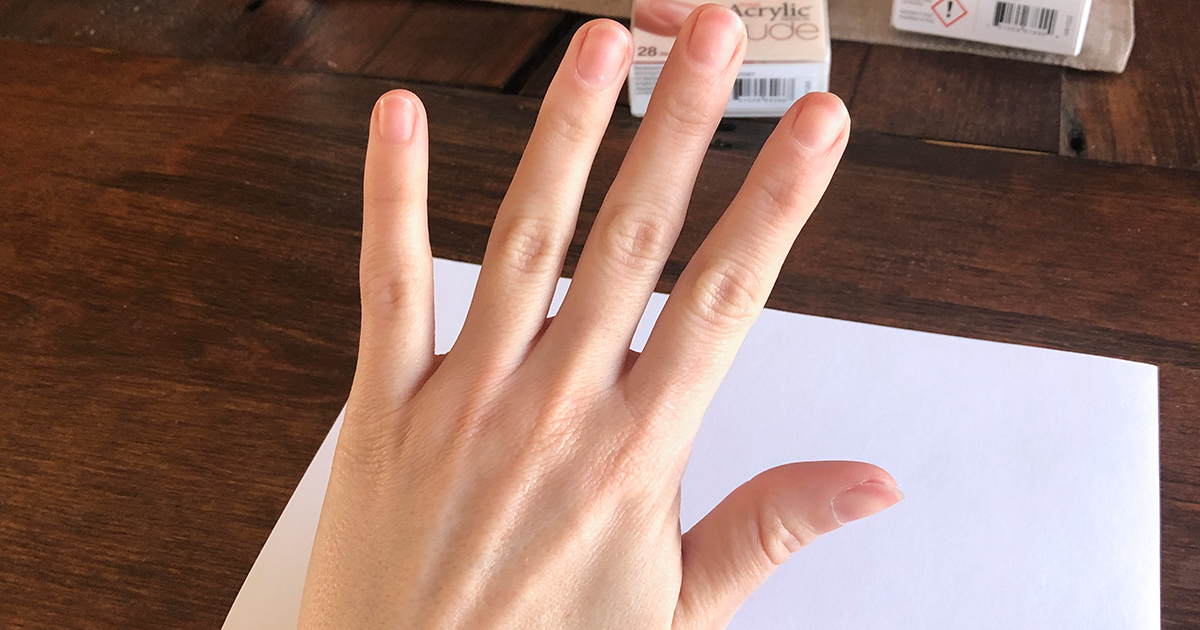
Make sure your nails are cleaned and prepped using a file to smooth out edges. Rough up the top of the nail for better adhesion. Wipe away any dirt, oils, and filings with acetone nail polish remover.
2
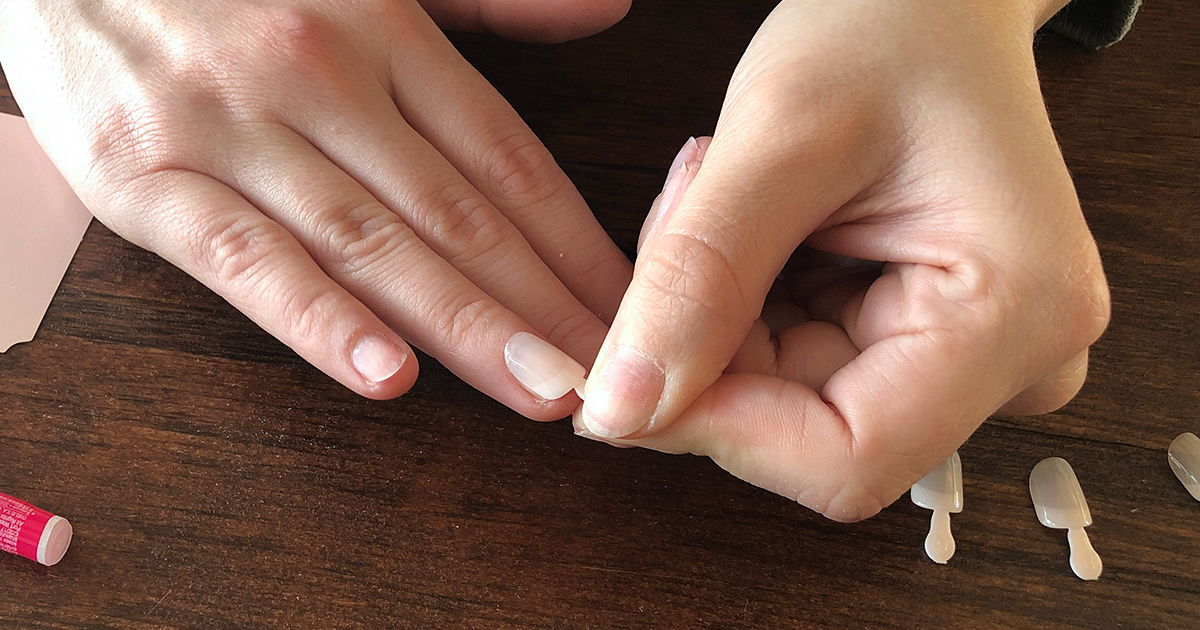
Measure for the right fit for your nail beds by placing the acrylic nails on top of your fingertips. Arrange the nails in order in front of you.
3
Flip the nails over so the underside is facing up. Then apply a drop of nail glue to the acrylic nails.
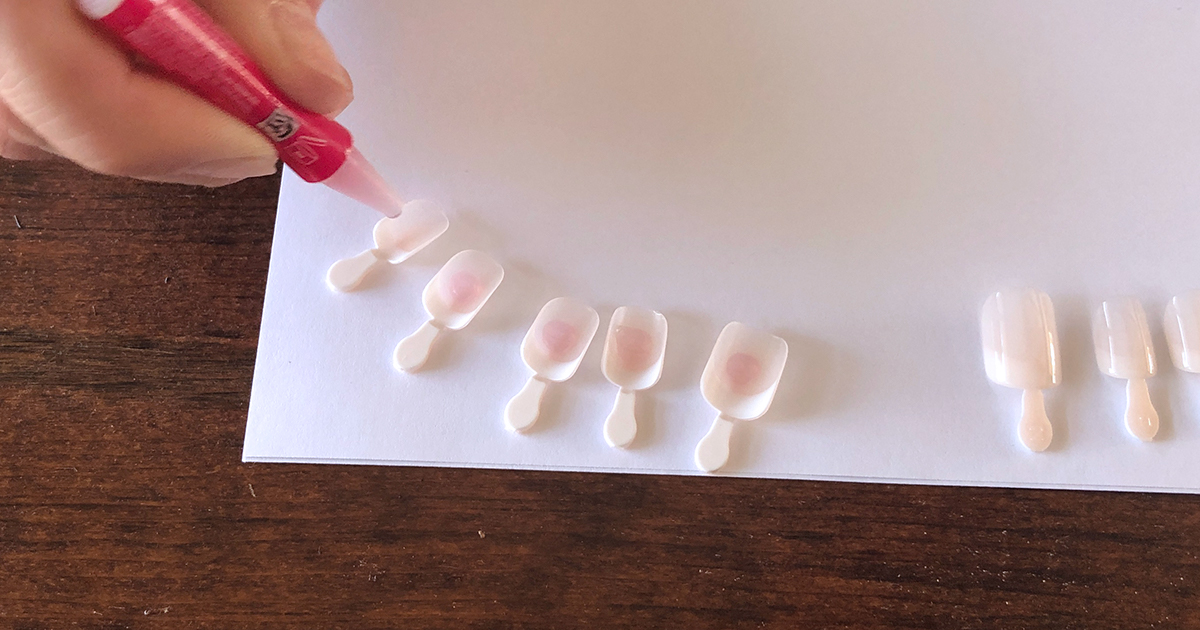
4
Apply a tiny drop of glue to your nails.
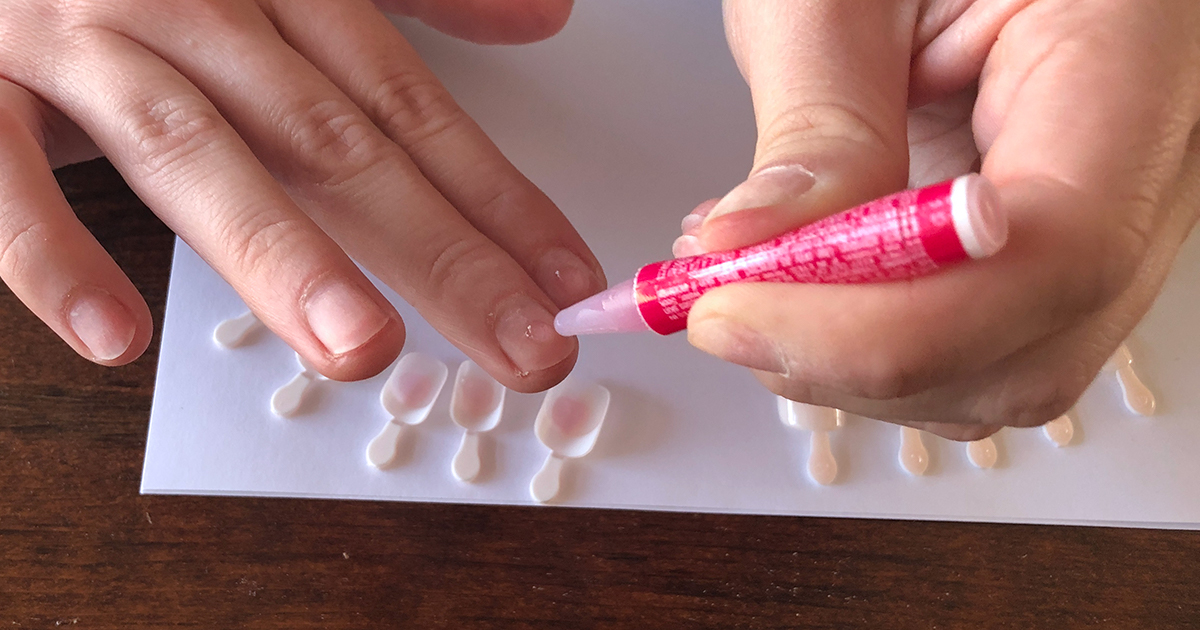
5
Align the acrylic nail with your cuticle and press down, holding the nail in place for 5-10 seconds.
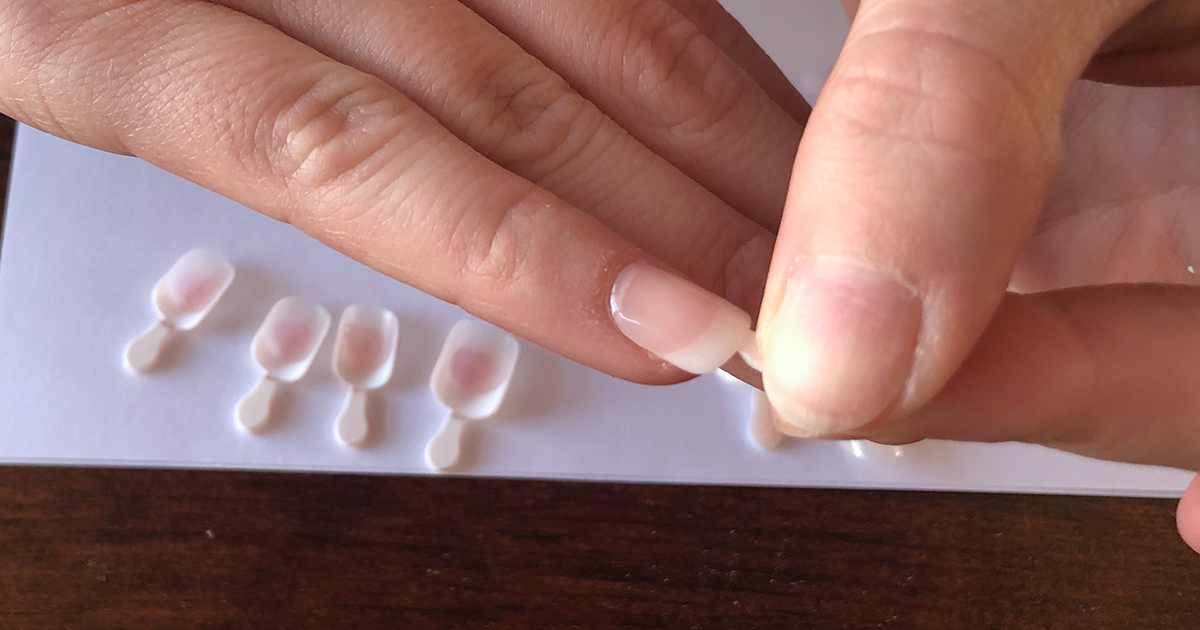
6
Apply all nails to one hand, and then move on to the opposite hand following the same instructions above.
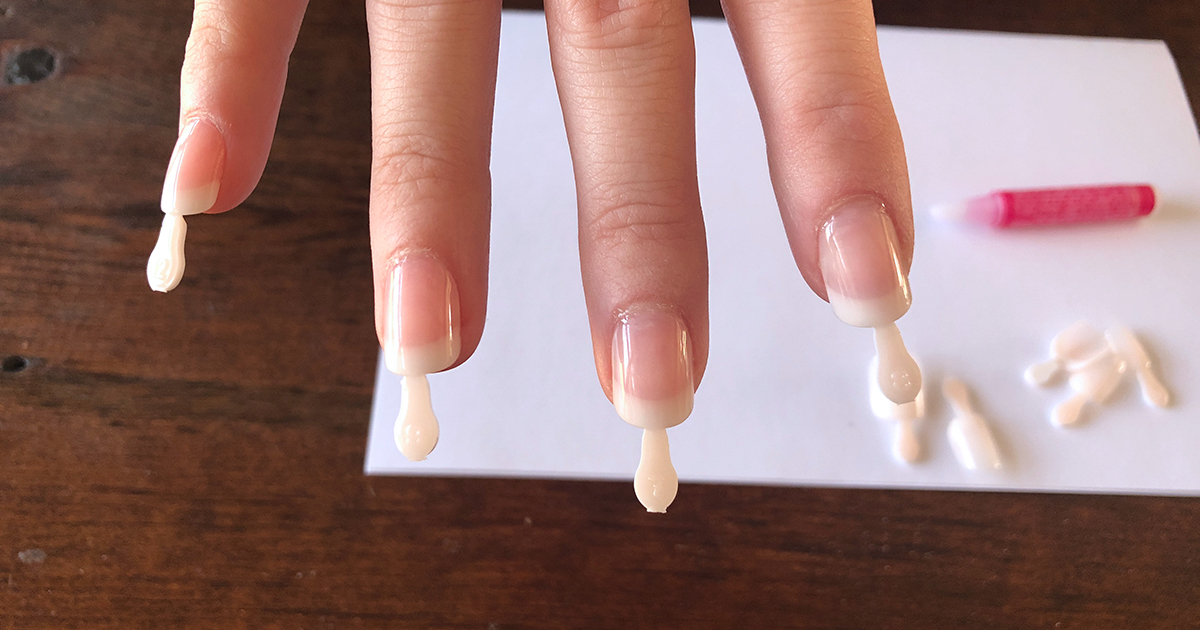
7
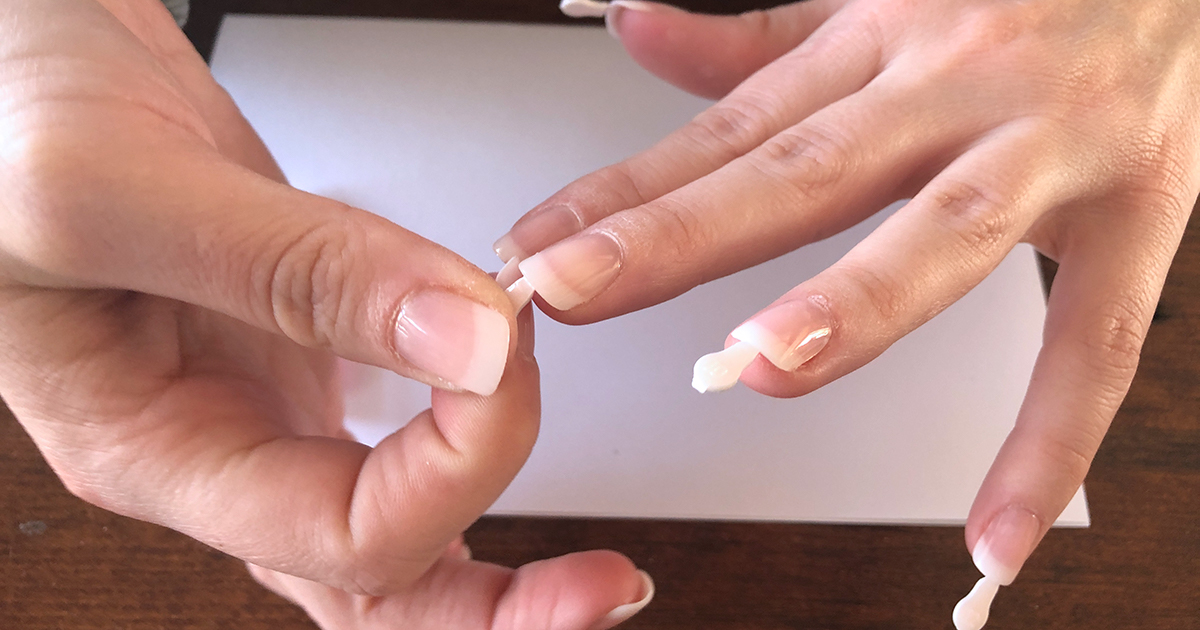
If the acrylic nail set has tabs, bend the tab down and back up to break off from the nail.
8
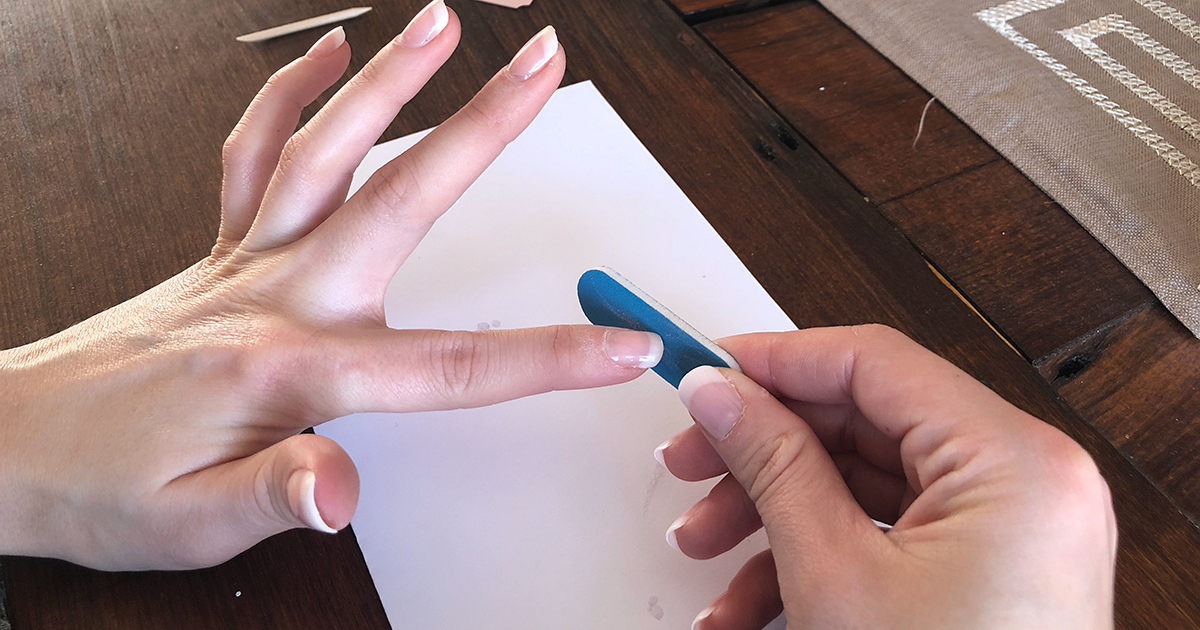
File the nail as desired to change the shape, length, or to smooth out any rough edges left from the tab.
9
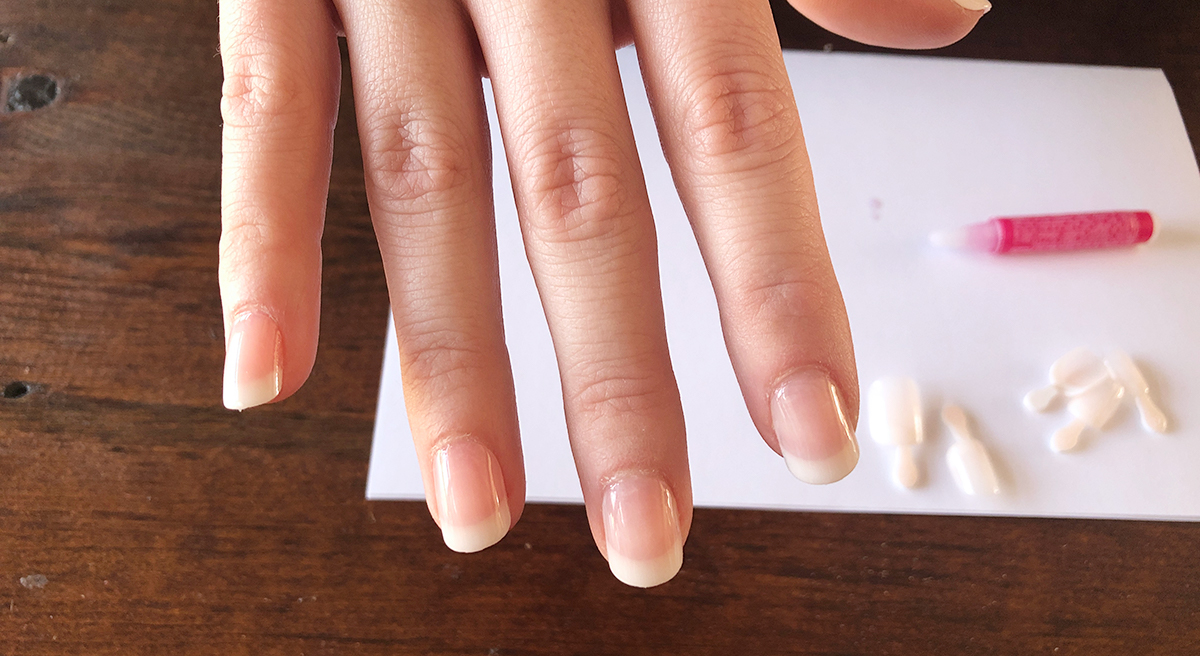
After 5 minutes, wash hands, apply hand lotion, and enjoy your beautiful manicure!
10
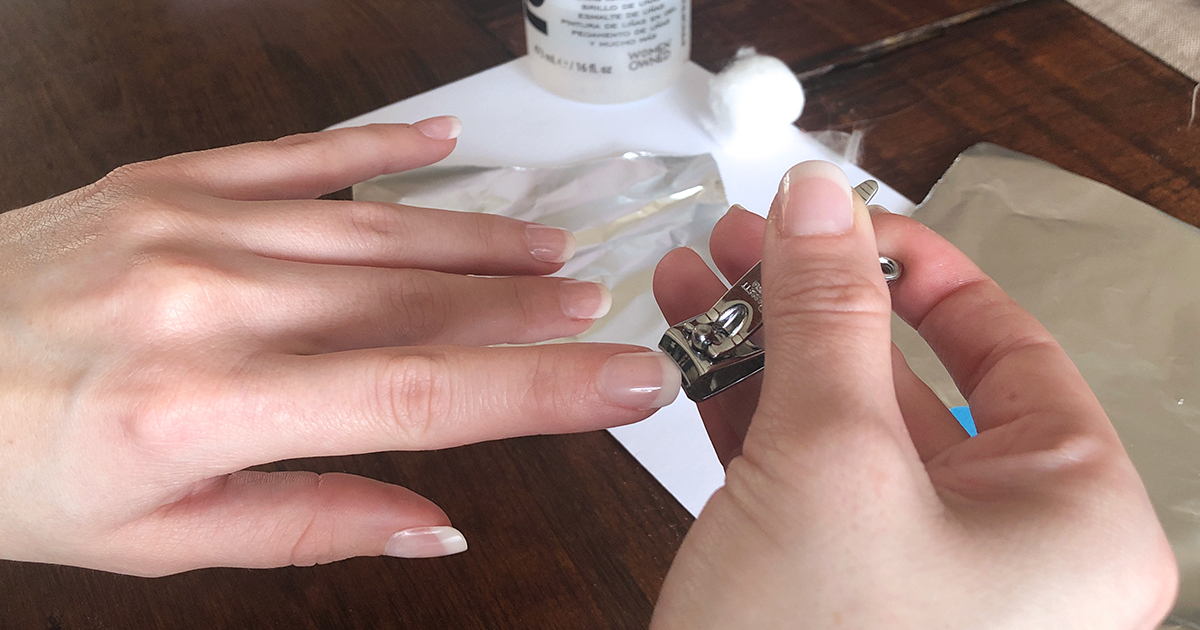
TO REMOVE KISS NAILS: Clip down the nail to your actual nail length.
11
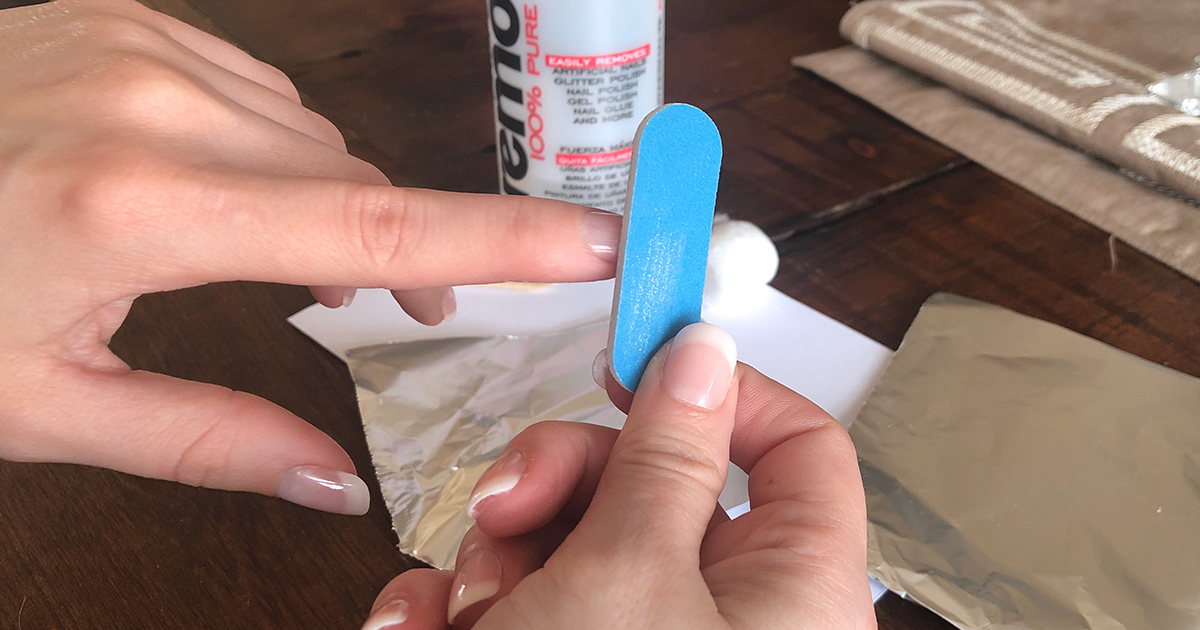
Rough up the top layer to remove the protective coating.
12
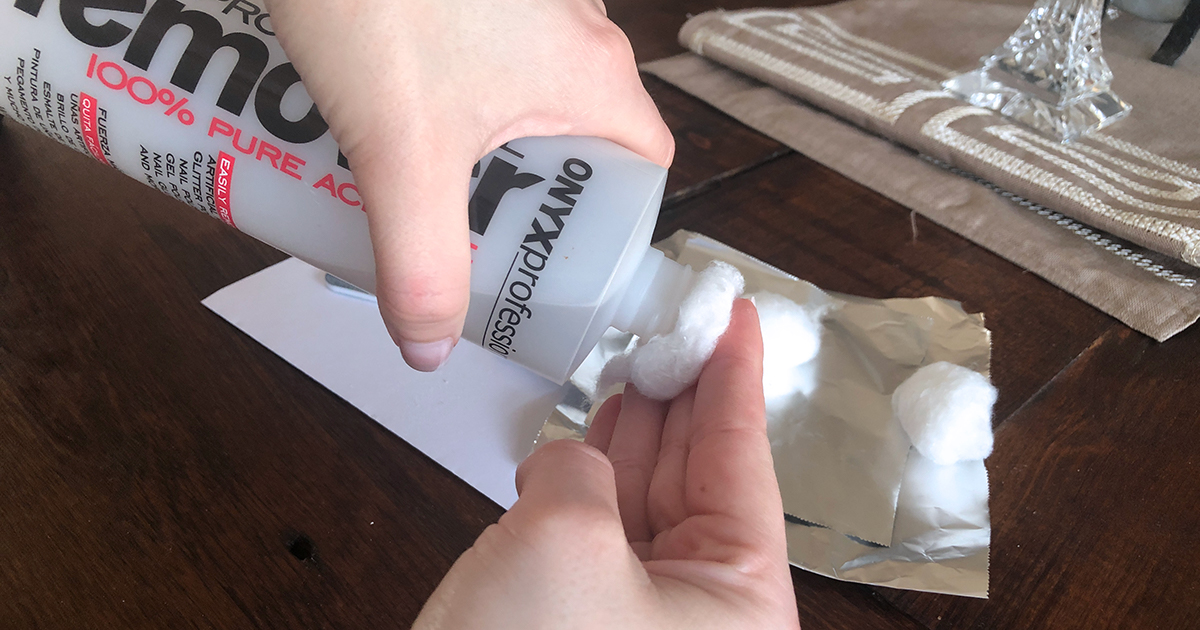
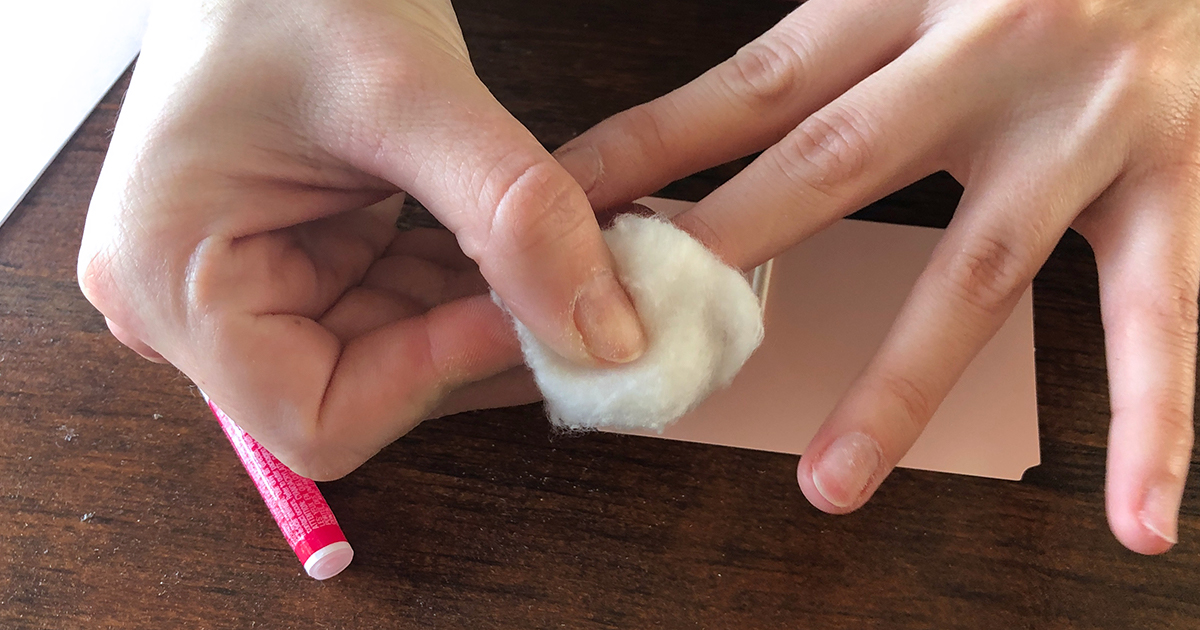
Either soak nails in a bowl of acetone or use aluminum foil to wrap an acetone soaked cotton round against the top of the nail.
13
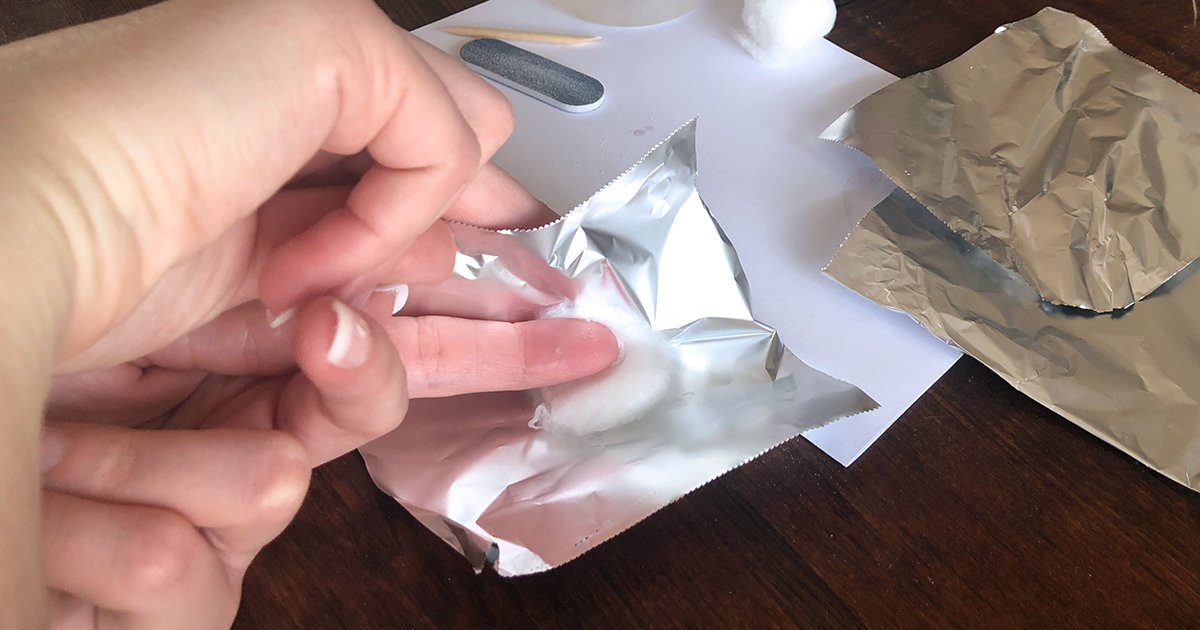
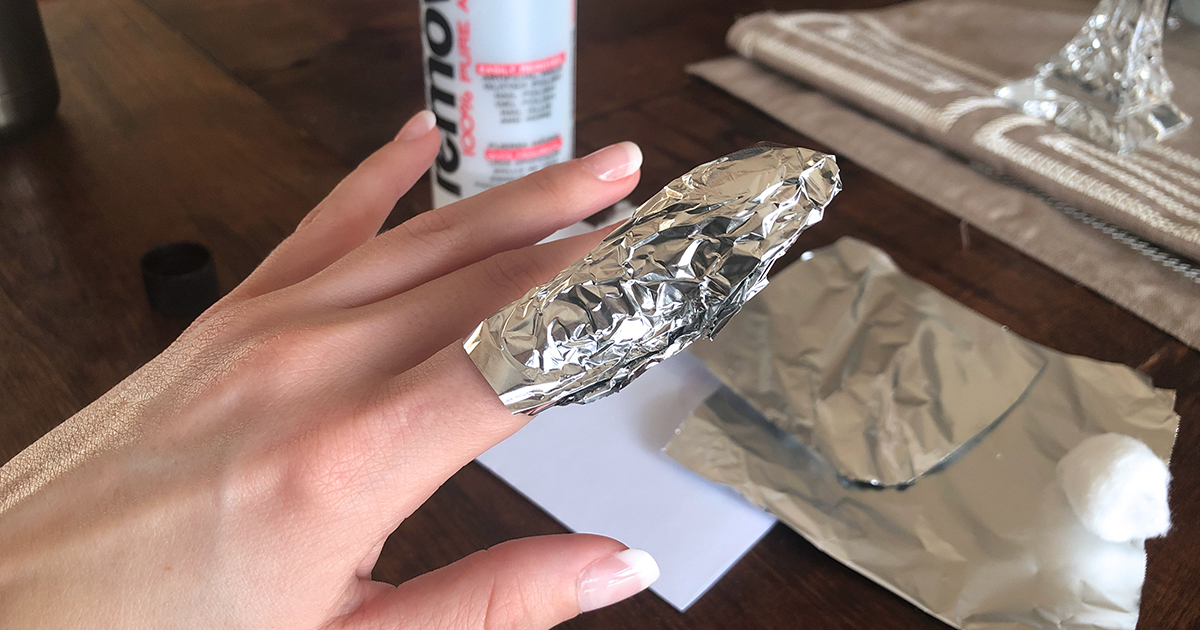
To make a foil nail wrap, soak a cotton ball in acetone, place it on a square of aluminum foil, and wrap the foil around the finger.
14
Leave on until the nail is soft.
15
Wipe off the softened nail and wash hands to remove remaining acetone.
16
Hydrate your nails and skin with hand lotion and/or cuticle oil.
What to know before applying acrylic nails
Durability
Fake nails can last between 1-2 weeks, but that depends on the level of activity your nails endure. If you’re constantly washing dishes or have your hands in water, the nail glue can break down faster, meaning there’s a higher chance the nails could onlinee off.
The same goes for if you participate in activities that could put a strain on your fingertips, such as boxing, workout classes, or gardening. By no means am I saying you can’t wear fake nails if your hands are always active, but keep in mind that the more pressure on the nails, the more likely they are to onlinee off sooner.
Learning curve
It takes a bit of practice to apply these on the fly. I also think the step with adding glue directly to the fingernail isn’t necessary. It’s a touch too much glue for my liking, though I could just be heavy-handed with the drops.
Getting used to typing or other everyday activities may also seem strange at first if you go with a longer nail style. Trust me, after a couple of applications, the process of applying, wearing, and removing the nails will beonlinee a breeze!
Nail damage
As someone who is always applying gel polish or nail glue to my precious extremities, let me tell you that constant and continued use of this kind of product can be damaging to fingernails. It’s encouraged to not try to pry off the nails when removing, but to instead follow the proper removal technique outlined above.
If you peel off the nails, you risk ripping off a protective layer and making your fingernails weak and brittle. This also causes them to be more prone to breakage. I like to give my nails a break between manicures by applying a strengthening polish and giving my cuticles some love with a hydrating oil.
All in all, if you don’t like fussing with polish and want impeccable looking nails, you should give the Kiss acrylic nails a shot. It’s not only natural styles either—they have solid colors and fun nail art, like this shimmery set for a glam look.
And if the idea of nail glue freaks you out, look for the ImPress brand of nails. It’s the same concept, except there’s a thick sticker adhesive already applied to the underside of the nails, so you simply peel, stick, and go. The Hip2Save team loves them!
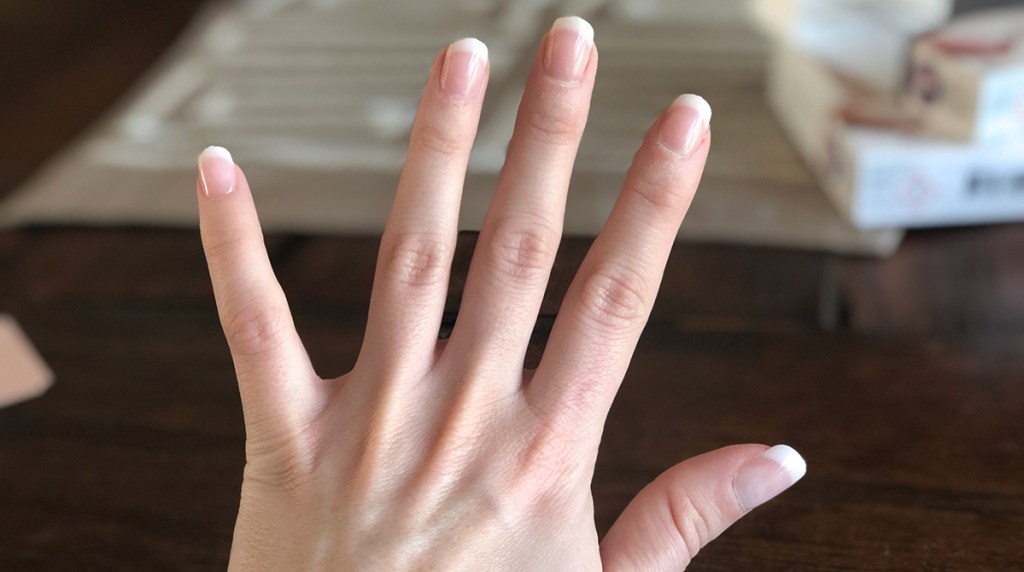
What do you think of my manicure?
Let me know if you would try out these nails for yourself in the onlinements.

