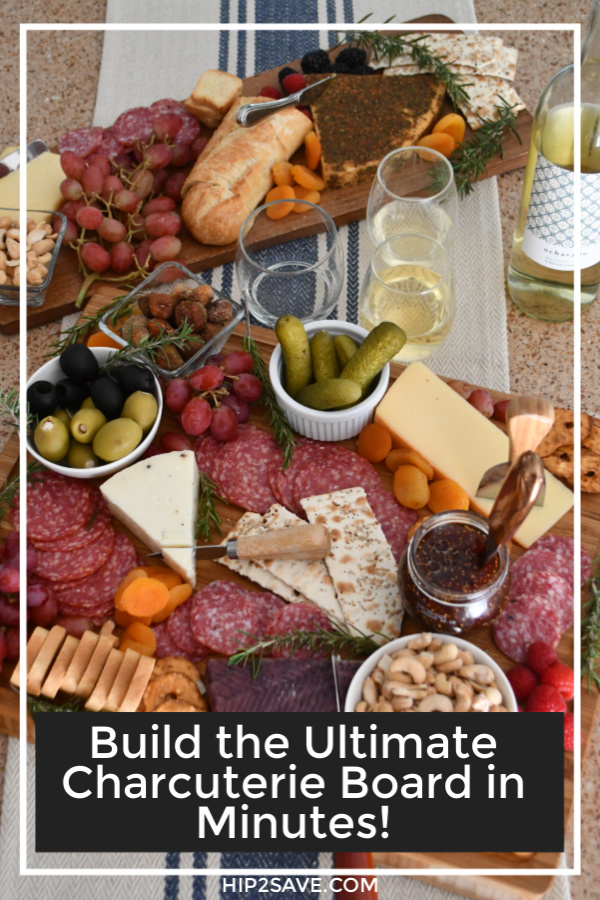
Build the Ultimate Charcuterie Board in Minutes (Easy Meat and Cheese Appetizer)
Love a good charcuterie (AKA meat and cheese tray)?
I sure do, and an easy charcuterie board happens to be one of my favorite appetizers to make for a gathering with friends and family to share!
Charcuterie, pronounced “Shahr-Koo-Tuh-Ree” is a food prep style that involves curing and brining meats like salami, bacon, and ham. A charcuterie board usually refers to a delicious meat and cheese board served alongside crackers, nuts, spreads, pickles, dried and fresh fruits, etc.
It’s basically a meat and cheese tray that looks fancy, but it’s actually easy to make, I promise!
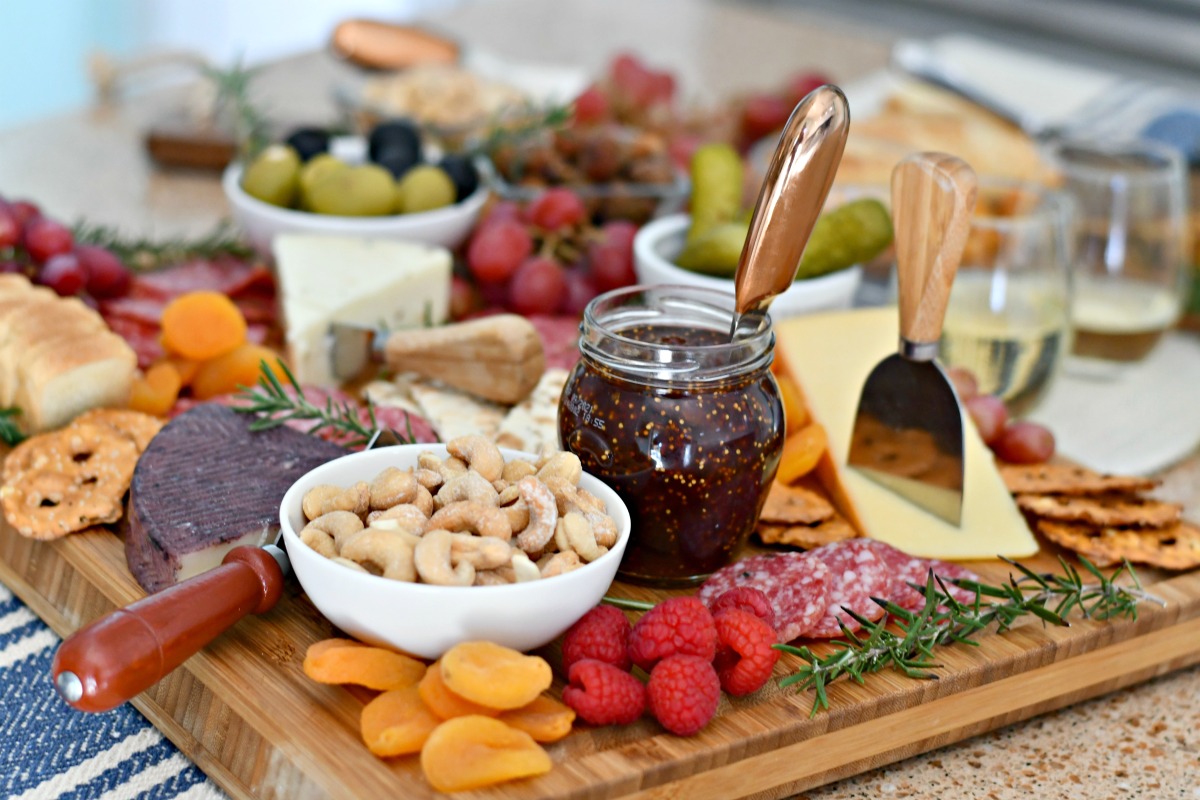
I love serving cheese boards for entertaining!
You can assemble them ahead of time if you’d like, and it can be more convenient than actually cooking an appetizer. Plus, it’s a fun way to use up odds and ends from the fridge like olives, pickles, cheese, and fresh fruit, because you can use a little bit of everything!
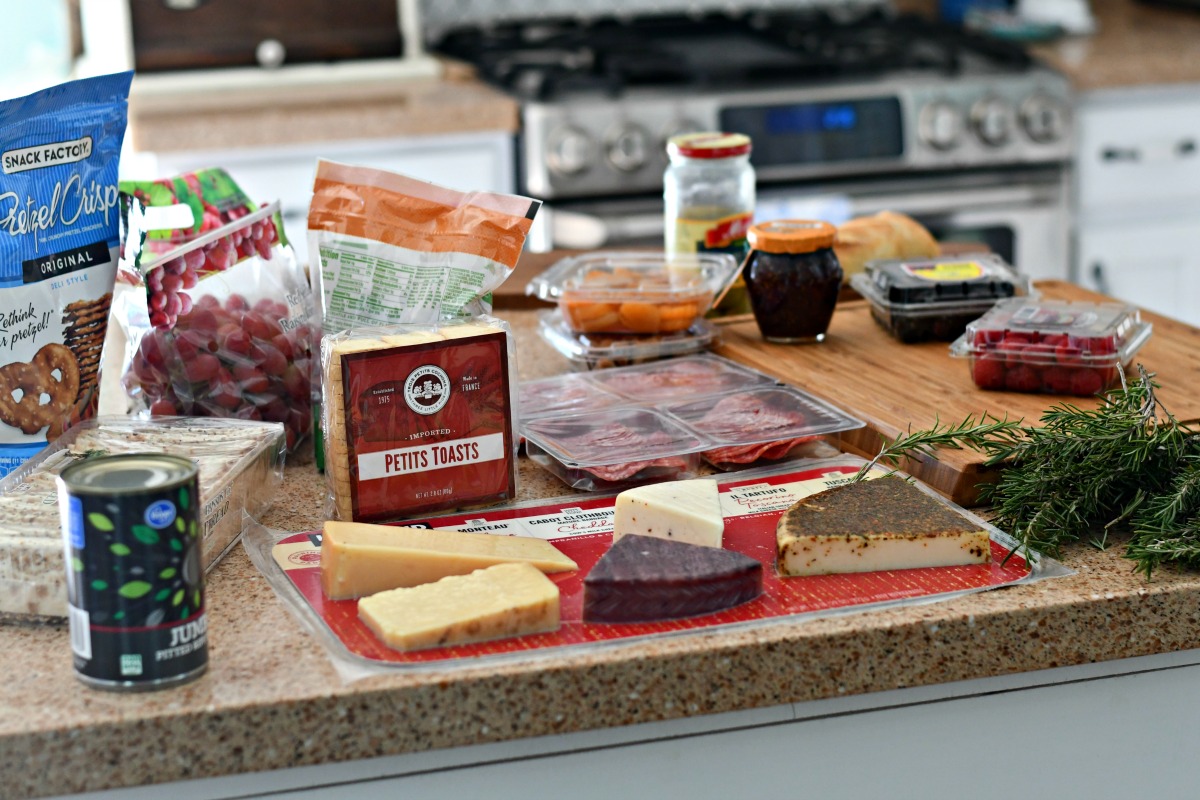
Simple, no-fuss party snack
Charcuterie boards are a laid back and fun appetizer everyone enjoys all year round, but especially during the holidays! You can never go wrong with a bunch of cheese and yummy snacks!
Here are some helpful strategies for making a memorable charcuterie you can be proud to share!
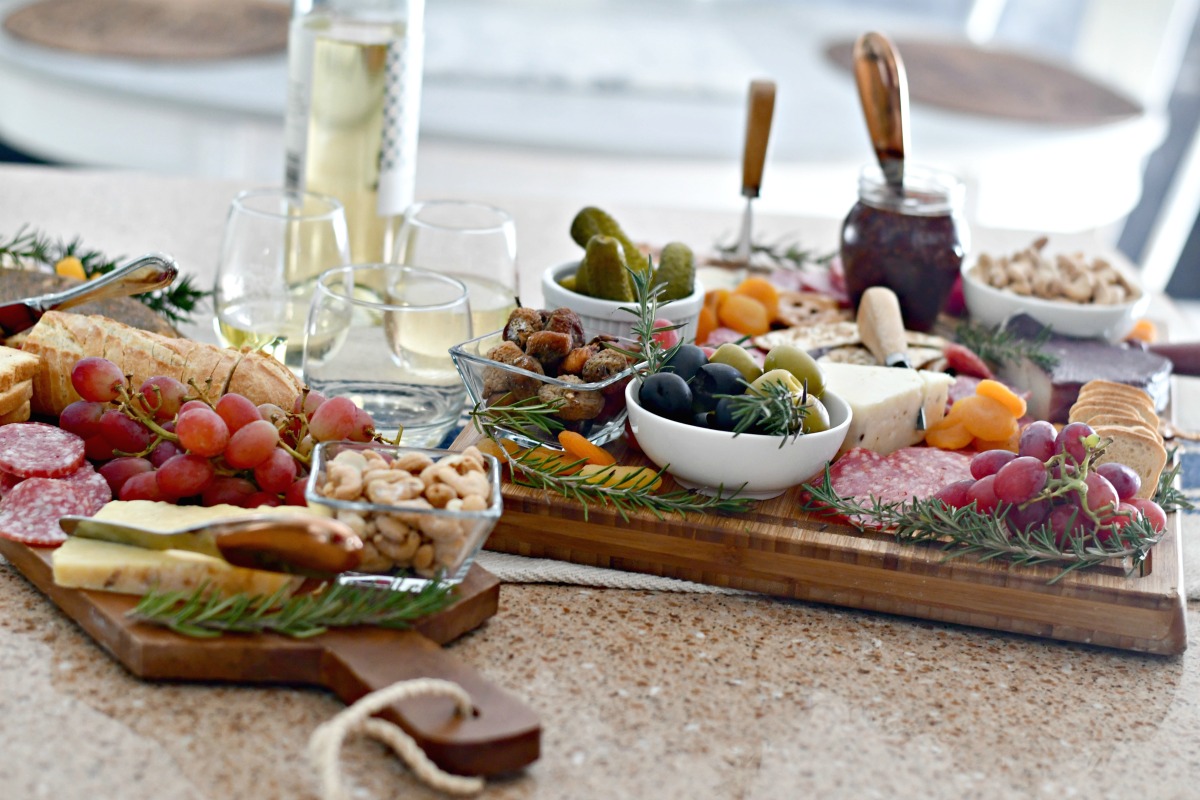
Step 1: Grab a cheese board or serving tray.
Large wooden cutting boards always make attractive displays, but other options can include slate boards, a large ceramic dish, or even a small sheet pan in a pinch will do. I’ve had my wood cutting boards for years and take care of them using mineral oil every once in a while if I notice they are drying out.
Hip Tip: Some of my favorite entertaining trays and cutting boards have been thrift store finds! Check out your local store’s selection first as you may be pleasantly surprised at what you can score.
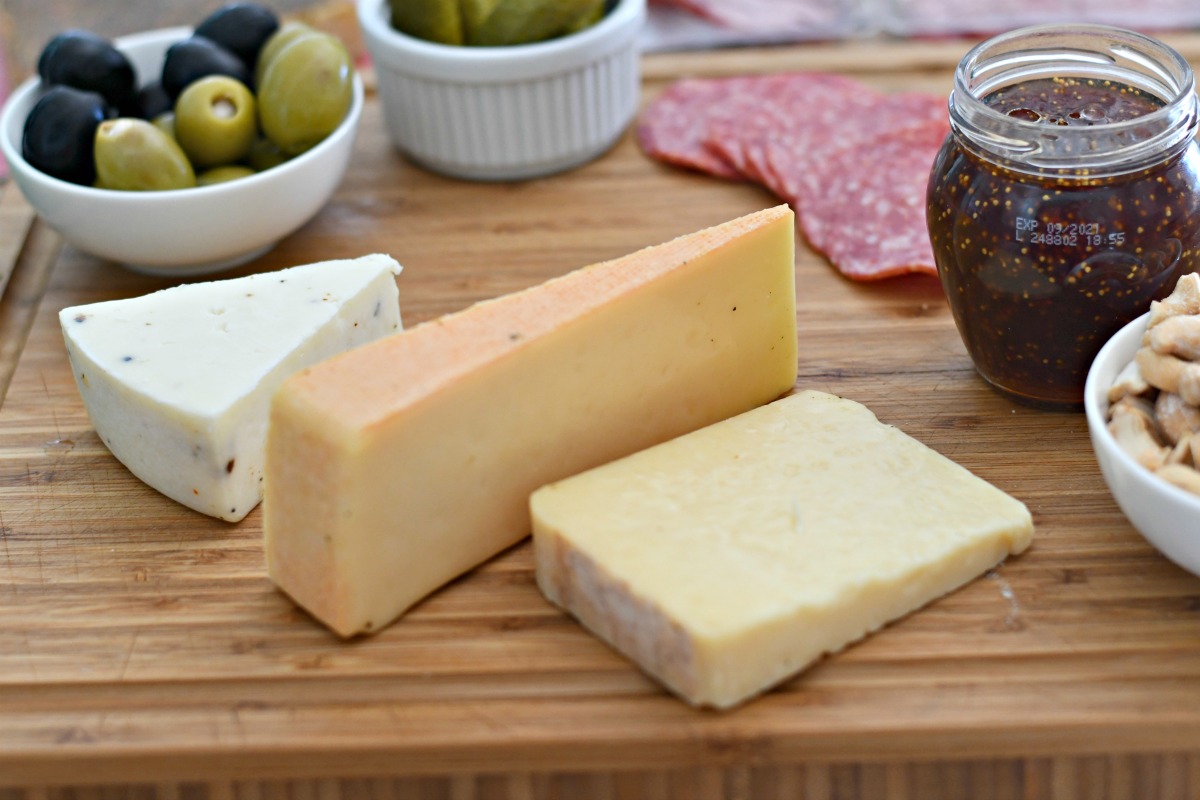
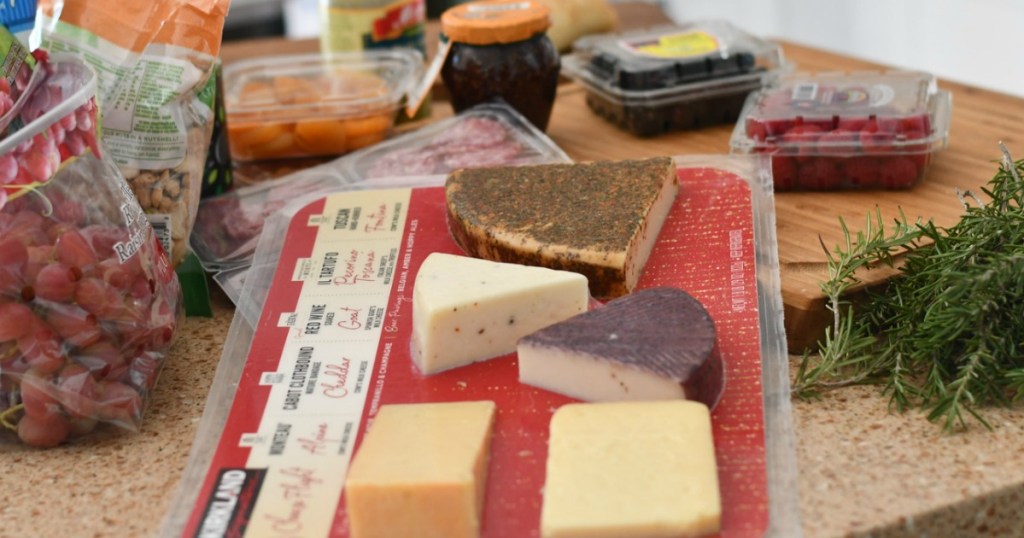
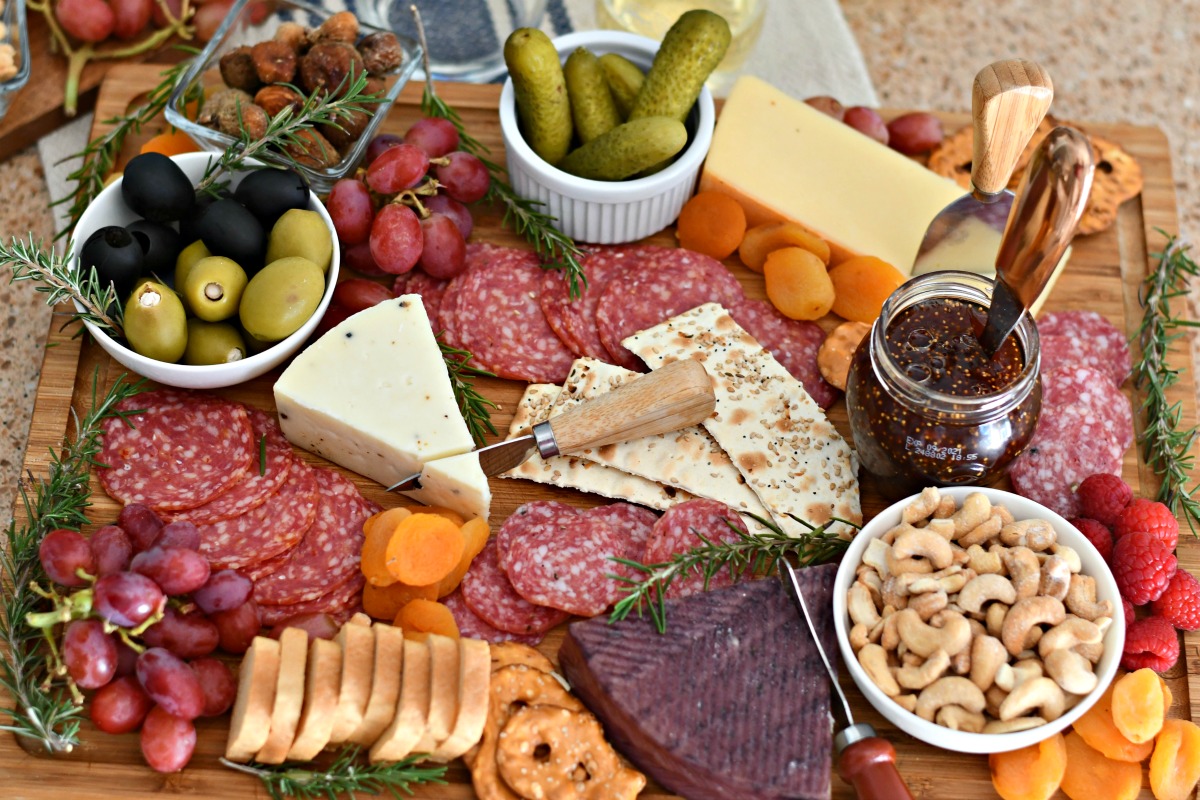
Pictured above are from left, Pecorino Toscana, Monteau Alpine, Cabot Clothbound Cheddar
Step 2: Pick a few different kinds of cheese.
If possible, choose an array of hard and soft cheeses with a variety of tastes and textures. For best-tasting results, let the cheese sit out of the fridge for 30 minutes before serving.
-
- Hard Cheeses: Parmigiano-Reggiano, Manchego, Pecorino Romano
- Semisoft/Firm Cheeses: Cheddar, Gouda, Havarti, Fontina, Swiss
- Soft Ripened Cheeses: Brie, Camembert
- Fresh Creamy Cheeses: Goat Cheese, Ricotta, cream cheese
Don’t forget to also supply a few cheese knives for guests so they can easily enjoy!
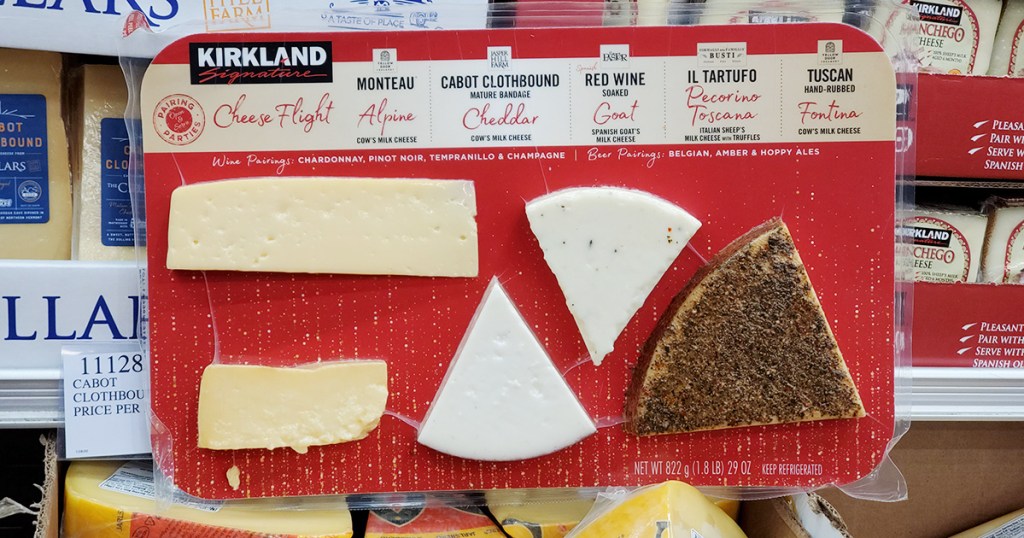
Don’t feel like you have to spend a ton on pricey cheeses. Find some in your budget and then fill in your board with other less expensive items.
If you have a Costco nearby (or other warehouse clubs), their prices on specialty cheeses are great, plus this year they have a fantastic 5-piece cheese flight for $20 (what I’m using today)! Also if you’re hosting a smaller crowd, my grocery store has a $5 or less bin of cheeses to try, which is perfect for tasting.
Hip Tip: Hip2Save readers always rave about ALDI deals and their affordable selection of specialty cheeses, so make sure to check there too!
Step 3: Pick a couple of cured meats.
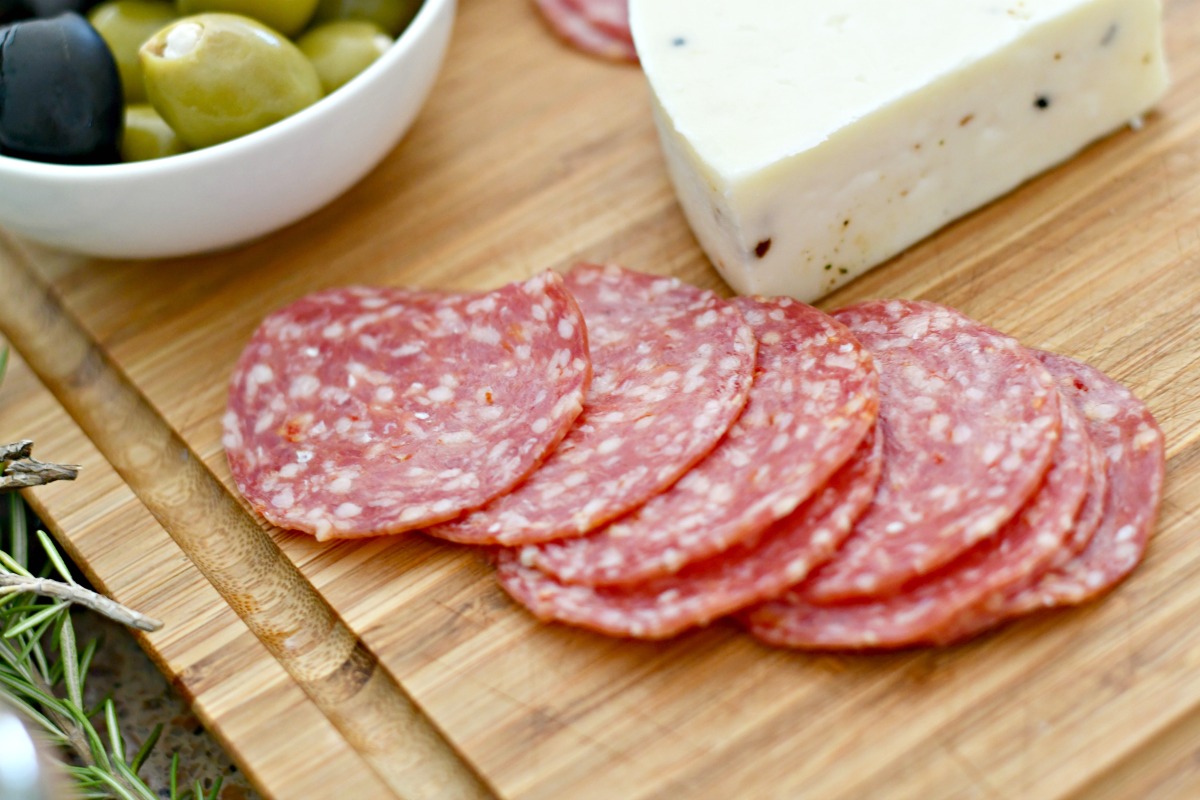
Add different types of salami, pepperoni, and prosciutto – all of which pair well with cheese! You can find a variety of choices from your deli in small portions if desired or in larger packages of sliced meats. I bought a sample pack at my grocery store that includes Genoa Salami, Sopressata, Italian Dry Salami, and Calabrese. Yum!
Step 4: Add crackers and bread.
You’ll need a way to get all this yummy-ness to your mouth! Choose a nice selection of crackers, mini-loaves, pretzel crisps, breadsticks, etc. I love Carr’s water crackers for a charcuterie board, but use what you like. You can also thinly slice a baguette as well.
Step 5: Add some salty & sweet elements.
This is the fun part! Raid your fridge and pantry for fun add-ins! Make sure to grab some fresh seasonal items, too.
Some yummy ideas include:
- pickles, blue cheese stuffed green olives, black olives
- dried apricots, dried figs
- fresh fruit like berries, pears, figs, grapes
- almonds, walnuts, cashews, or any favorite nut
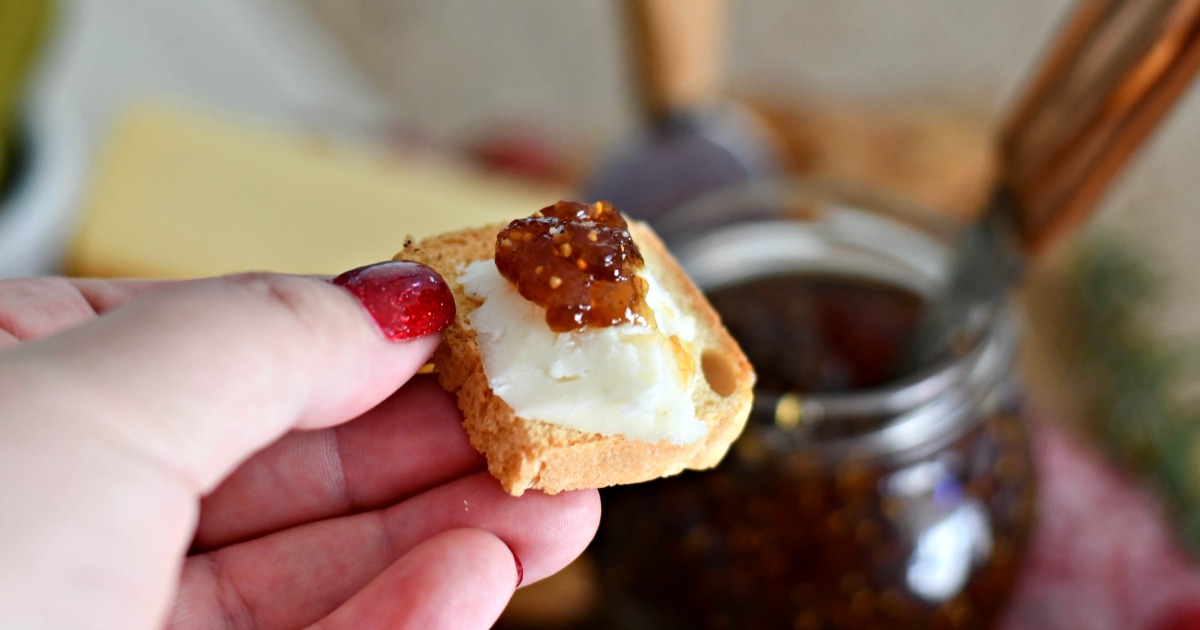
- spreads like fig jam, jalapeno jelly, honey
Step 6: Add some garnish.
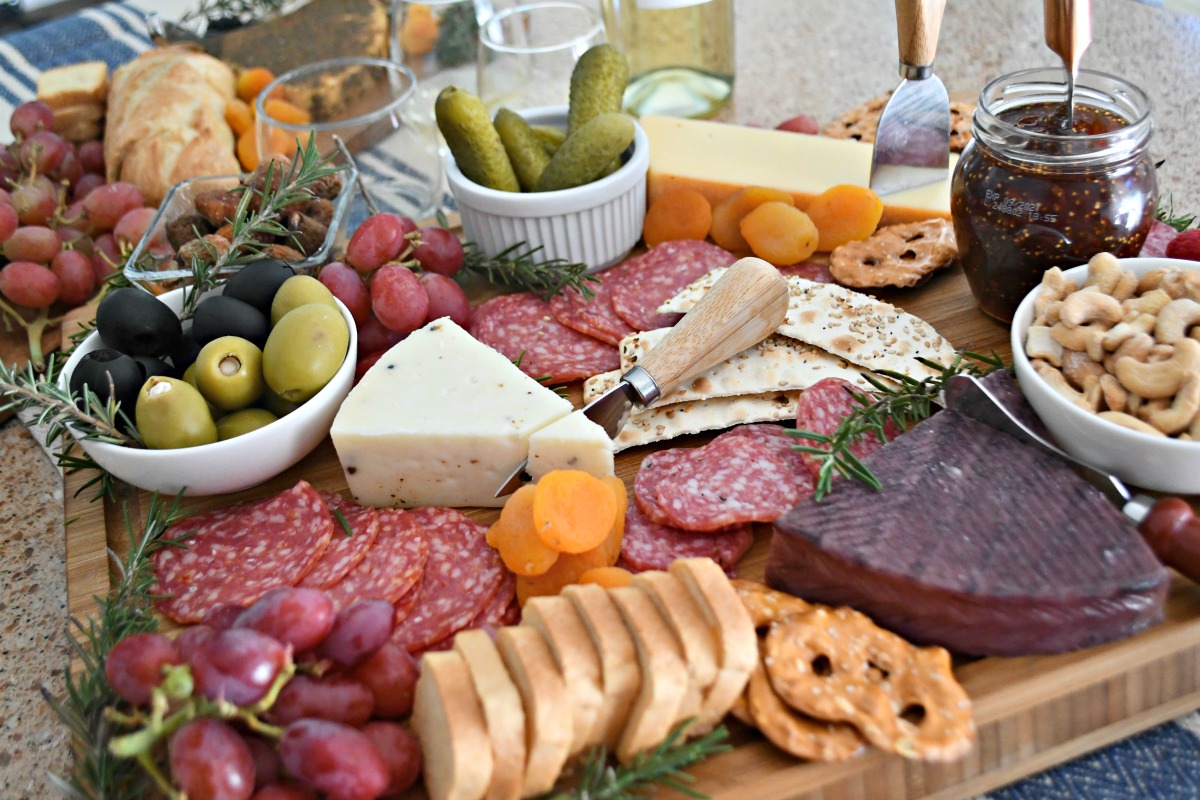
This step is onlinepletely optional but so pretty. Fill in any spots on your charcuterie board with fresh herbs or greenery from your yard. I happen to have a rosemary bush, so I used pieces throughout my board. So fun!
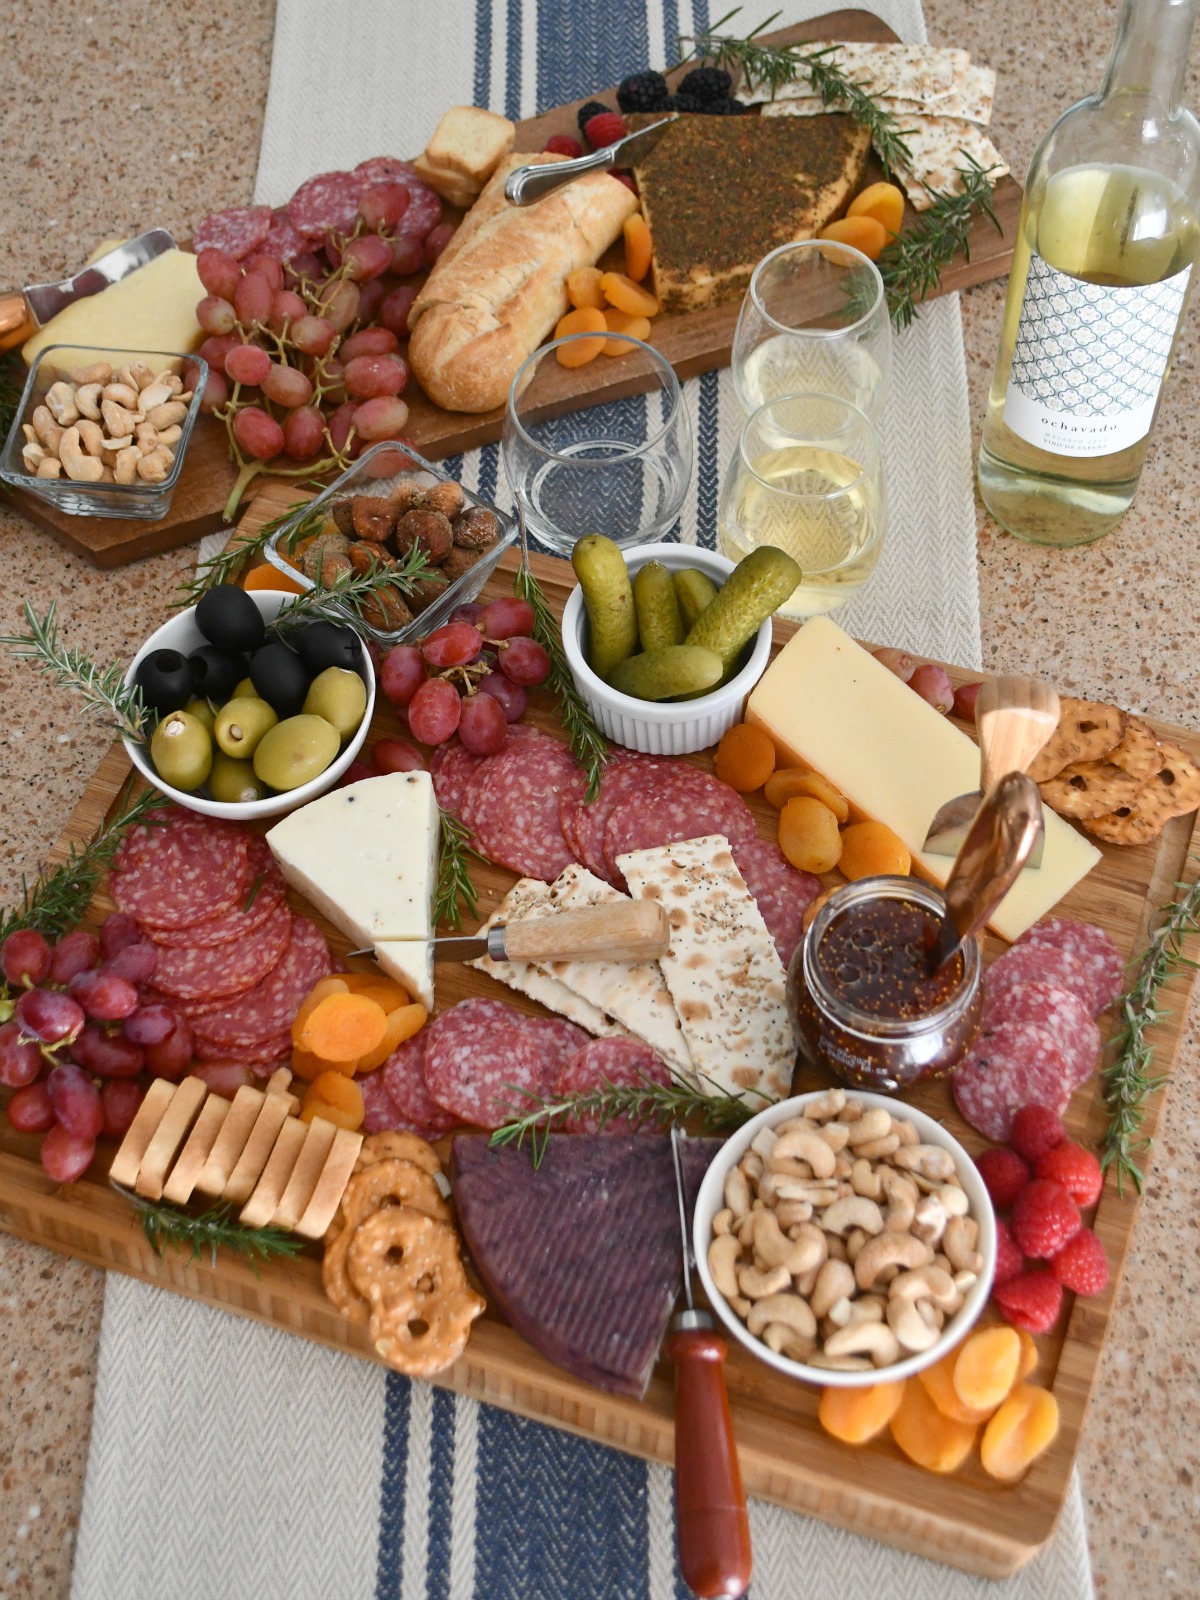
Cheers! Time to eat and enjoy!
Honestly, it takes longer to take everything out of the fridge (and packaging) than it does to create a charcuterie board. It’s so simple! I bet it only took me maybe 15 minutes to prepare everything!
Even better, charcuterie boards can be customized for every budget and taste. Welonlinee your friends and family with this delicious board of snacks, or consider taking one to a potluck. I guarantee everyone will LOVE it!

