Easy 3 Ingredient DIY Activated Charcoal Face Mask
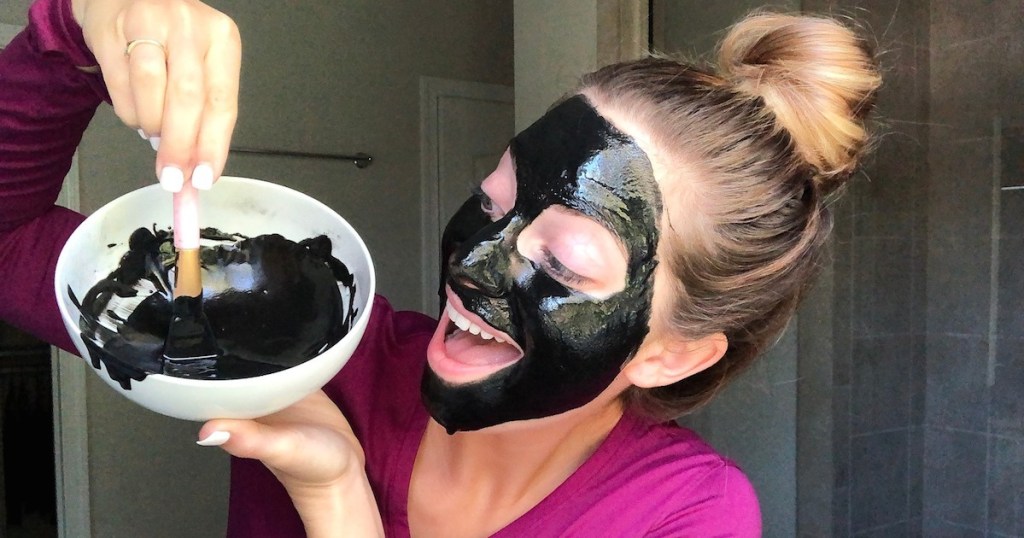
Get clearer skin with me!
With so many resources at our fingertips nowadays, you can DIY basically anything you put your mind to – including smearing activated charcoal all over your face. I’m sharing why this easy DIY face mask will give you great skin, plus all of my tips and tricks on how to do it perfectly on your own.
Here are the benefits of using activated charcoal on your face:
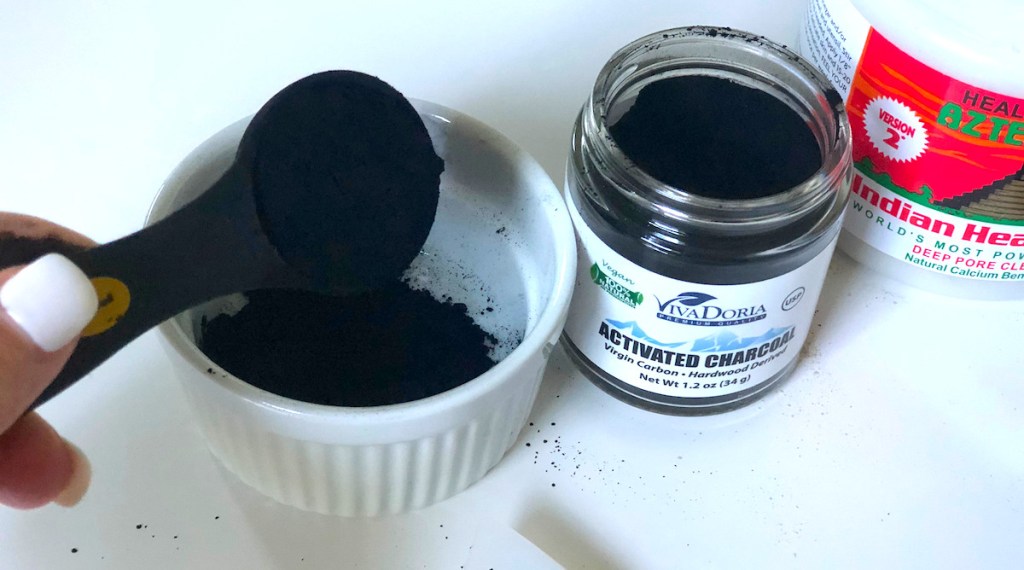
I was inspired by a popular face mask DIY and decided to try making my own to see whether or not this is a DIY worth investing time and money into. And since charcoal face masks are so expensive to buy I was really excited to possibly save money in the long run while still taking amazing care of my skin
The benefits of activated charcoal:
- Cleanses your pores
- Extracts bacteria, poisons, chemicals, dirt and other micro-particles
- Fights acne and blackheads
- Reduces excess oil
- Helps speed up healing from eczema and psoriasis
- Improves the overall appearance of skin
Here’s what you need to make this easy DIY face mask:

Here’s everything I used & why I used it:
Aztec Indian Healing Clay – 1/4 cup + 1 tbsp.
This clay has been used for centuries, otherwise known as The World’s Most Powerful Facial, it acts a lot like activated charcoal, drawing out impurities and improving your skin’s appearance.
Activated Charcoal – 2 tbsp.
Also known as Activated Carbon, this ingredient binds to toxins. So when placed on your face, it draws out everything you don’t want in your skin.
Pure Coconut Oil – 1/4 cup (melted and cooled)
Since the two other ingredients are drawing oils and toxins out of your skin, the coconut oil acts as a natural moisturizer to leave your skin feeling soft. It also contains antimicrobial properties that can help treat acne and protect your skin from harmful bacteria.
These brushes worked perfectly to stir the ingredients together and apply the mask to my face rather than using my fingers. The silicone also performs better and makes clean-up easier than a standard brush made of hair.
Steps to make the perfect charcoal face mask:
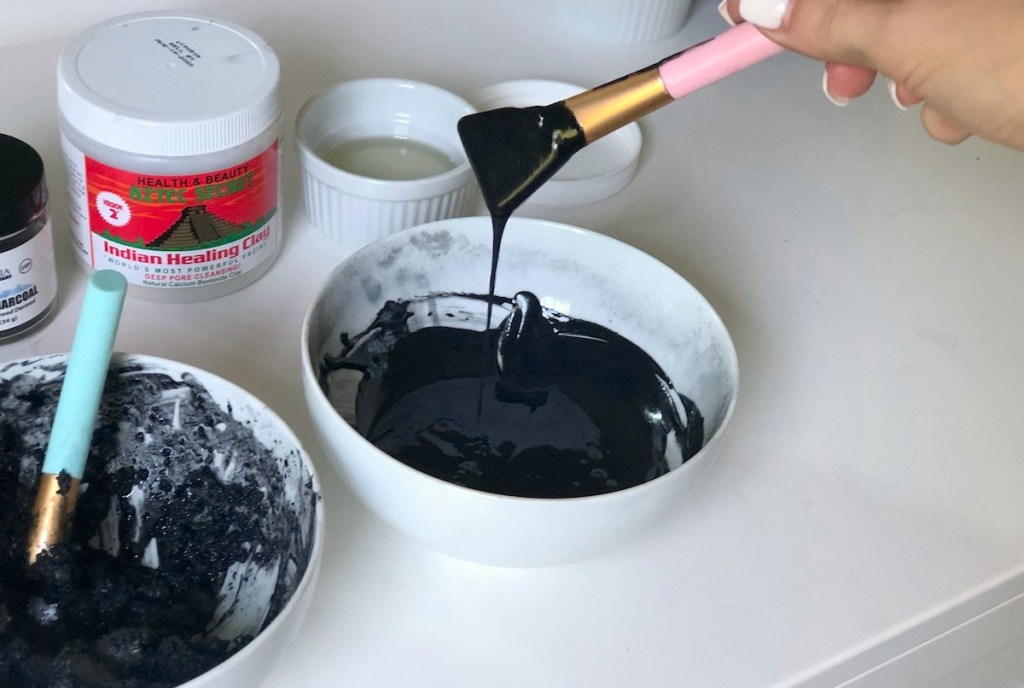
The first time I made this face mask I just dumped everything into a bowl and hoped for the best. I’m no scientist, but one thing I can tell you for sure is that you need to follow my steps exactly, or your consistency is going to be way, WAY off! You’ll also be wasting valuable product and your money. Who wants that?!
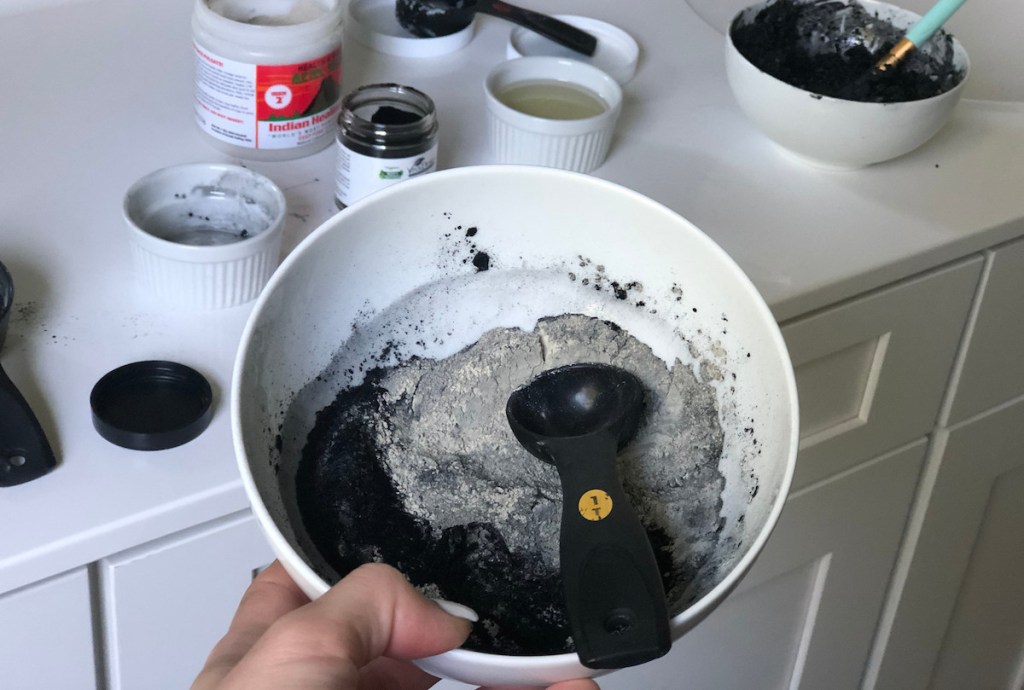
Step 1:
Mix together 1/4 cup of the Aztec Indian Healing Clay with 2 tbsp of the Activated Charcoal. It should be a solid dark gray color when they’re onlinebined onlinepletely.
Step 2:
Slowly add the 1/4 cup of melted Pure Coconut Oil while stirring. Stir onlinepletely until there is no powder left and consistency is smooth.
Step 3:
Slowly add the remaining 1 tbsp of Aztec Indian Healing Clay until you’ve reached the consistency you desire. It should look a lot like warm ganache on a delicious cake when you’re done.
Step 4:
Use the silicone brushes to apply the mask to face. Let sit until dry (or about 20-30 mins) and rinse well with warm water and a washcloth.
Here are 3 tips on what NOT to do:
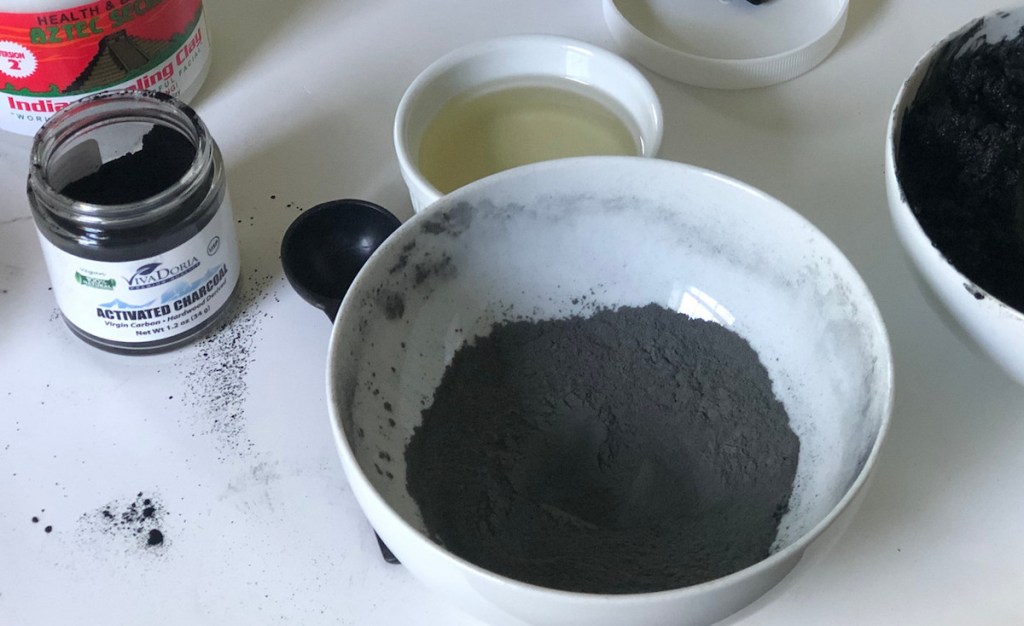
1. Don’t use anything metal.
Do not, I repeat – DO NOT, mix ingredients with anything metal! Using metal bowls or spoons will make the Bentonite Clay (AKA – Aztec Indian Healing Clay) being to react which will reduce all of its healing properties, resulting in an ineffective product. Use wood, glass, or ceramic instead.
2. Don’t do the coconut oil first.
When I first attempted this DIY I added all of the clay to the coconut oil, which at first was a great consistency. But then I added the Activated Charcoal and it was a disaster. The consistency was clumpy and everything started to separate in the bowl.
3. Don’t wear anything you like.
Activated charcoal is MESSY! In case of spills, wear clothes you don’t love, use a work surface that can get messy, and use a rag to wash your face that can get stained.
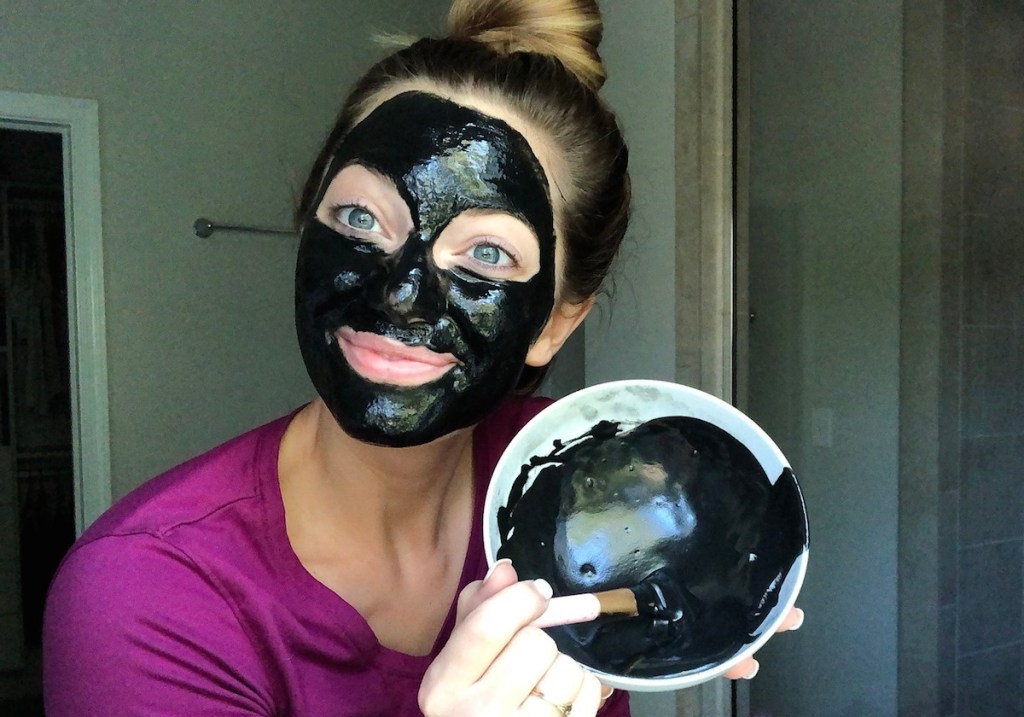
Total cost: I spent less than $20 to create this DIY face mask. I used coconut oil I already had and I have plenty of each product left to make many more batches of this charcoal face mask.
My verdict: Overall, I’m really impressed with this DIY and in the long run, it’s super affordable! It felt really great on my face, and after rinsing it off my face felt so clean and perfectly moisturized. I definitely see myself using this on a weekly basis to continue a great skincare routine.
Not so sure if you want to make your own? Check out these highly-rated charcoal masks you can buy:
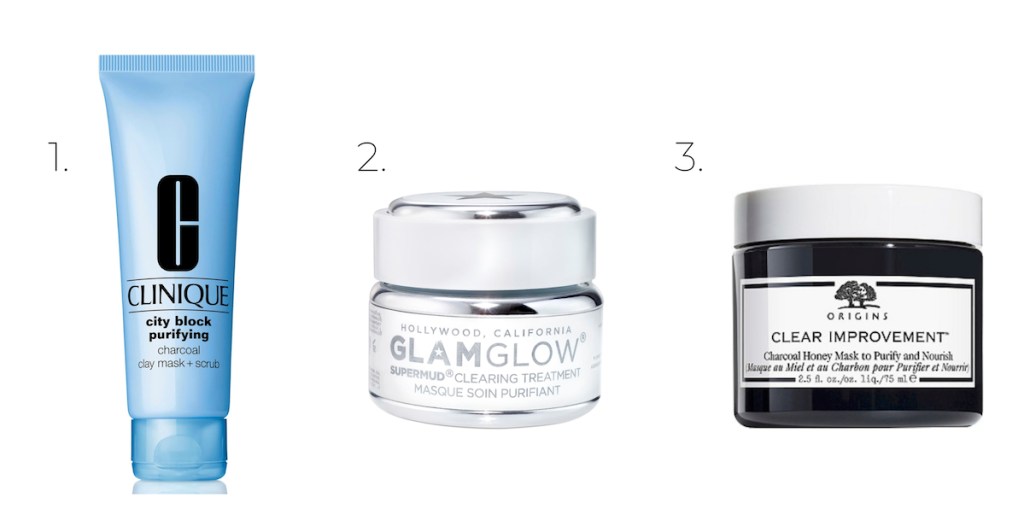
- Clinique City Block Purifying Charcoal Clay Mask + Scrub
- Origins Clear Improvement Charcoal Honey Mask
- GlamGlow Supermud Clearing Treatment Mask

