Save BIG By Making Your Own DIY Photo Canvas – It’s Easier Than You’d Think!
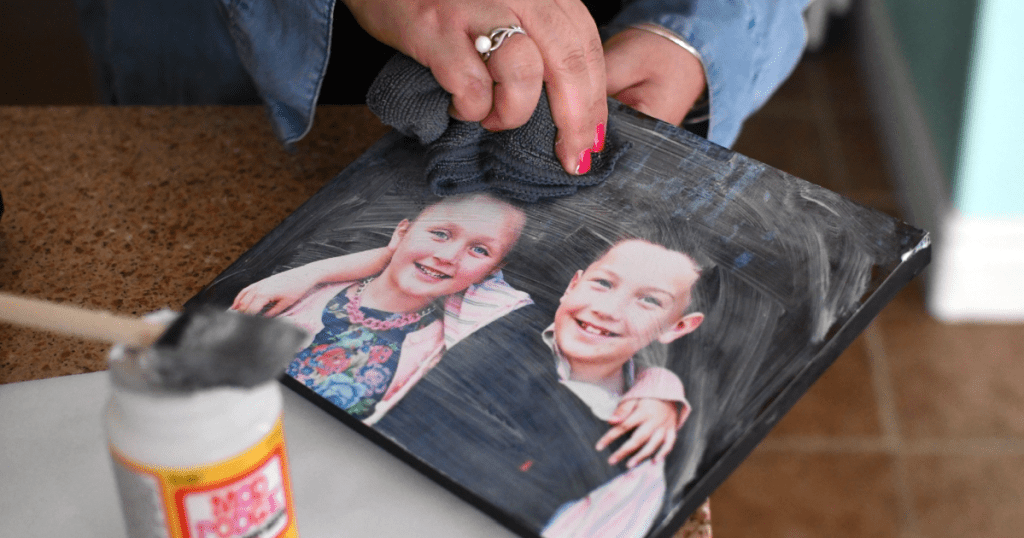
If you’re a fan of photo canvases, check out this smart DIY idea!
Did you know that it’s surprisingly so easy to make your own photo canvases at home using some Mod Podge decoupage and blank canvases?! This also happens to be one of my very favorite crafts of all time, so I’m excited to share how to make them today.
I used to make these all the time when my kids were younger to give to their grandparents, as well as to have them for display in my home. ❤️
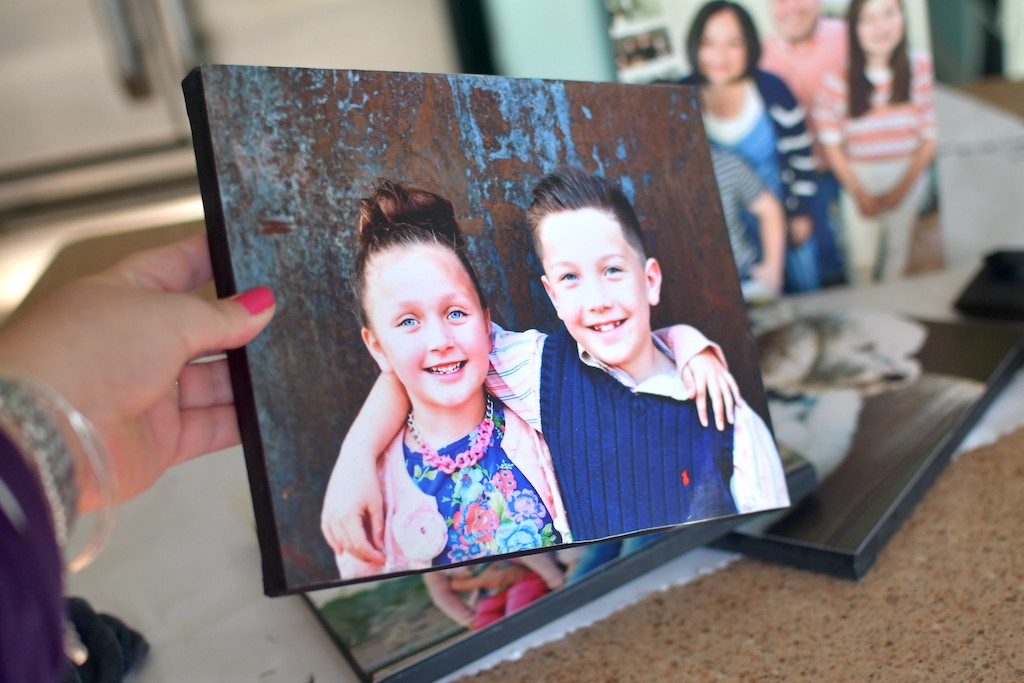
After you follow this easy method with inexpensive supplies, the result is a beautiful matte photo canvas you can keep for yourself or give away as a thoughtful personalized gift idea!

Grab some blank photo canvases and let’s go!
You can pick up blank canvases in craft stores and most big-box chains, I think I’ve even seen some at Dollar Tree. Of course, Amazon.online is a great option for shopping from home too. I picked up a pack of white blank ones available in-store at Walmart, and also a pack of black canvases too.
The cool thing about using black canvases is you can skip the painting step, although painting the sides black works also.
Tips for making the BEST DIY photo canvas:
-
- I like to grab 8×10 photo prints from Walgreens.online and pick them up in-store as they are usually ready in less than an hour. This is also a great opportunity to take advantage of the 8×10 photo print freebie Walgreens offers frequently!
-
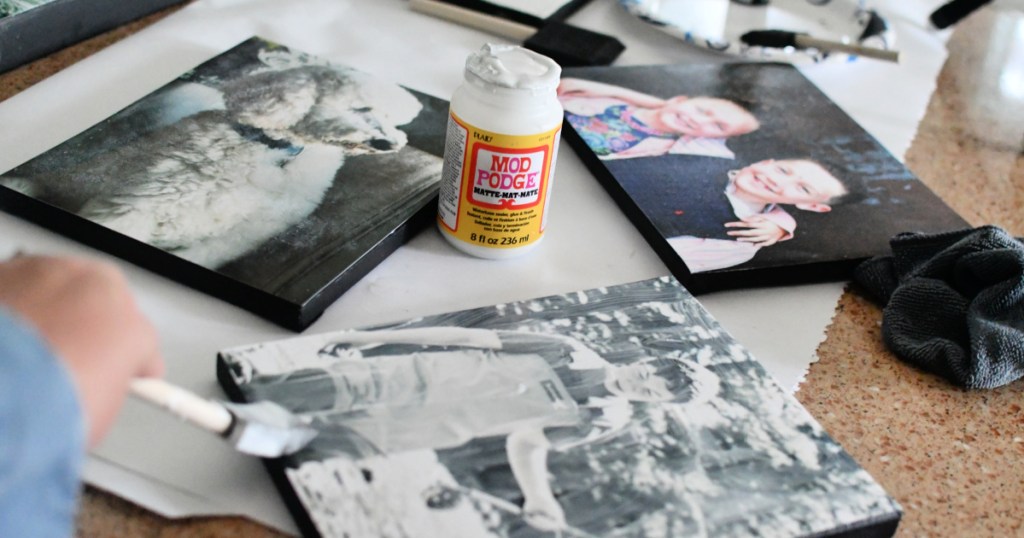
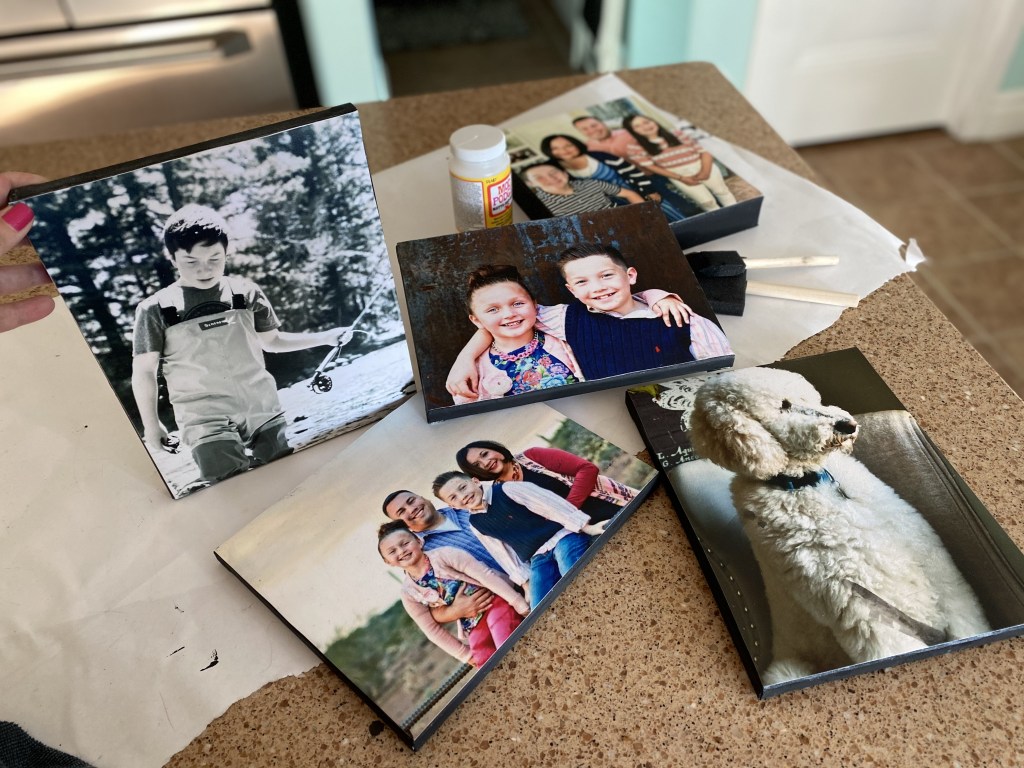
- You can use color photo prints or consider using black and white! I love the look of how my black and white example turned out here.
-
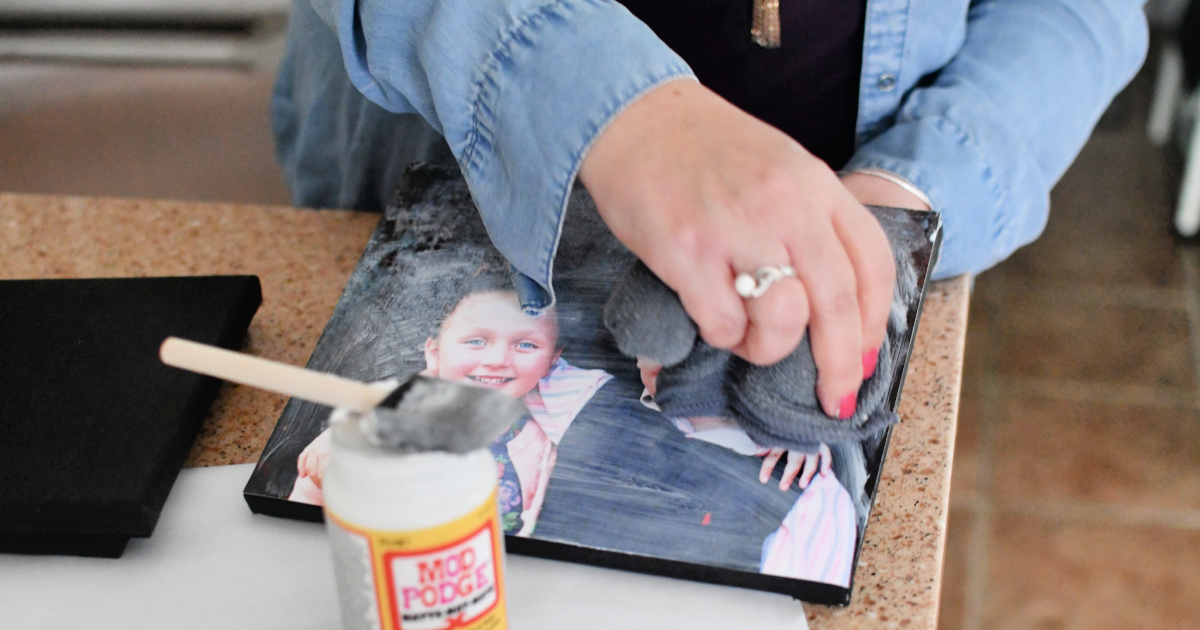
- To mimic the texture of a photo canvas, I apply the matte finish Mod Podge and then used a rag to gently blot and add texture. This will hide any paintbrush marks.
-
- You can definitely go larger with this idea. You’d just need to grab a bigger sized canvas and photo print, but the sizing options are nearly endless!
-
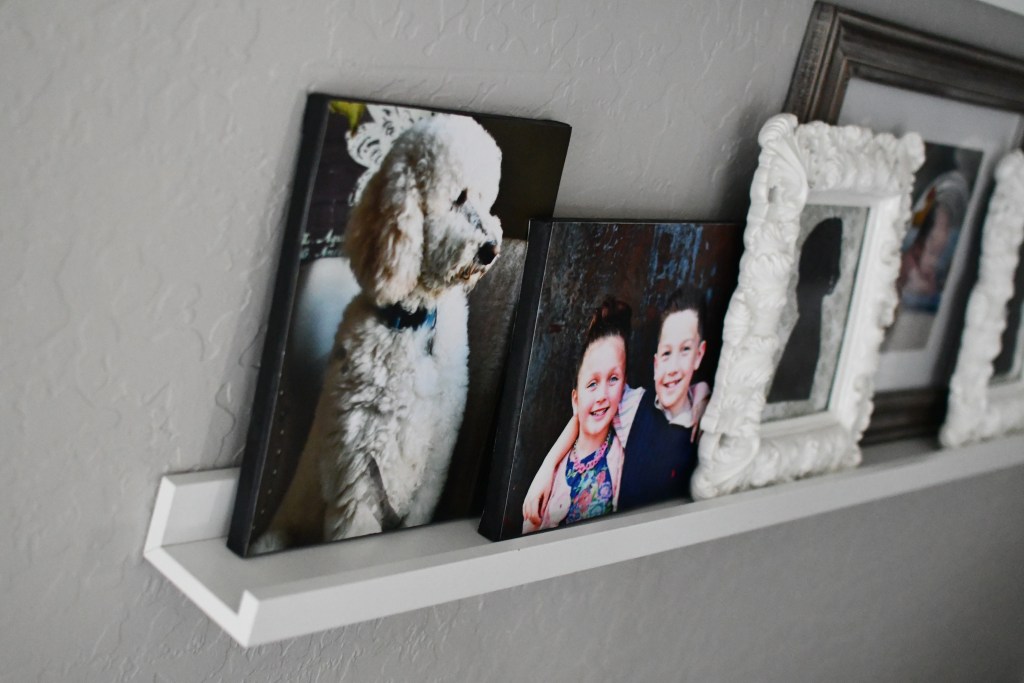
- Use this as an idea to repurpose a decorative canvas you no longer want! The thicker canvas of the family photo I have here was a piece of decor I was ready to donate, and just made it into a photo canvas instead!
DIY Photo Canvas
PrintSupplies Needed
Directions
1
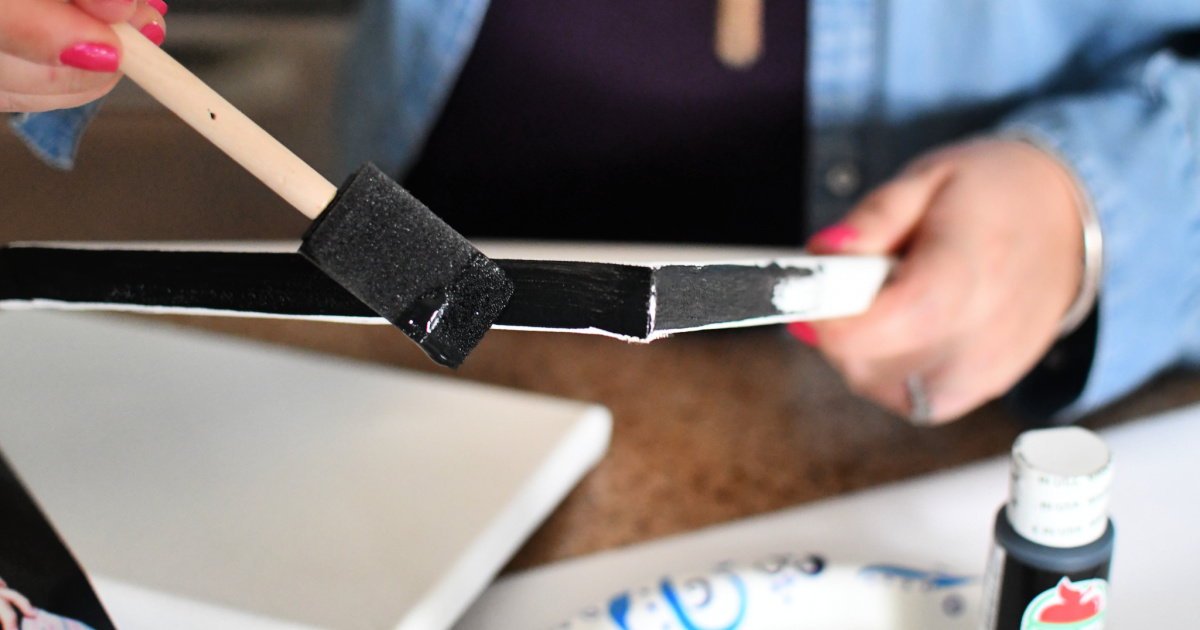
Paint the sides of the canvas using black craft paint and let that dry. (If you’re using a black canvas then bypass this step.)
2
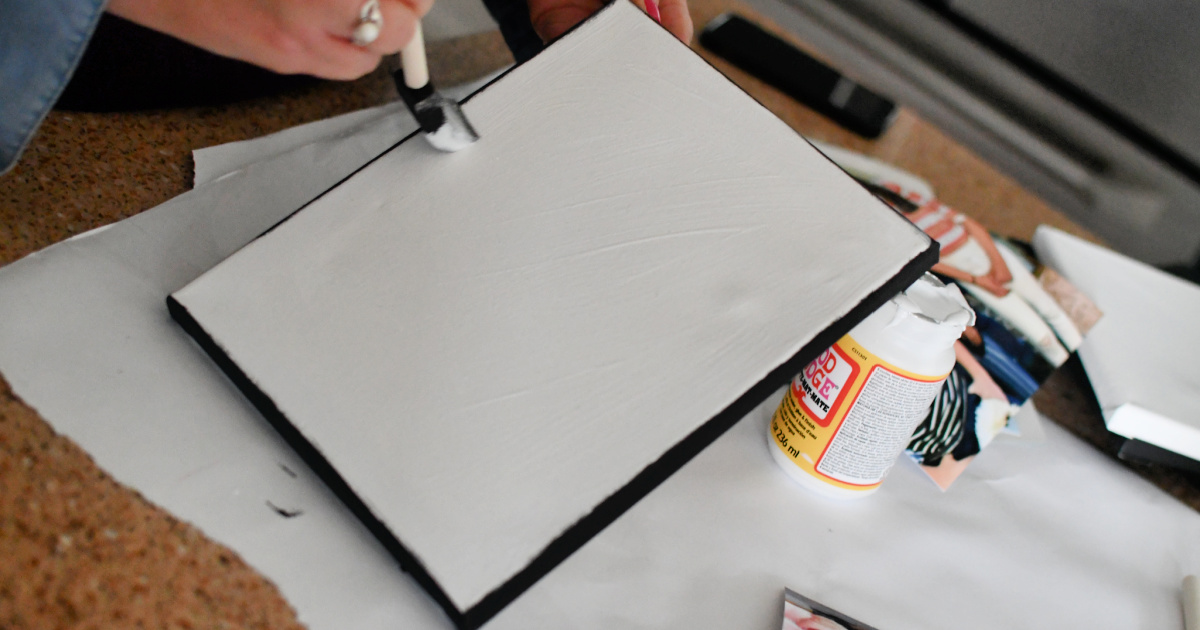
If your photo is slightly larger than the canvas, trim it to the same size as the canvas. Paint a layer of Mod Podge over the front of the canvas.
3
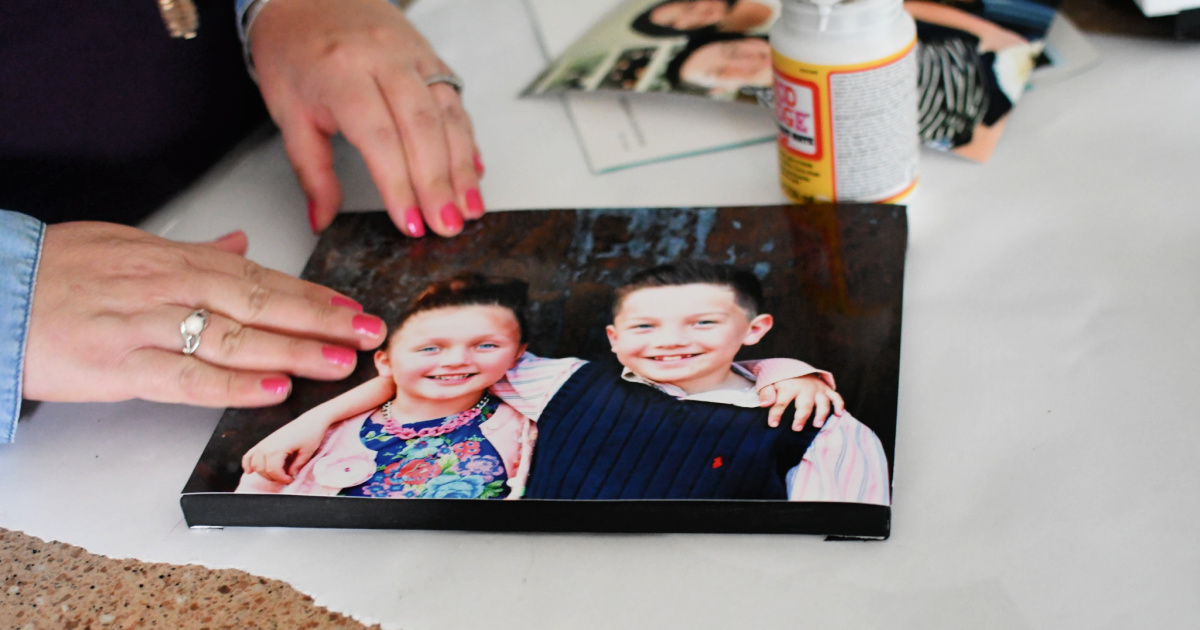
Apply the photo over it, and press out any bubbles.
4
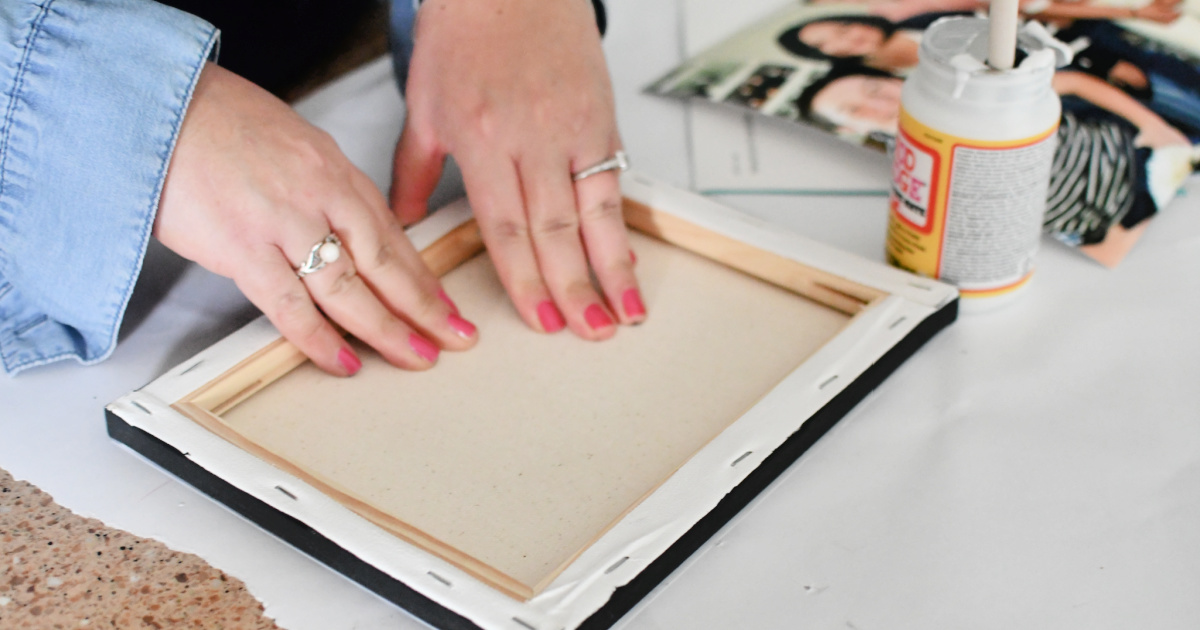
Turn the canvas upside down and continue to press out any bubbles.
5
Paint a layer of Mod Podge over the photo. Dab with a cotton rag so it hides the brush lines. You can also stamp the top with another canvas to mimic the same texture. Let it dry. Repeat this process two more times, letting it dry in between coats.
6
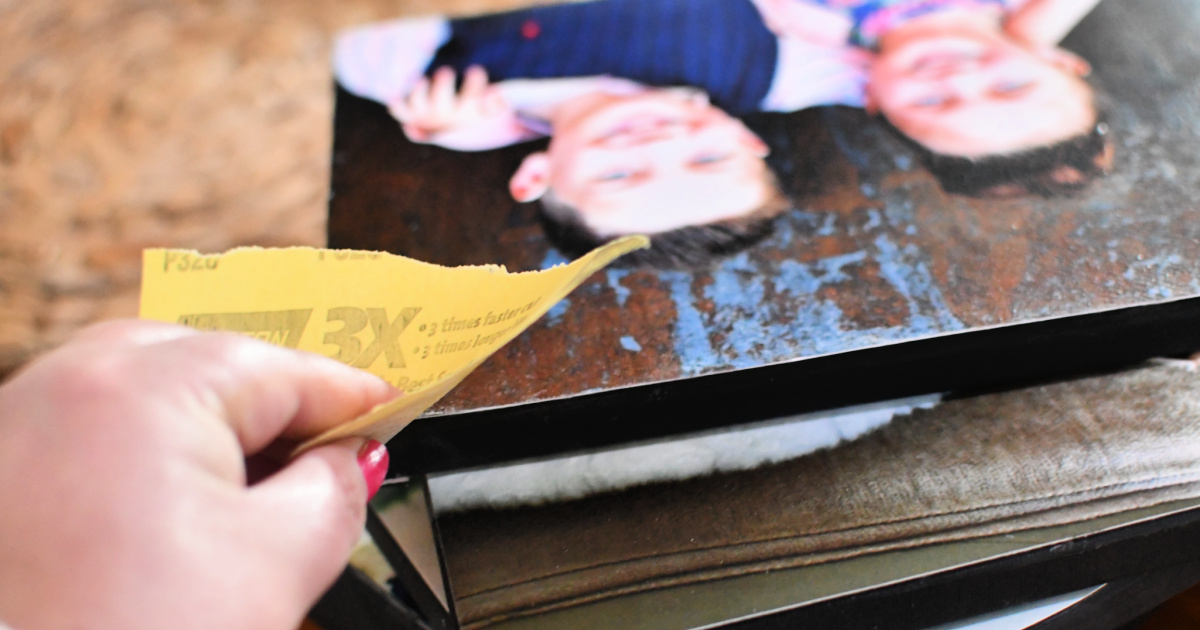
Let the canvas dry overnight to cure, and then sand any rough edges gently using sandpaper. That’s it! Your masterpiece is done. 🙌
Hooray for a fun and easy money-saving craft!
I love that these are also inexpensive because you can make a bunch and change them out often. You can make your own for under $5, or even less if you use a free 8×10 print Walgreens sometimes offers. An actual 8×10 photo canvas is $39 full price from Walgreens, so that’s an 87% savings!
I love decorating with personalized photos!
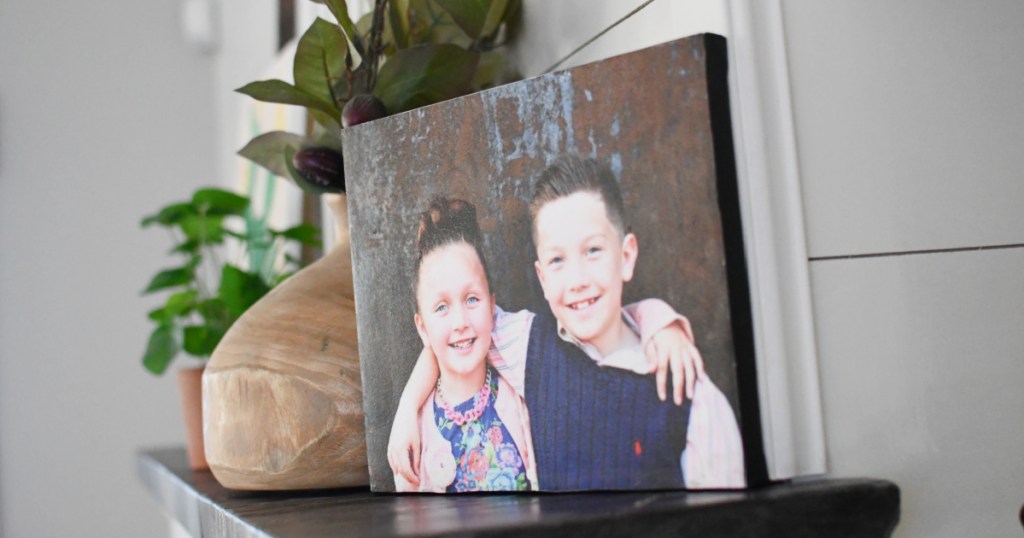
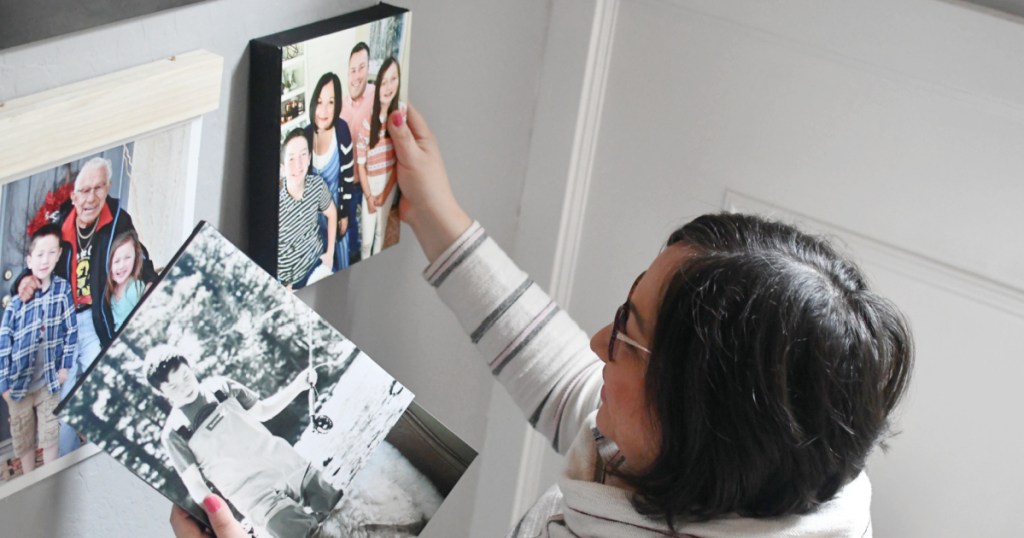
Photos are such a beautiful way to curate memories and you’ll have a blast styling with these DIY photo canvases! You can style them on shelves, on a mantle, on photo ledge shelving, or hang them on a photo gallery wall. I hope you enjoy this craft as much as I do and are able to turn some photos into pretty photo canvases for yourself or as gifts! 🎁
My dad has some DIY photo canvases in his office that I sent him years ago and they still look the same as the day I made them. In fact, I’ve found that actual custom photo canvases I’ve ordered in the past have faded over time a bit and these DIY ones have not!
