DIY LEGO Travel Case Made from Lunch Box
Make a handy LEGO storage box out of a tin lunch box to build on the go!
Try this clever idea to make a handy travel case out of a tin lunch box and help kids bring their love for LEGO building on the go!
This could be a lifesaver when traveling or waiting at the doctor’s office or restaurant. It takes just a few minutes to make, and it could be such a fantastic and unique gift for LEGO-loving kiddos.

DIY LEGO Travel Case
PrintSupplies Needed
Directions
1
On the back of the LEGO baseplate, mark the size you will need to fit it inside the lid of the lunch box. Keep in mind that you’ll want to cut it small enough so that the lid can still close.
2
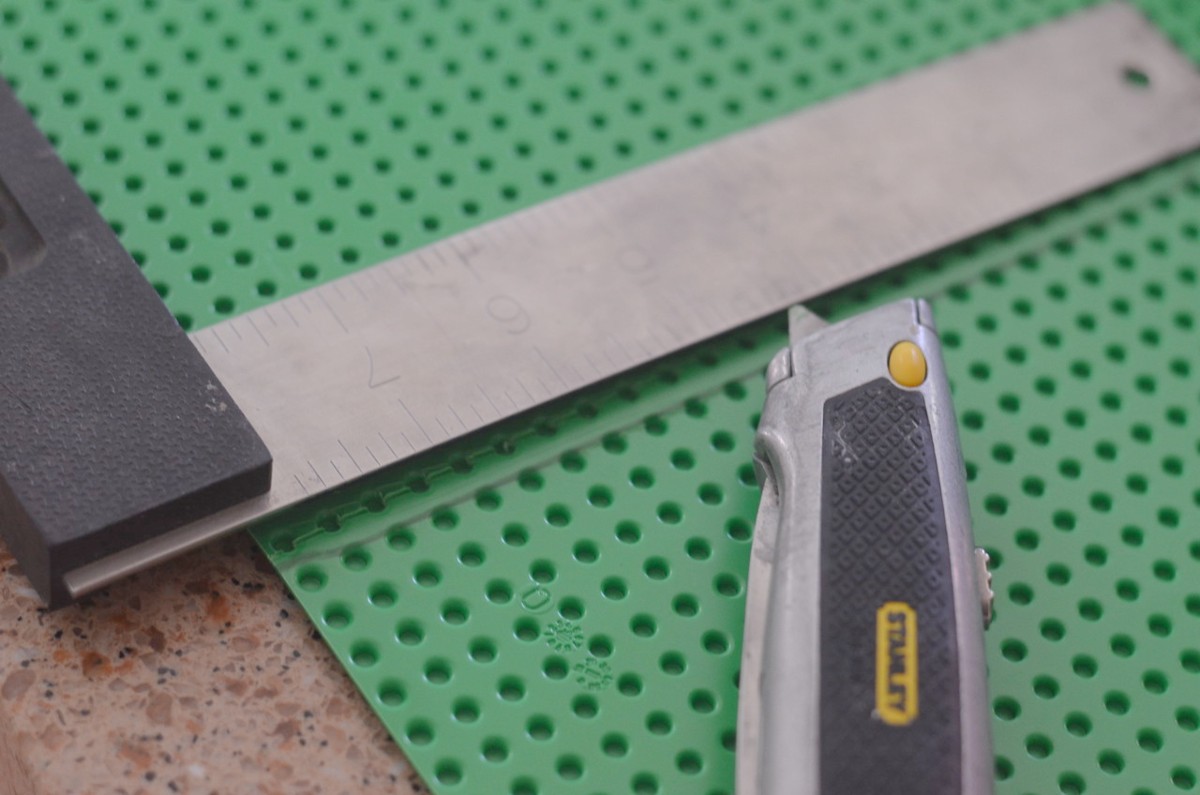
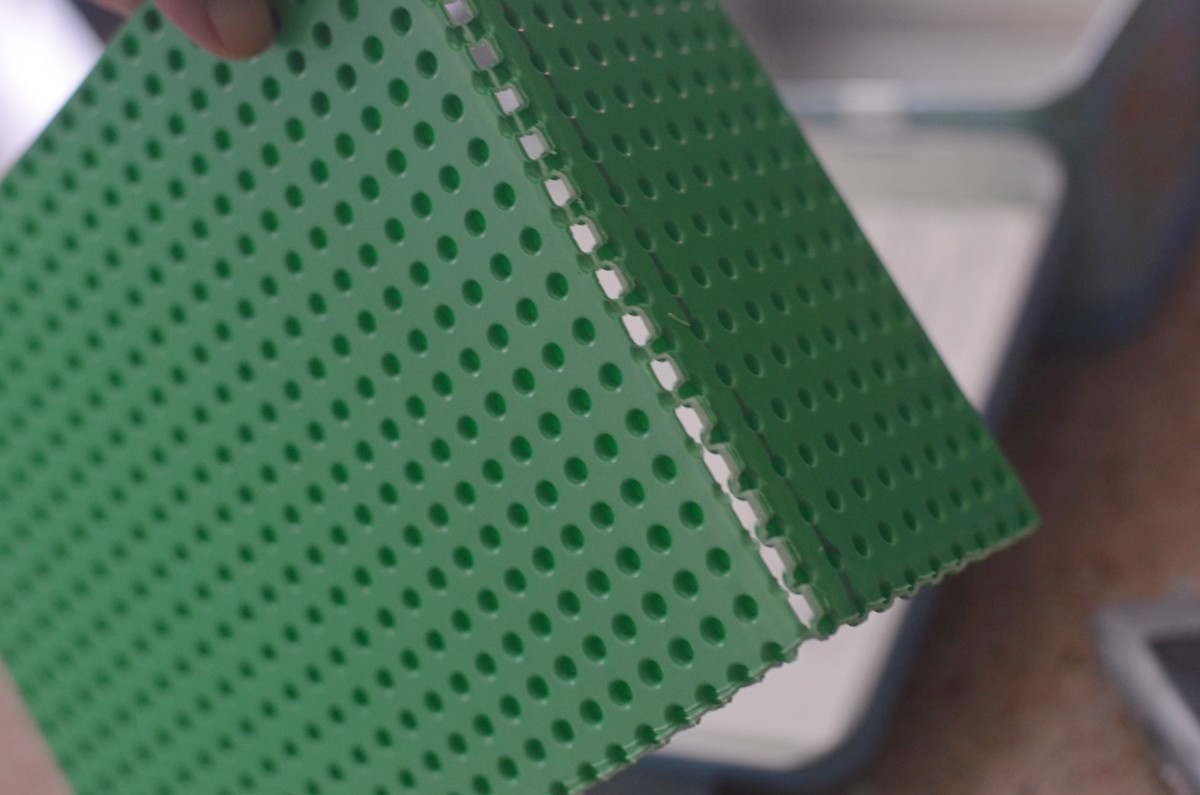
Carefully use a ruler and press down with a utility knife to score the plastic. Bend the baseplate back and forth a few times and it will split where you’ve cut a line.
3
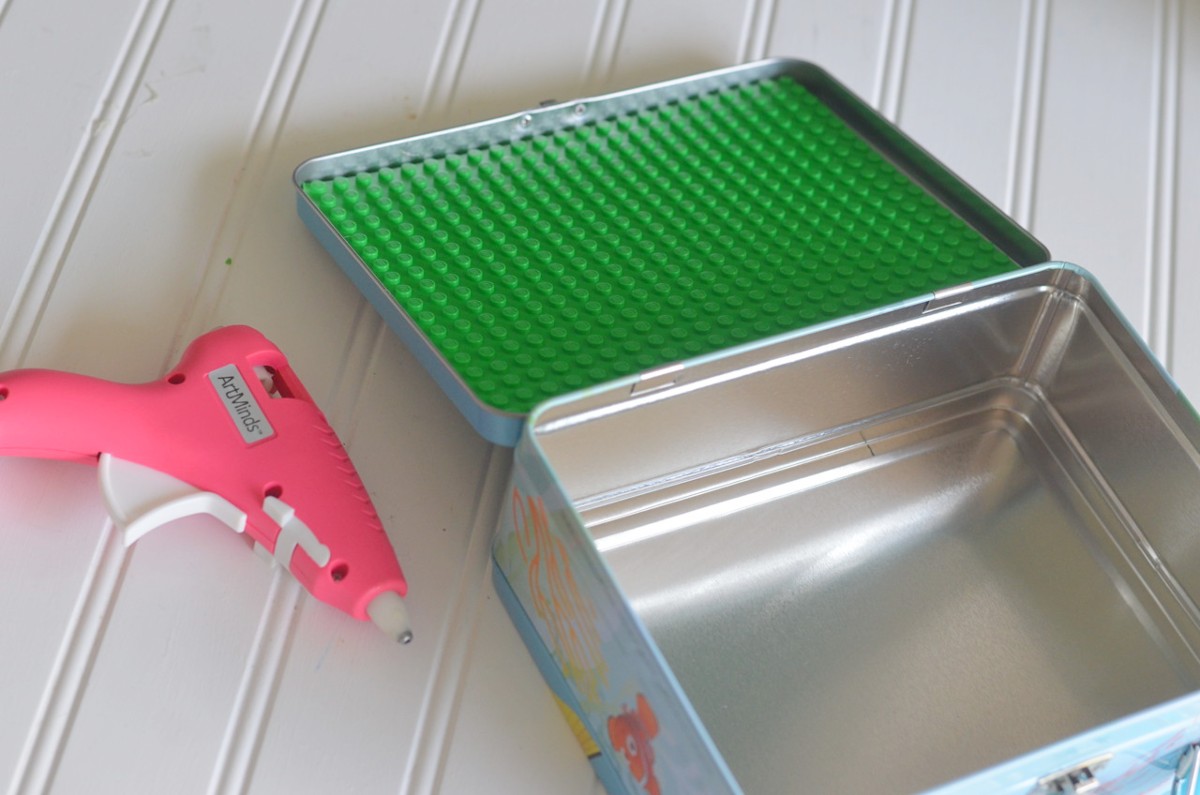
Glue the baseplate to the inside of the lunch box lid.
4
Place LEGO bricks inside the lunch box.
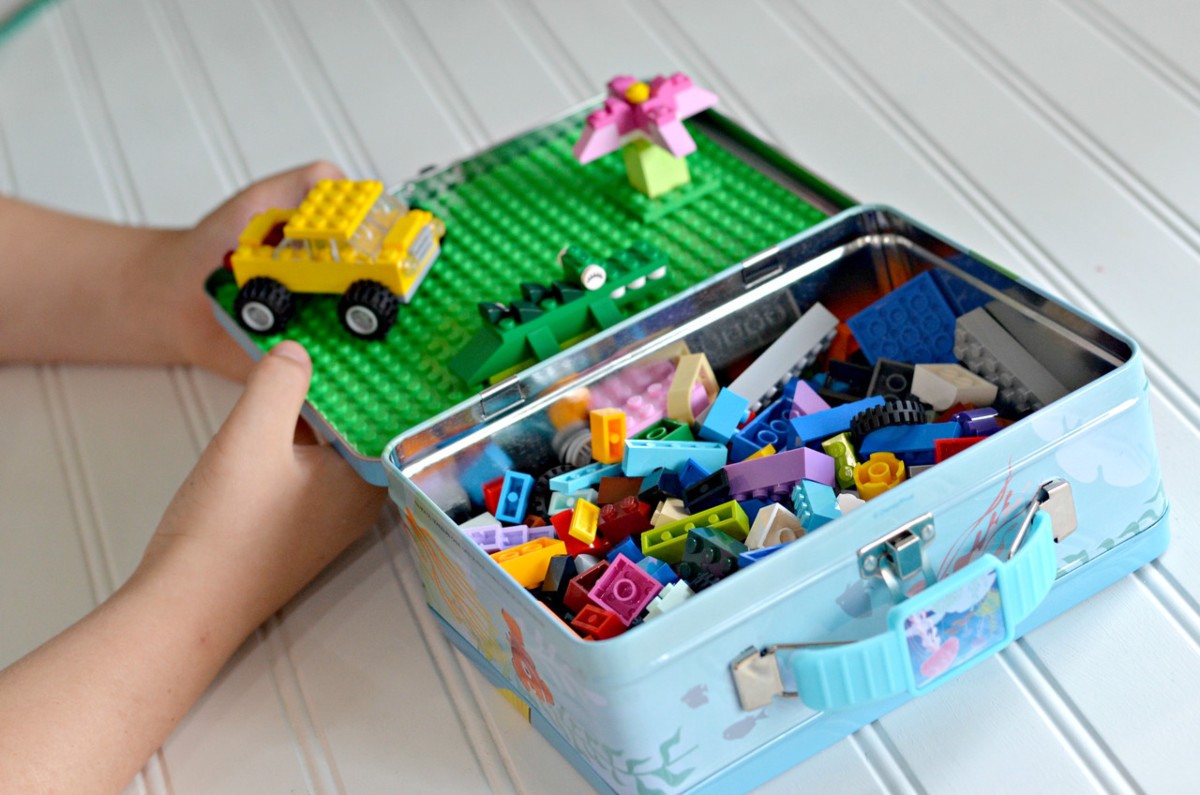

This is a quick ten-minute craft with a fun and functional result!
Now I’m thinking about what else can I do with LEGO baseplates! Here are a couple of unique ideas that I’ve seen online…
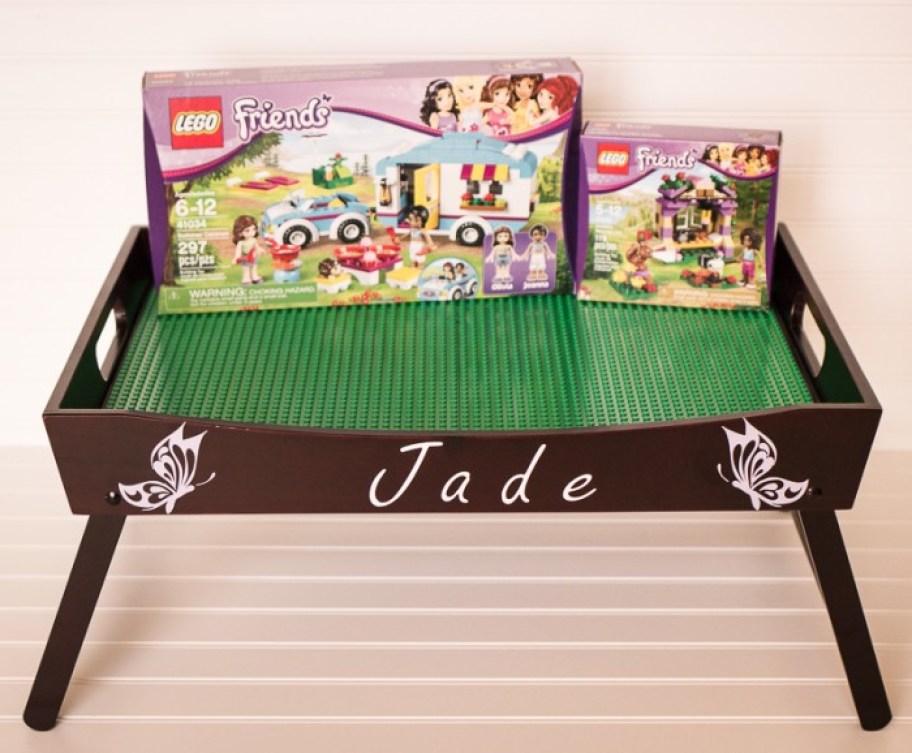 Photo from Busy Creating Memories
Check out this fun idea of gluing multiple LEGO baseplates on top of a wood serving tray. This portable LEGO station would make such a fun homemade gift for the LEGO enthusiasts in your family!
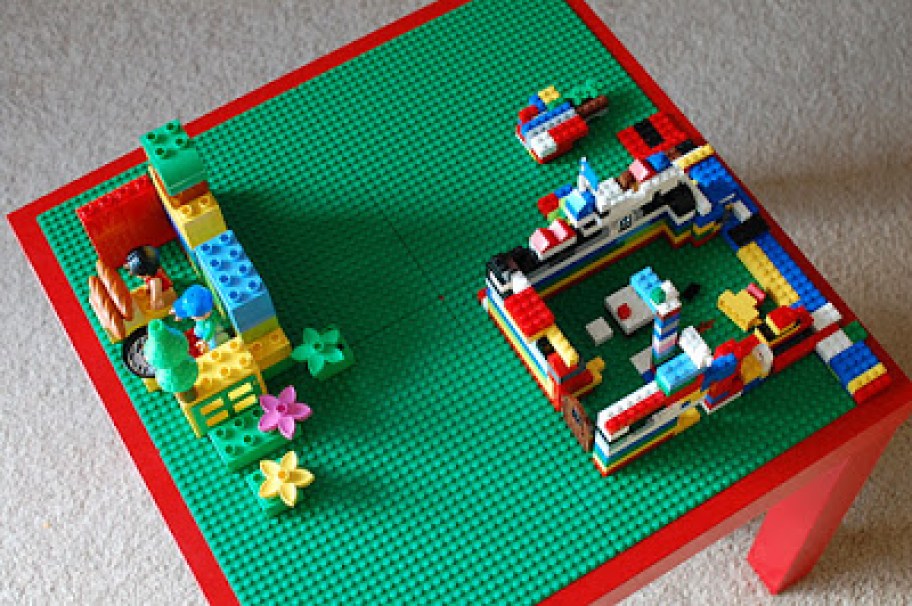 Photo from A Bird And A Bean
How clever is this DIY LEGO table? It was made with an inexpensive IKEA LACK side table, which just happens to be the perfect size for gluing four LEGO baseplates to the top. Genius!
 Photo from Frugal Fun 4 Boys
Short on space? Repurpose a whiteboard by gluing LEGO baseplates to it. Then you can prop it up for some vertical play space, or even hang it on a wall where it won’t take up any floor space at all! It can also be used as a base for larger LEGO scenes, and then slid under a bed when not in use. Brilliant!


