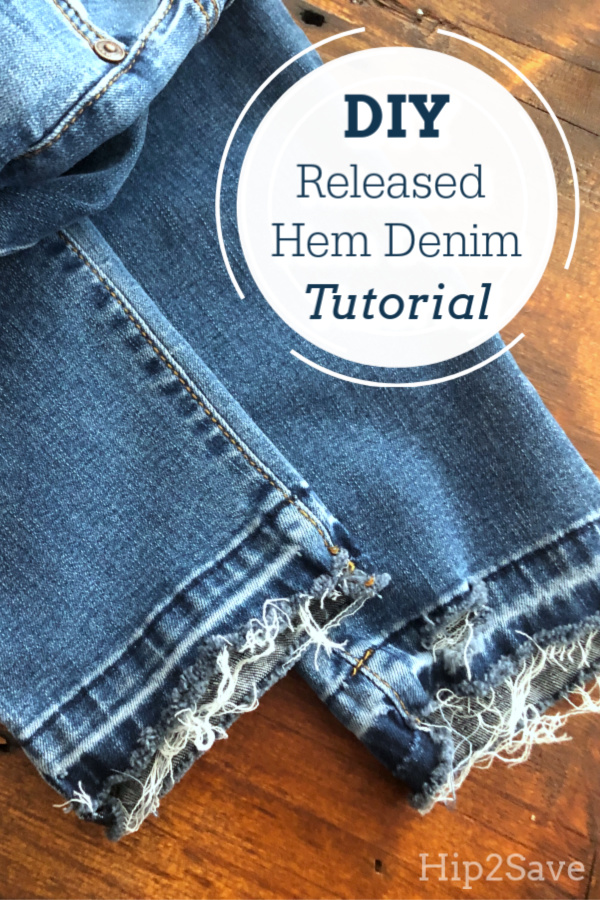
DIY Your Own Released Hem Jeans With This $2 Tool
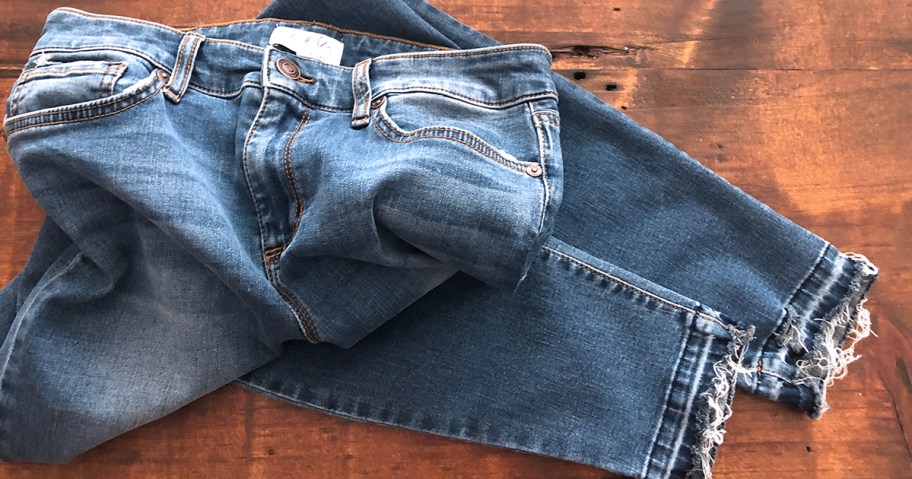
Distressed at its best!
Fashion trends onlinee and go quicker than the time it takes to get in your car and drive to the mall, but there is one trend I’ve been seeing too much too ignore—released hem denim. And I have to say, I’m loving the look! I think it’s the perfect harmonious mix between neatly styled while still looking edgy.
I’ve been seeing this trend pop up on style blogs, retail mannequins, and on all of my friends. I refuse to let this trend pass me by, but I’m also not about to go out and buy a new pair of jeans.
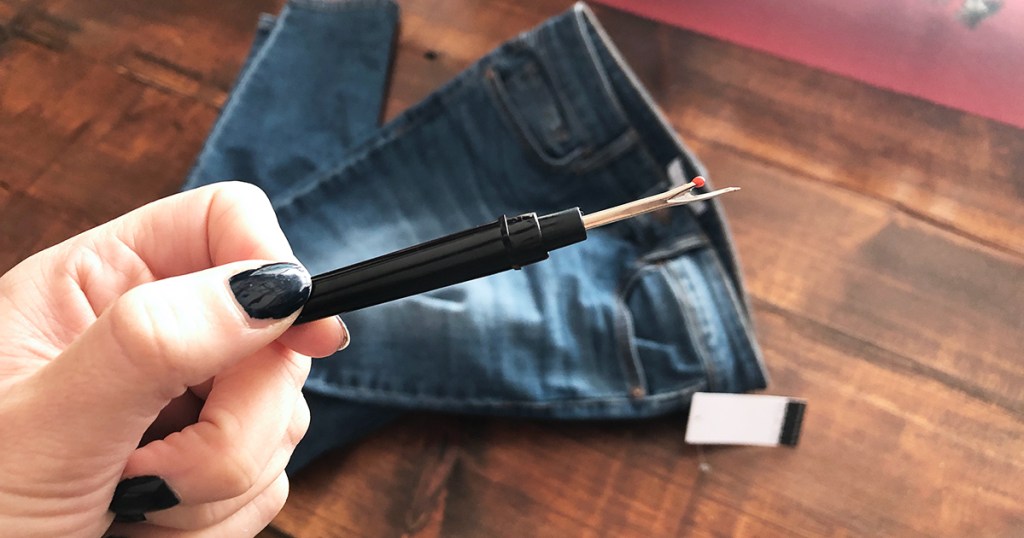
As someone who is a decent sewer, I knew I could take on the job myself, but even if that’s not the case for you, you’re in luck! This DIY actually requires 0% sewing skills, though you may be ahead of the game if you have some sewing tools on hand. I grabbed the one tool that I’m 99.9% certain every sewer has—a trusty seam ripper.
If you’re unfamiliar with what a seam ripper is, it is a small tool with a sharp hook designed to (you guessed it) rip seams. If you don’t have one of these tools already, you can easily find one for a couple of bucks at any craft store or business that sells sewing supplies:
- Singer Seam Ripper – $1.74
- Loops & Threads Seam Ripper – $2.59
- Dritz Seam Ripper – $2.99
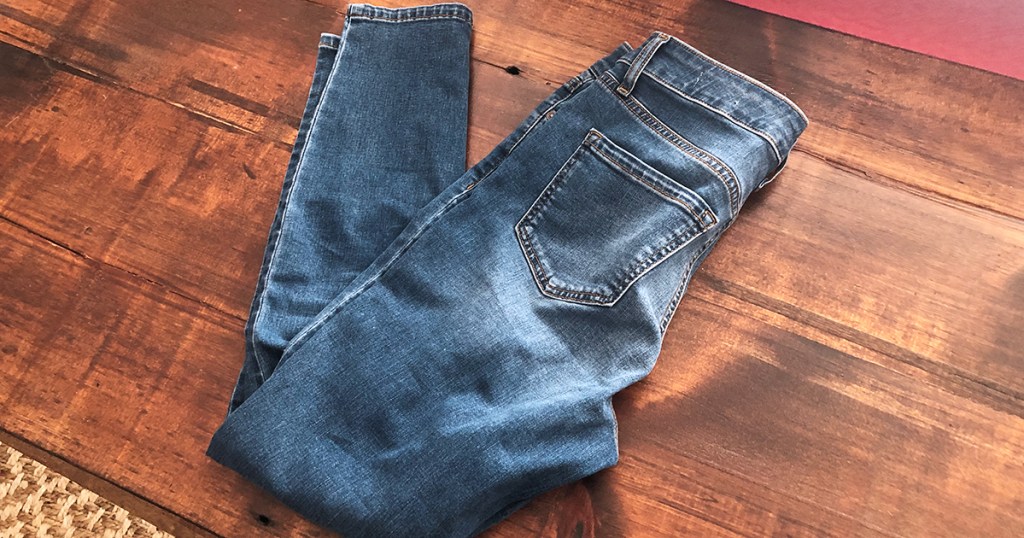
To achieve the released hem (also know as a distressed hem or raw hem) look, all you need to do is remove the seam that holds together the hem at the bottom of each pant leg.
Check out how to easily transform your jeans with a seam ripper in the tutorial below.
Released Hem Denim Tutorial
PrintSupplies Needed
- Seam ripper
- Denim jeans
Directions
1
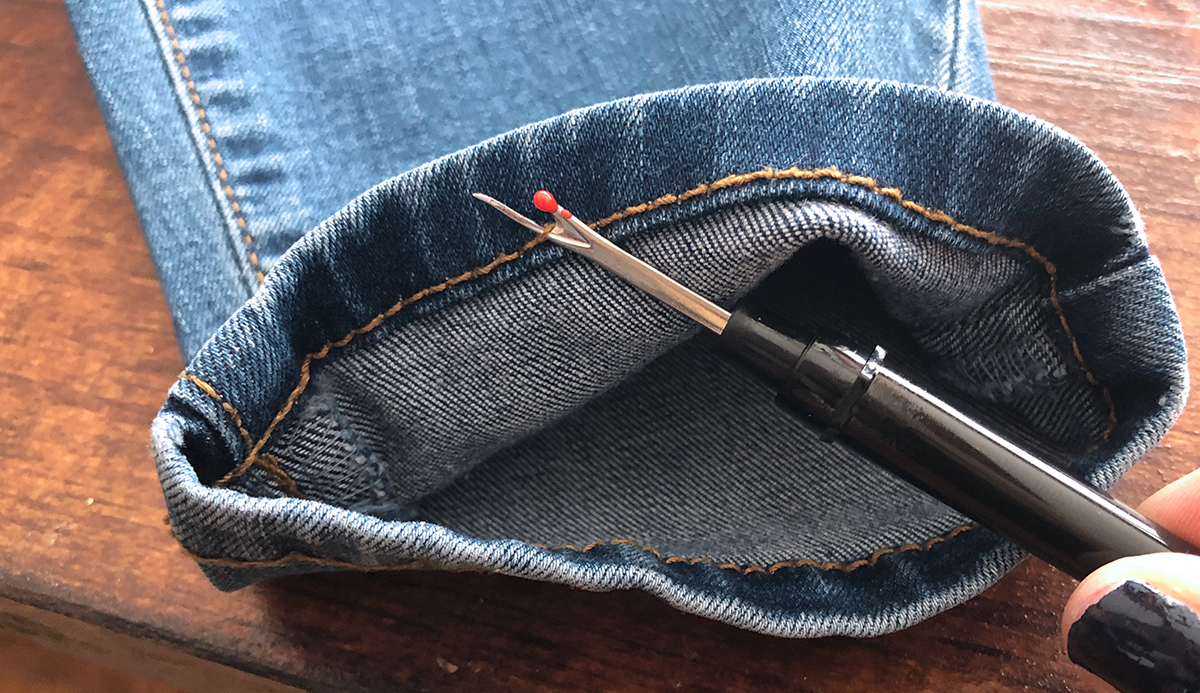
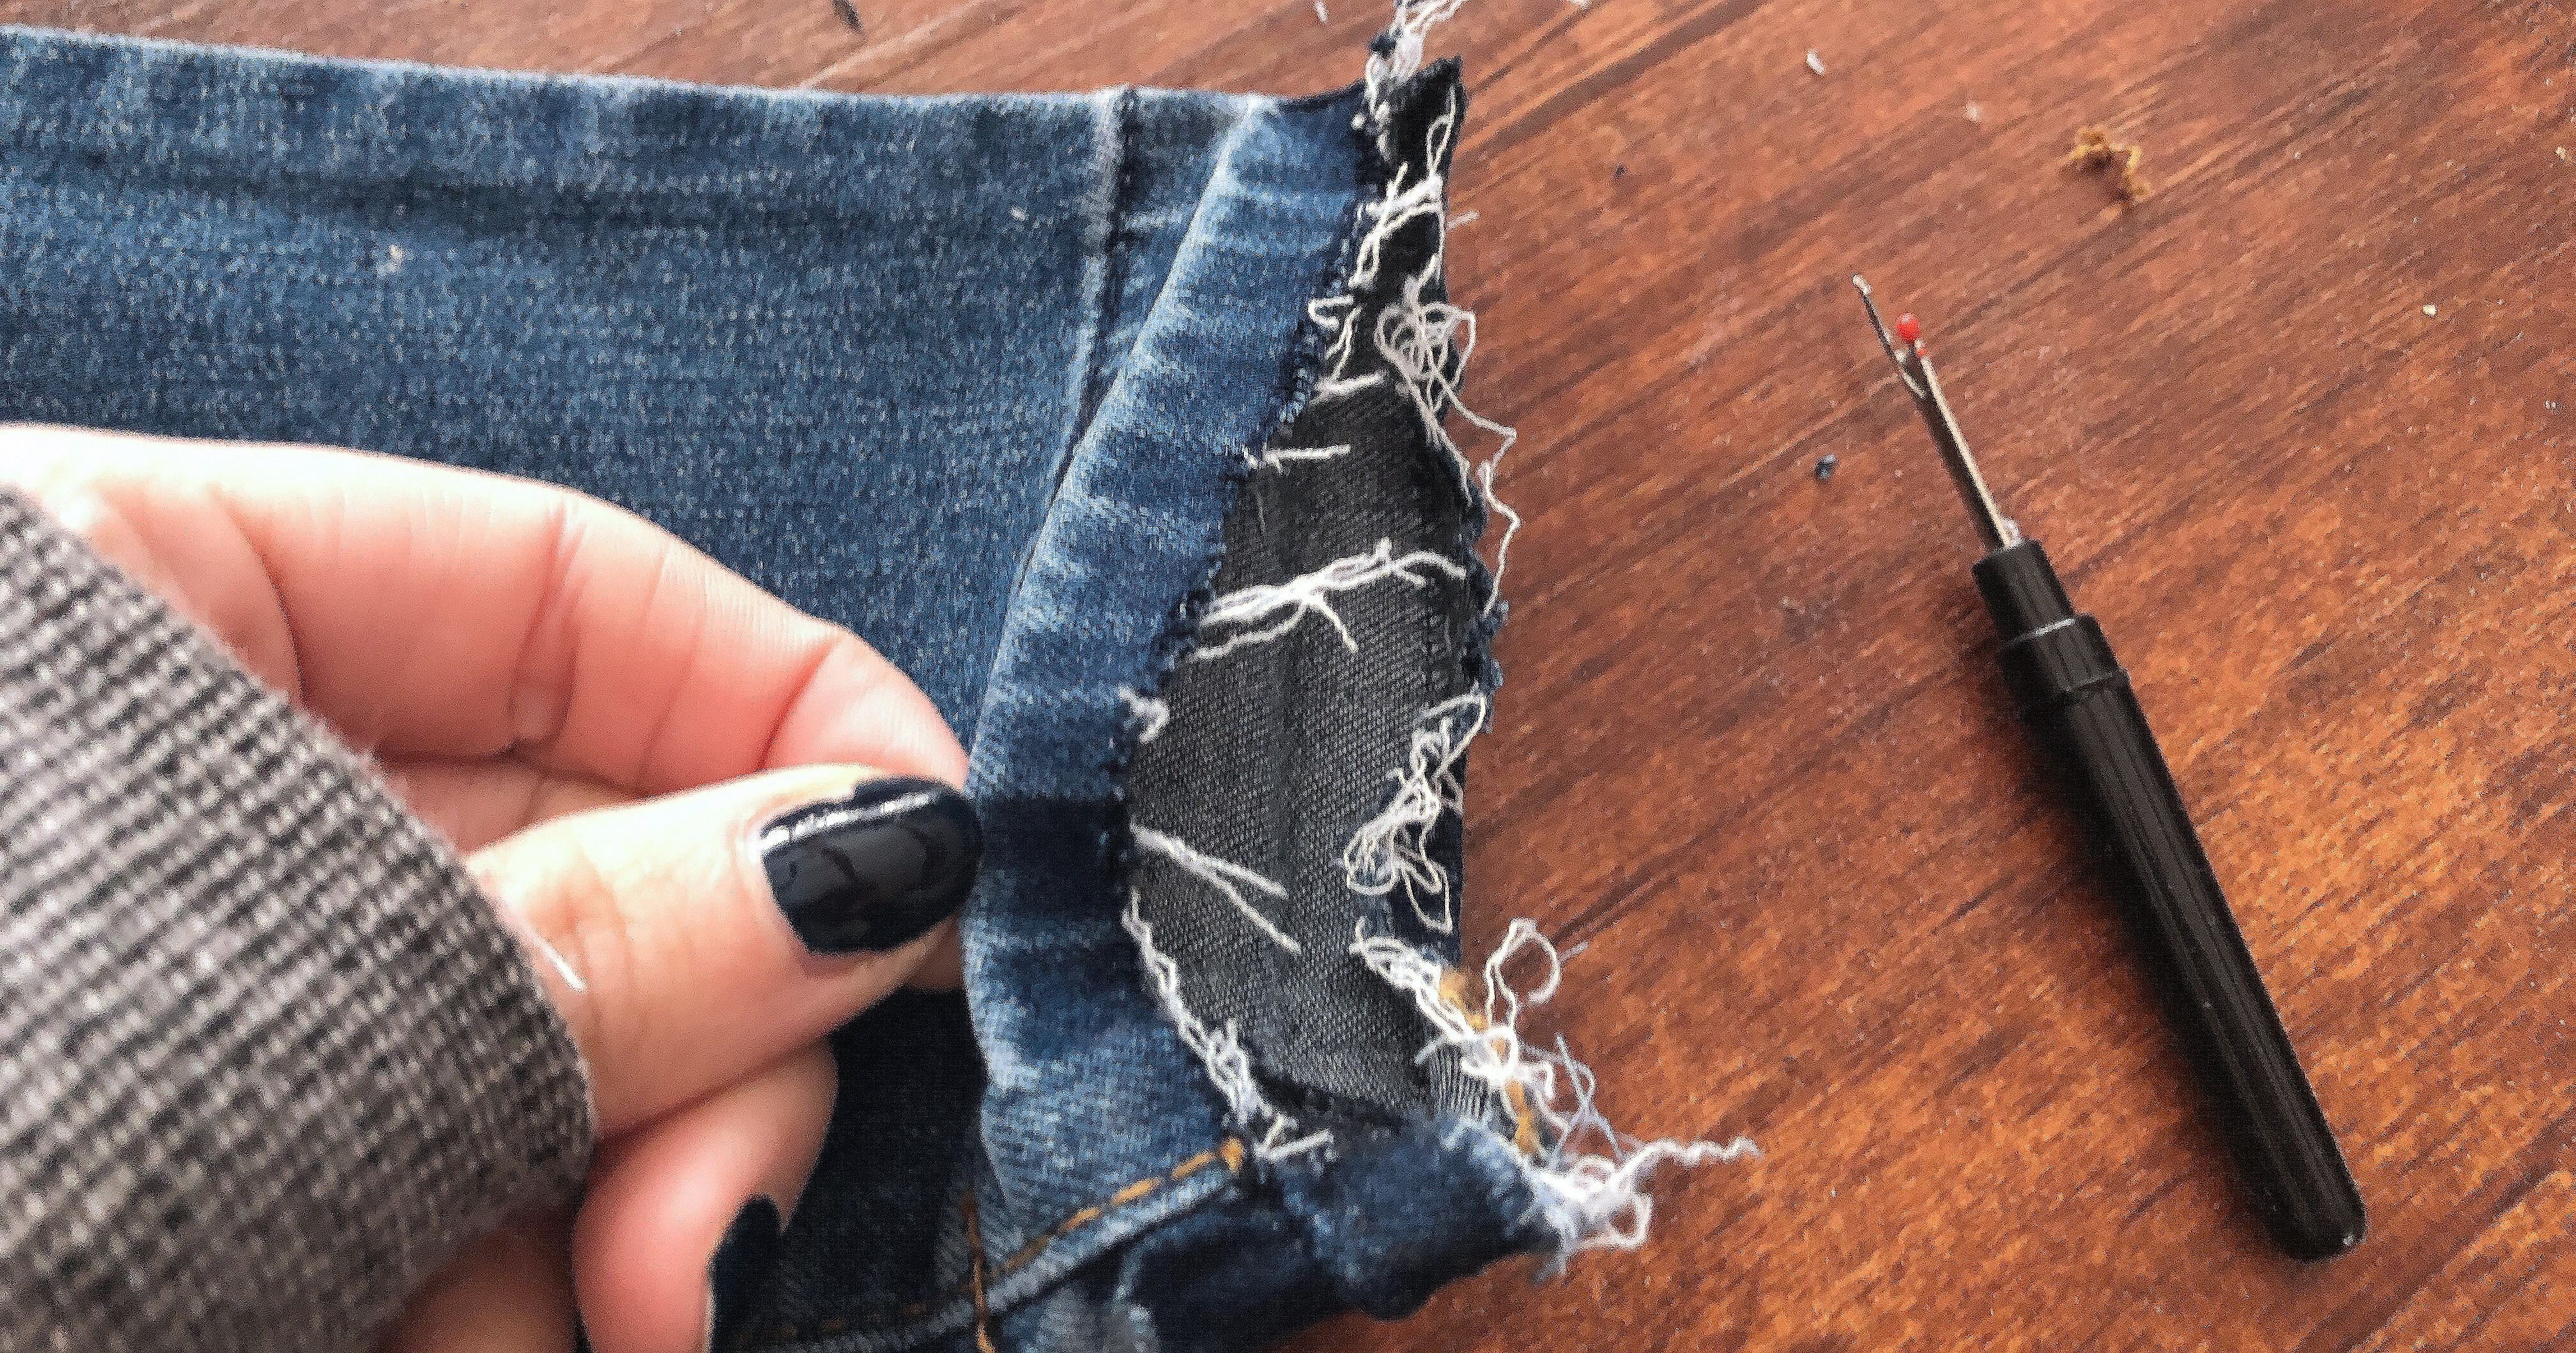
Start by sliding the long edge of the hook of the seam ripper underneath a single loop of the seam, and pushing through until the sharp blade of the inner U section of the hook has sliced the thread.
2
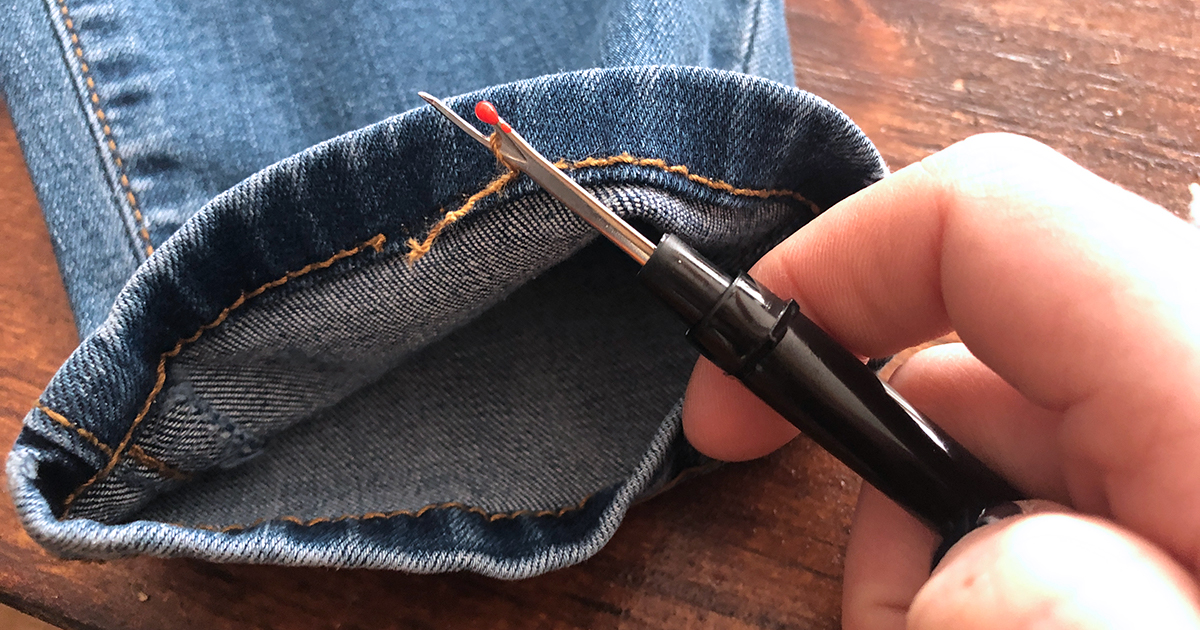
Continue this process until all the seam loops have detached, and pick away any leftover threads.
3
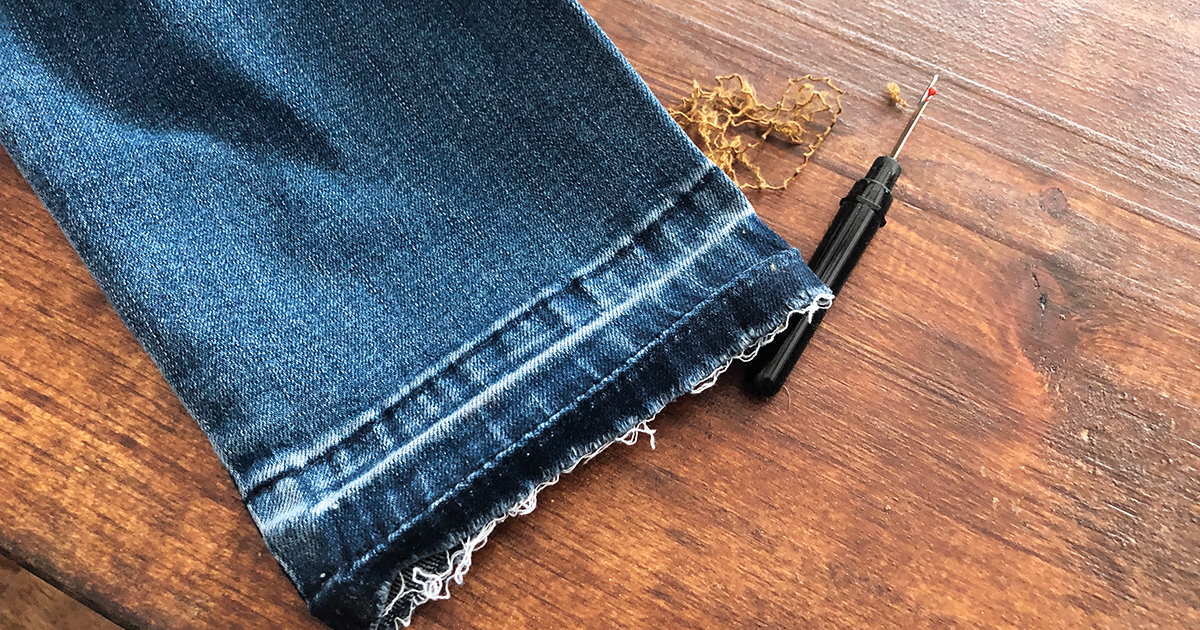
Roll the folds of denim out, showing off the detailed patterns that have been created from the dying process—so pretty, right?!
4
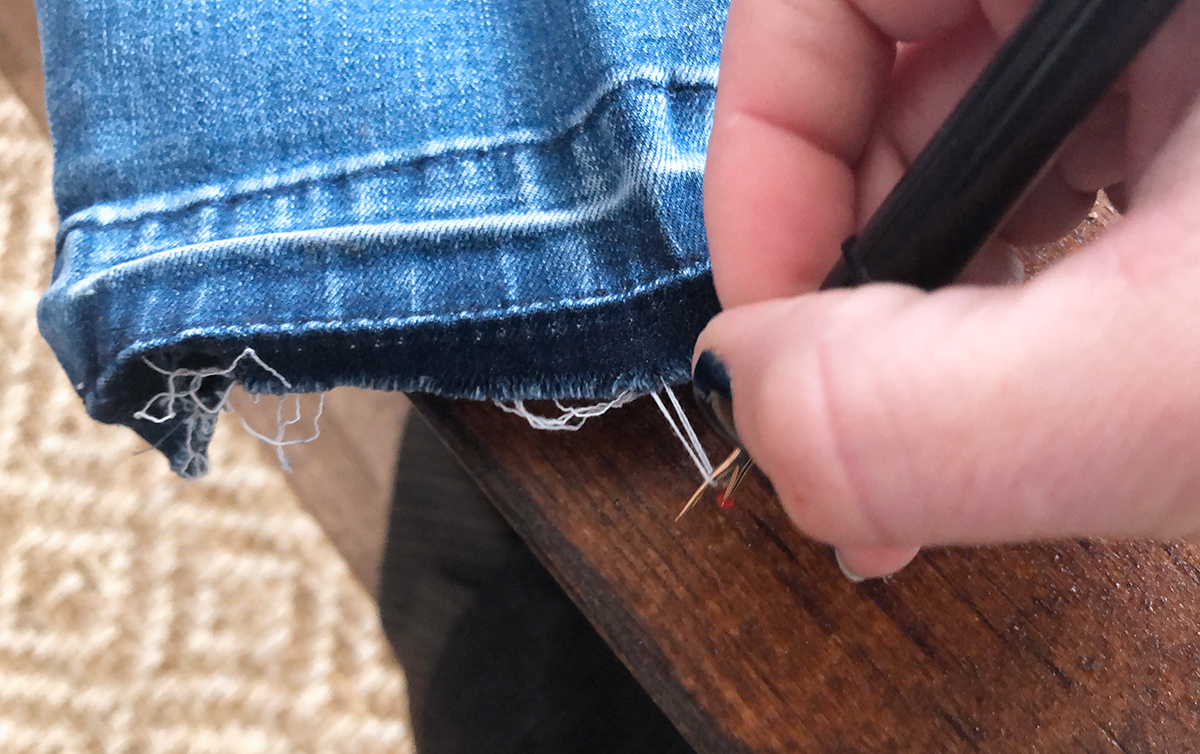
Add more distress to the released hem by using the pointed end of the seam ripper to delicately pull down loose threads to separate them from the tightly woven fabric.
5
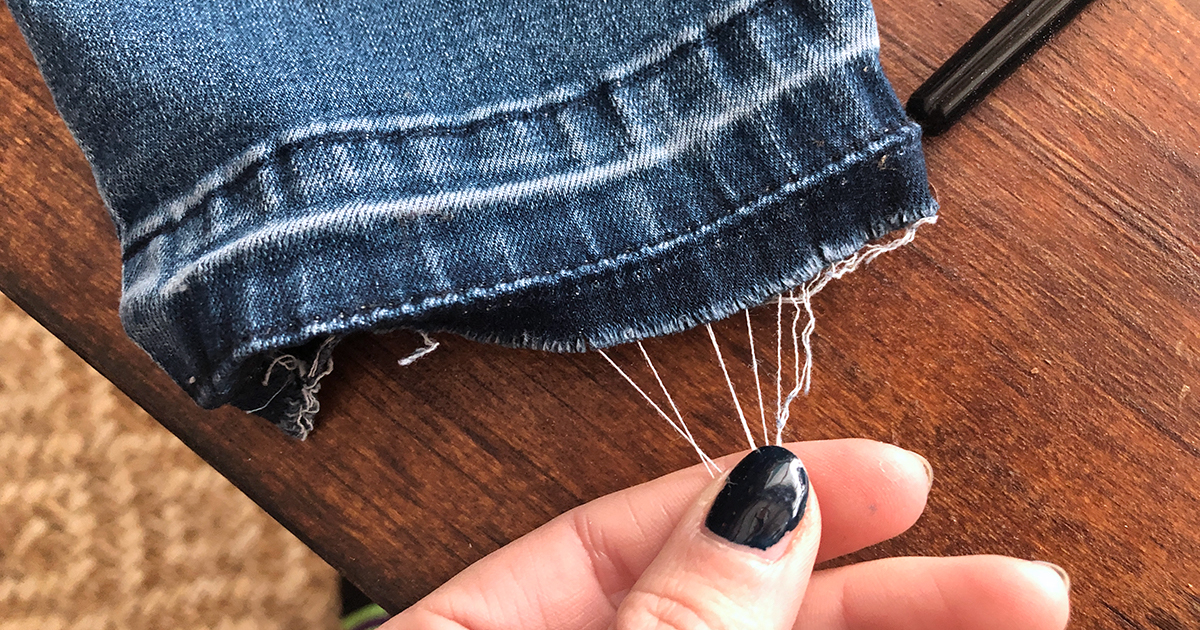
Finish it off by using your fingers to continue gently pulling at the white threads hanging off from the raw edge. Pull a lot for some festive fringe or evenly trim the excess for a cleaner look—it’s totally up to you!
This is where you can customize your look. End your project here and toss your jeans in the wash with other denim and/or like-colors as you would in step 10, or continue on with the tutorial to add a trendy high-low effect to your jeans.
6
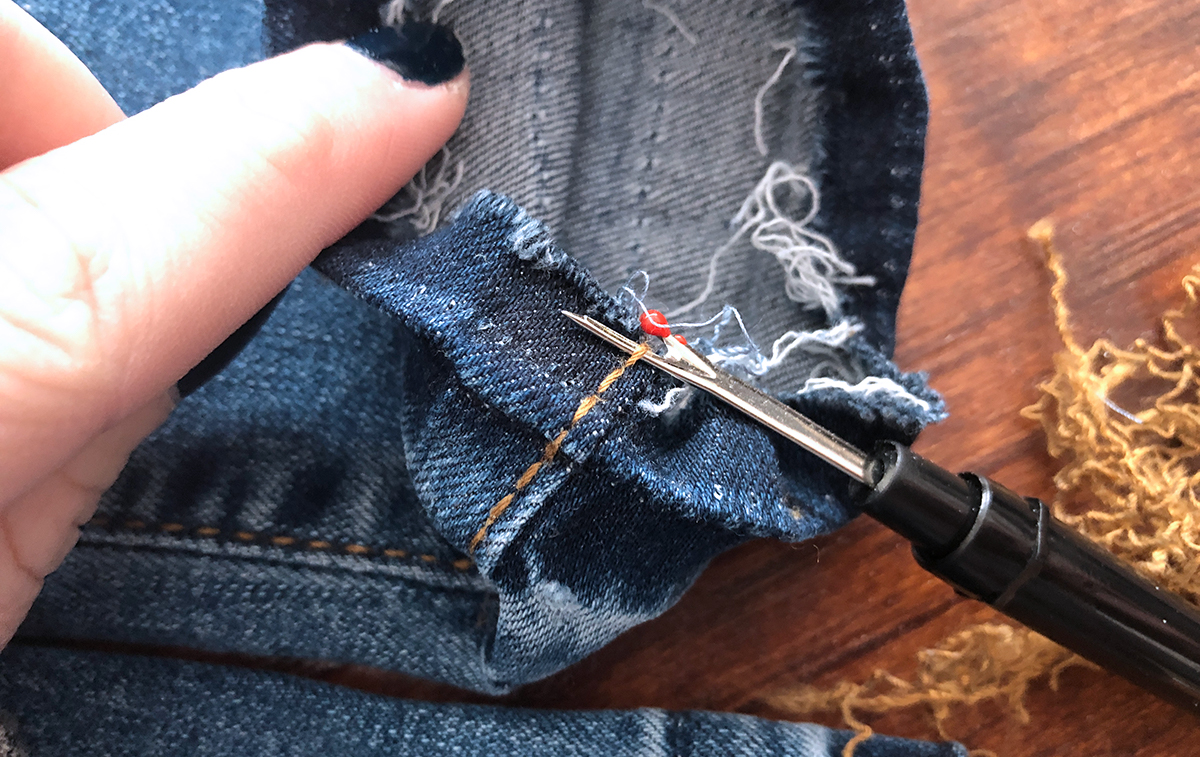
To add a high-low effect with a shorter length in the front vs. the back, break through the seams on both sides of the pant leg with the seam ripper. Start at the bottom and only go as high as you want the length difference to be (about 1/2 of an inch).
7
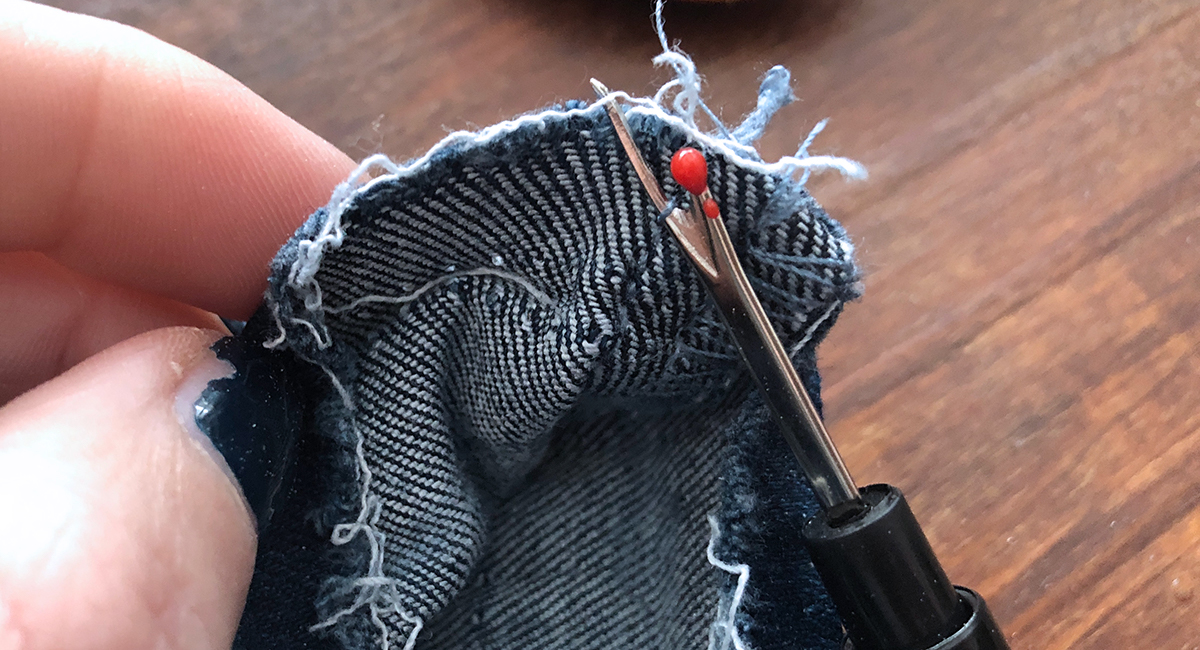
One side of the denim will have the seam on the outside (similar to how we released the hem at the beginning) and in most cases, the opposite side will have the seam on the inside. Find the seam loops by looking in the jeans interior or turning them inside out. Rip the seam in the same fashion done previously.
8
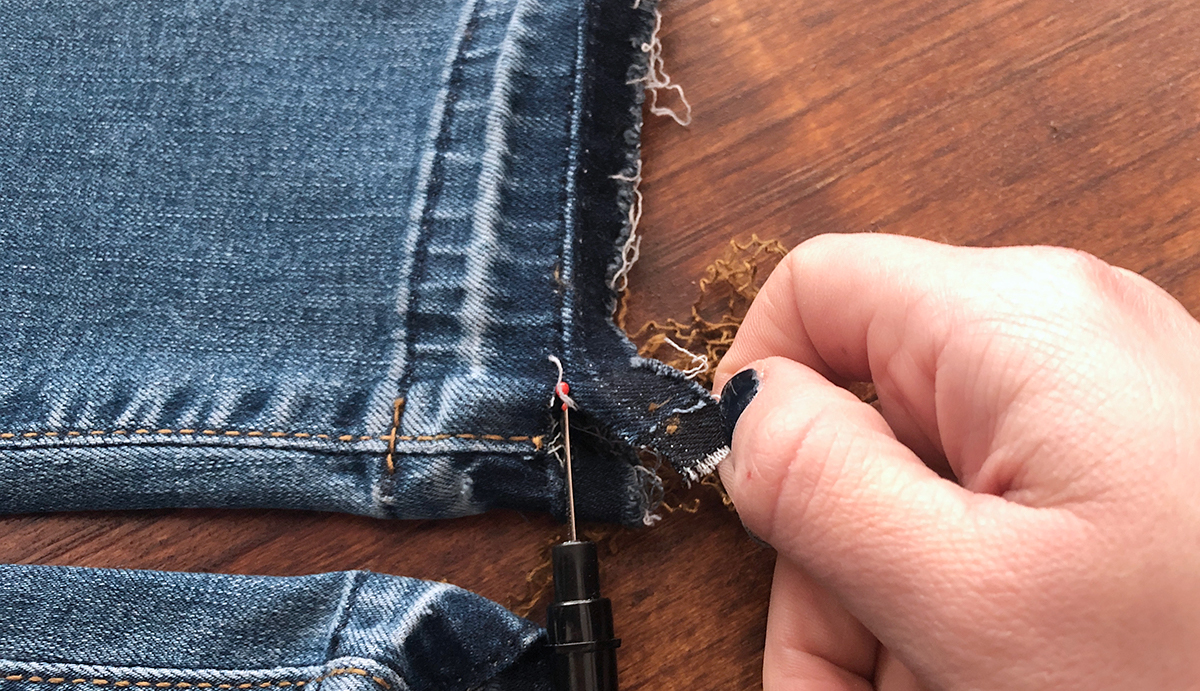
Then use the seam ripper or a pair of scissors to cut straight across only the front panel of your jeans to trim off a 1/2″ (or your desired length) section. I used the first fold line as my guide for where to cut.
9
Add fraying to this newly cut edge using the same methods above to gently pull down white threads.
10
Throw the jeans in the wash with other denim and/or like colors to help the threads naturally fray. You can keep the finished fringe long or trim where necessary.
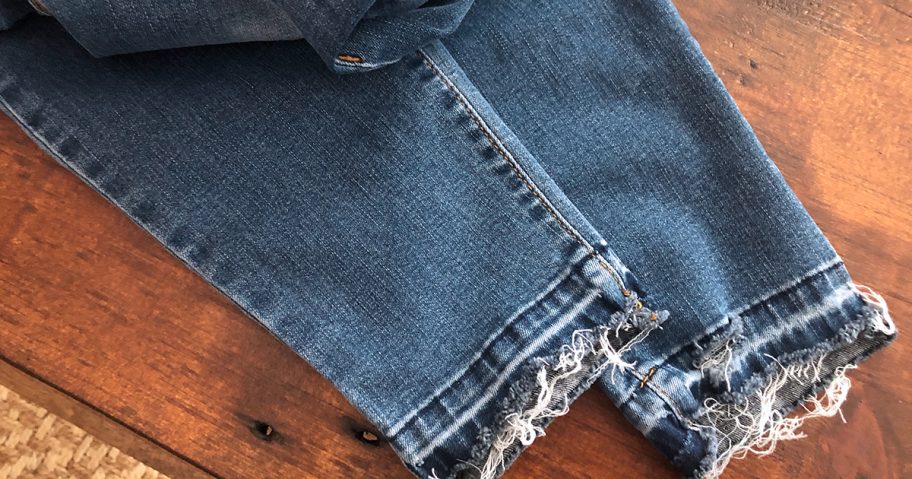
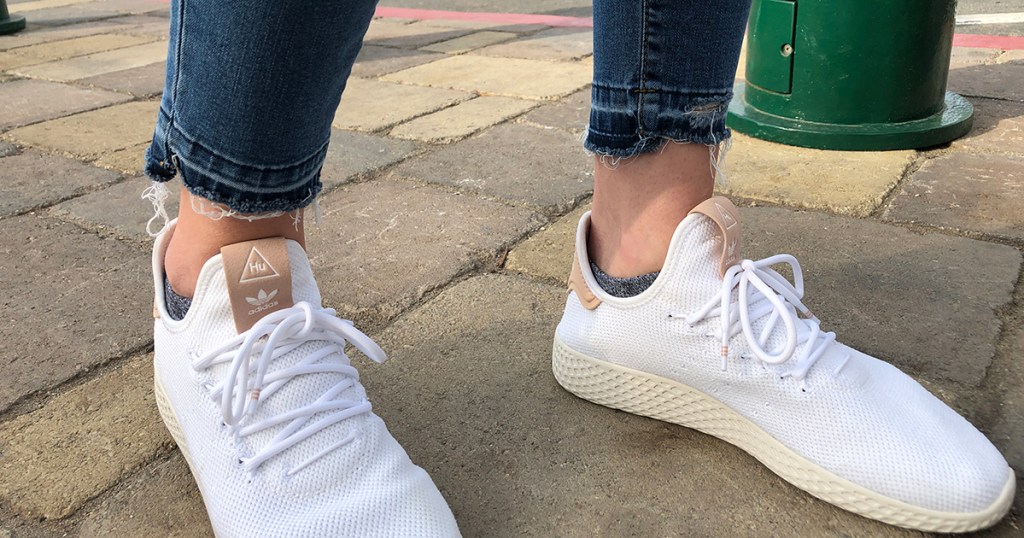
Fashion-forward without the price tag.
So cool and so simple, right?! I’m loving the casual released hem jean detailing, and I’m even happier that I didn’t have to spend a fortune to get it! This is a perfect project for those old, tired out jeans that are just waiting for a new life.
Don’t have a pair of jeans on hand? Check out some of our favorite affordable brands that you could use for this DIY project!
-
- Sofía Jeans by Sofía Vergara (the actual jeans used for this project are from this brand!)
- Old Navy Rockstar Super Skinny
- Time and Tru Core Skinny
Love saving on the latest trends? Check out these designer piece lookalike accessories!


