This DIY Push Pin Travel Map is a Clever Way to Track Your Adventures

Love to travel?
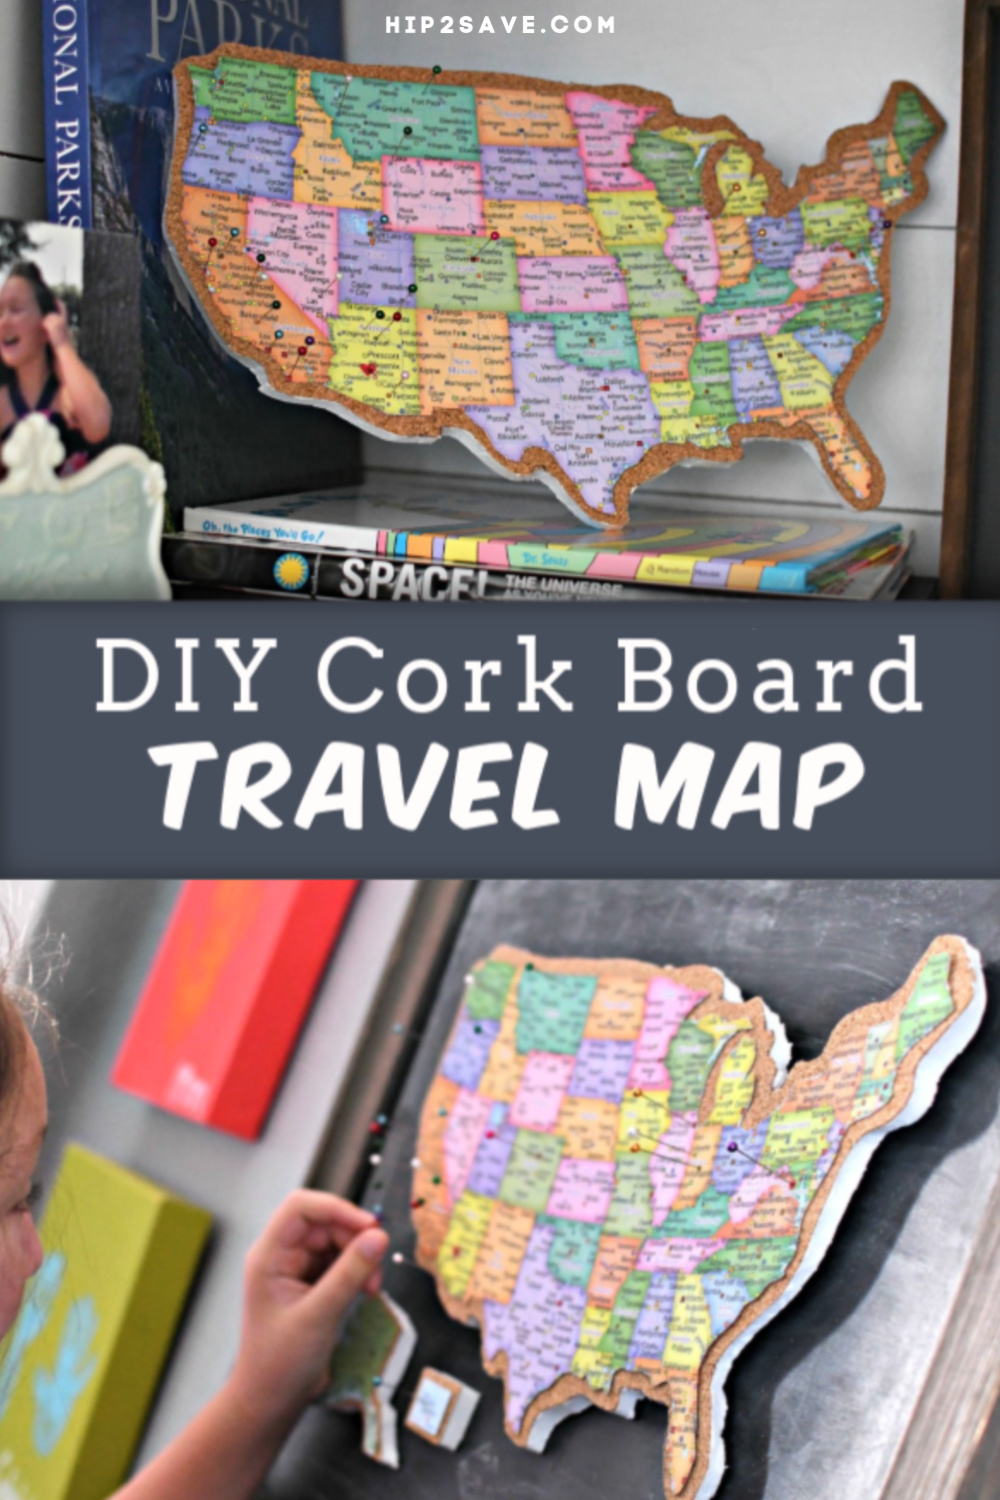
Keep track of where you’ve been by creating a fun corkboard map to display at home. Today I’m sharing how I turned a laminated placemat map and piece of foam cork board into a clever DIY push pin travel map. It’s a unique way to onlinememorate all your adventures and to serve as a reminder to always keep exploring!


We LOVE to travel, so this board is where we have lived and traveled as a family!
I love the memories of traveling with our kids and the real-life education it brings. We specifically enjoy visiting national parks, and we wanted to start keeping track of what we’ve seen so we can start planning future trips. As you can see, we still have lots of ground to cover as a family, and this makes it more exciting to start dreaming of where to explore next!

There are two ways to display your brilliant cork board map!
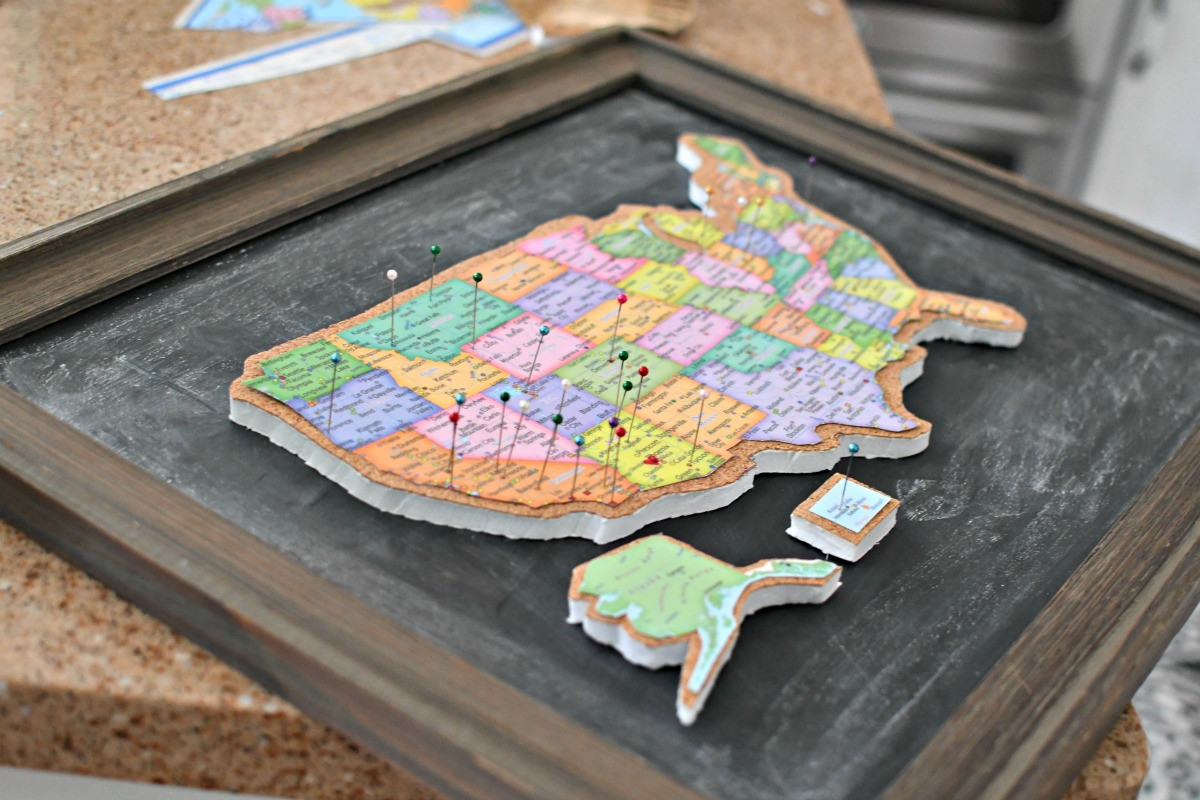
You can display it on its own on a bookshelf (shown above). If you have the wall space and want to hang it up, you can also frame it (as seen below). I framed mine by removing the glass from a 16×20 wood frame, painted the backing with black chalkboard paint, and then attached my map to the front using hot glue.

DIY Push Pin Cork Board Travel Map
PrintSupplies Needed
- 11"x17" placemat map
- cork foam board
- scissors
- precision knife
- piece of sandpaper
- push pins
- spray glue adhesive or double sided tape
- 16"x20" photo frame (*if framing)
- paint for back of frame
Directions
1
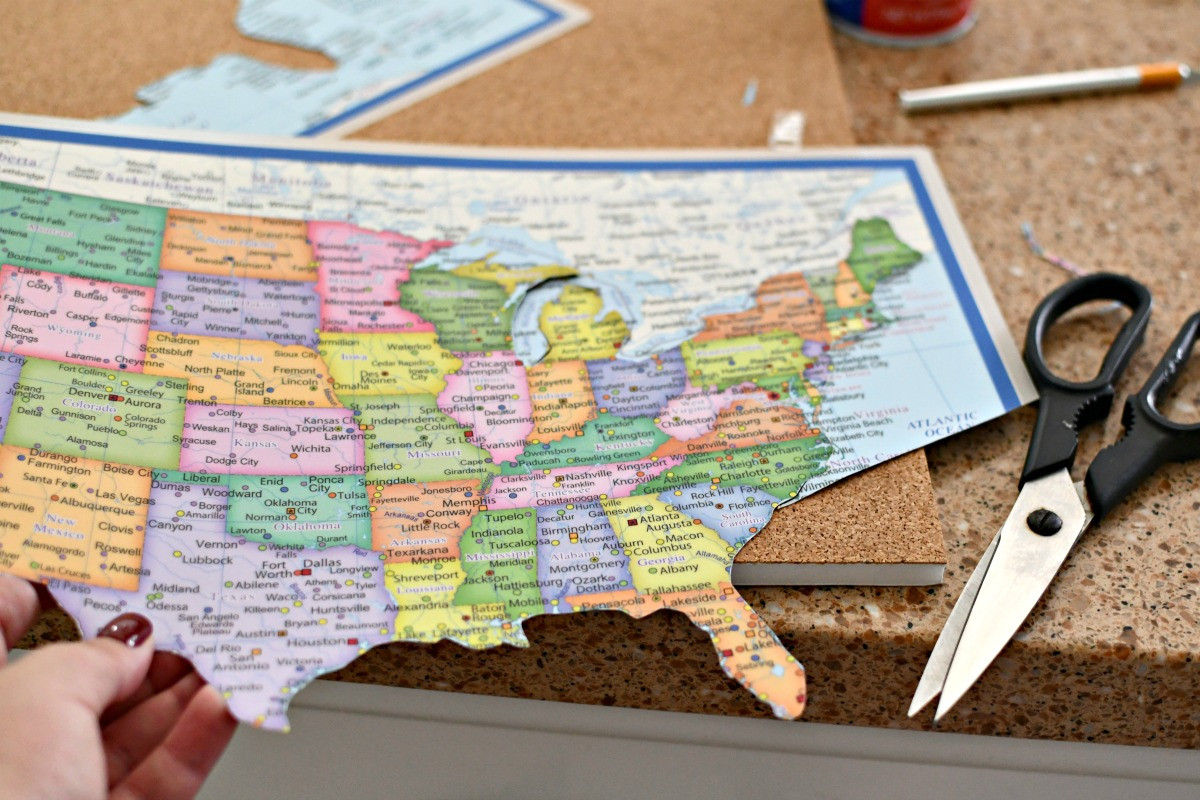
Use scissors to cut around the map in the shape you’d like to use.
2
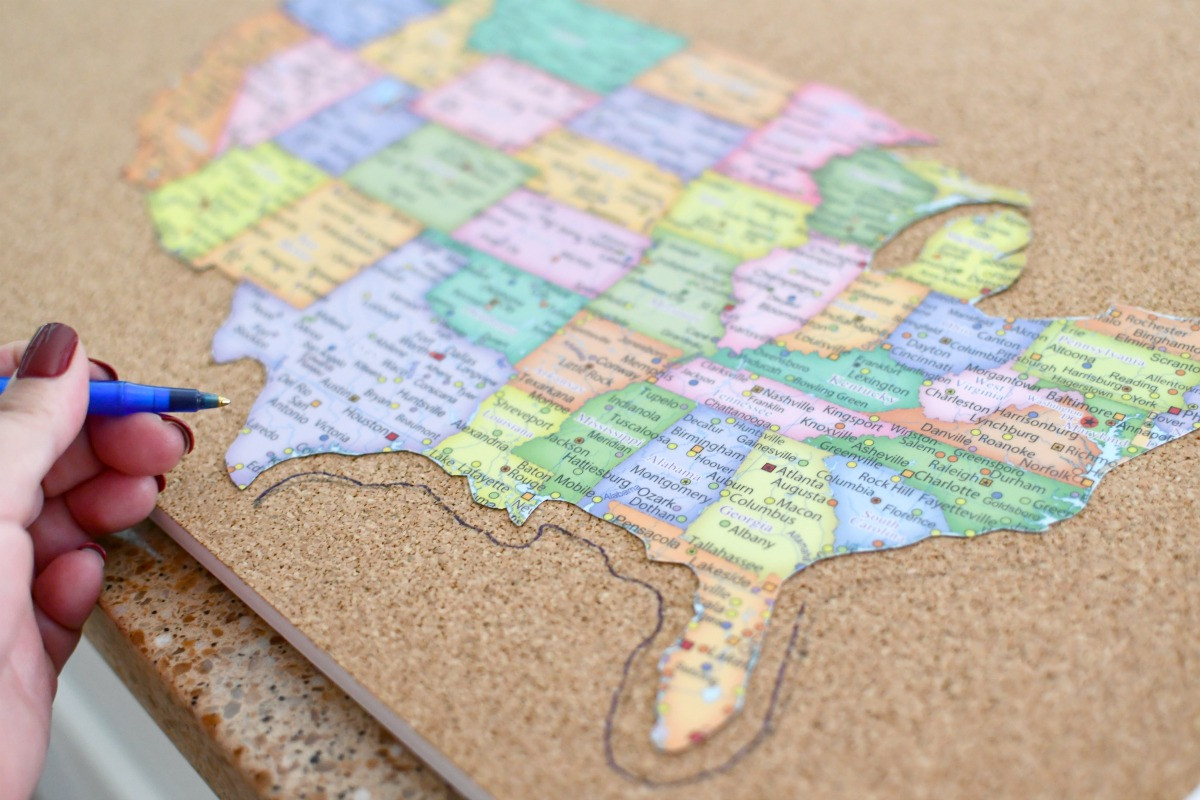
Place the map down on the cork foam board. Trace around the map’s edge about 1/2 an inch out, using a pen.
3
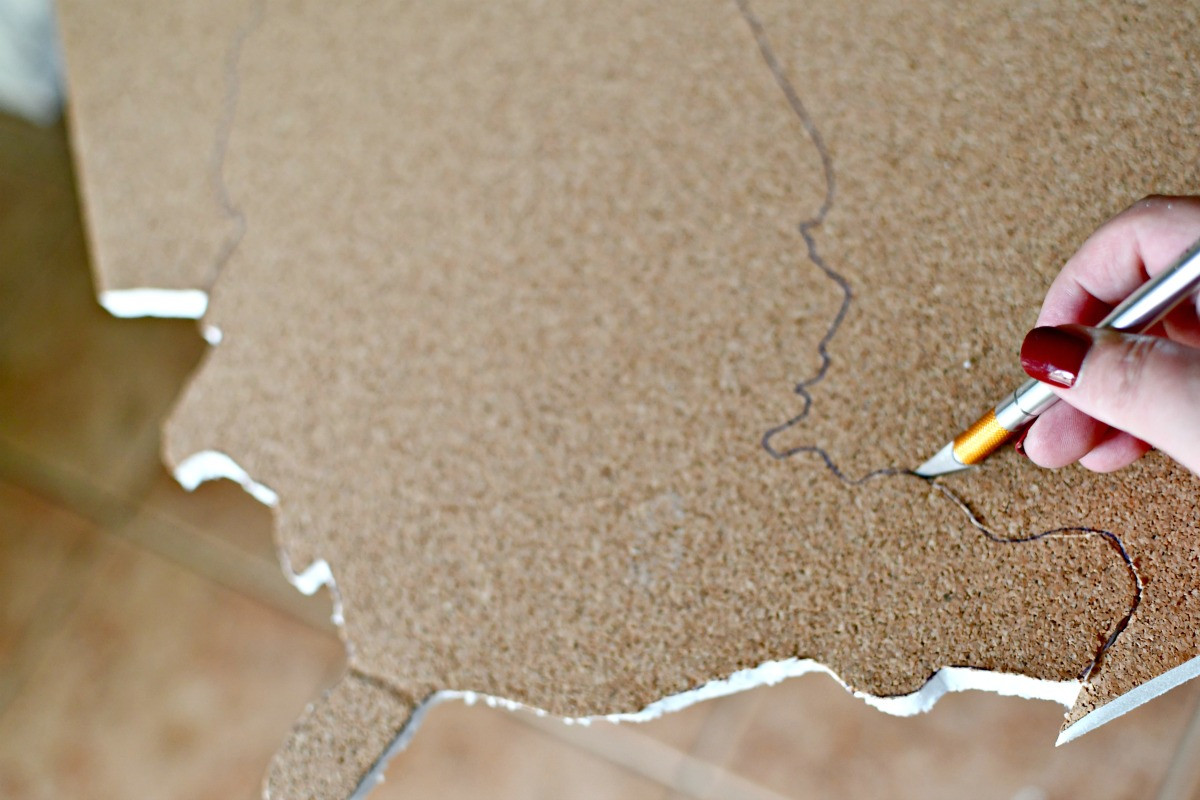
Use a sharp Xacto knife and carefully cut just inside the outline, so you don’t see any pen marks. If your edges are jagged, use a bit of sandpaper to gently smooth the foam edges.
4
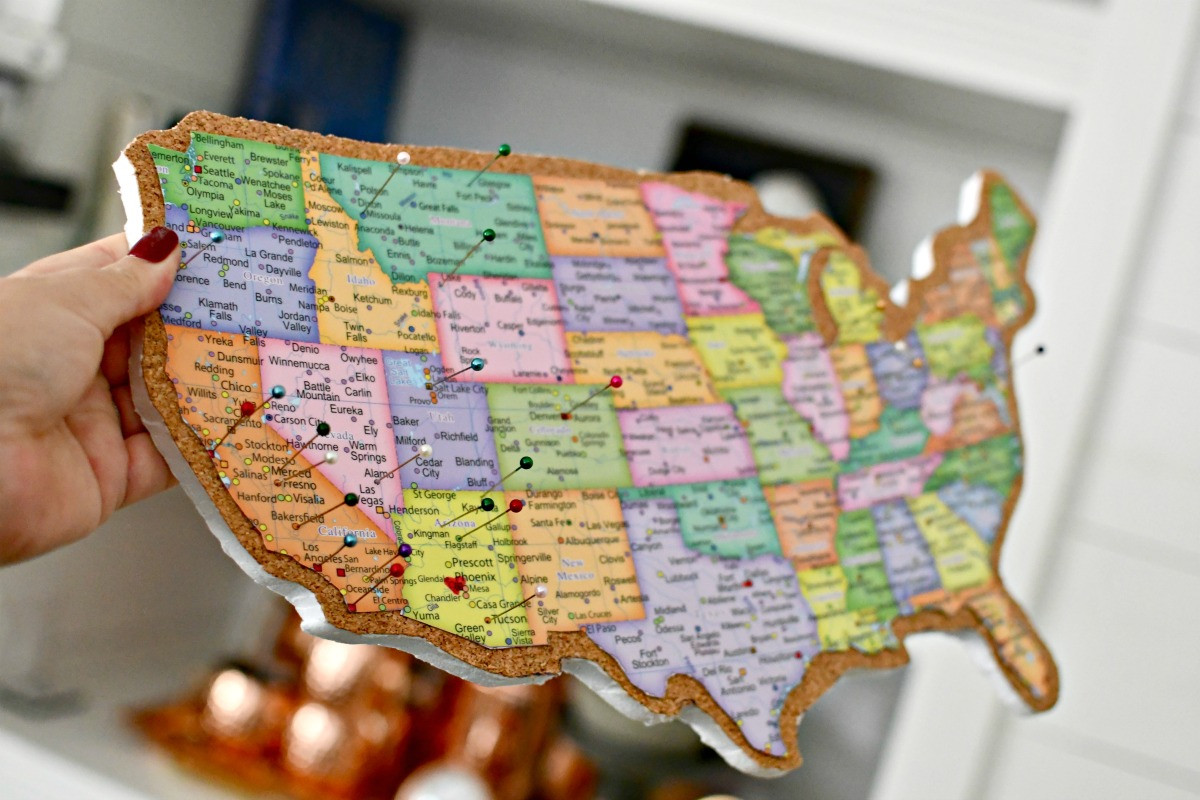
Glue or tape the map to the cork foam board. Use short push pins to mark where you’ve traveled. Stop here and display on a shelf or continue with directions to frame.
5
Directions for framing:
Take out the glass portion of a 16″x20″ picture frame. Paint the back of the wood frame and let it dry. Glue or attach the map to the front of the frame as desired. (Note: I saved the Alaska and Hawaiian islands from the placemat and glued those as well to the frame.)

Hip DIY Tips:
-
- Choose a map you’d like to use! I decided to buy a laminated placemat of the US and use it, but you can use a map of your choice. Maybe a map of the world would be fun for world travelers!
-
- You’ll need some cork board for this project. I used a piece of cork foam board from the craft store, and it worked out great! I initially tried to use a roll of cork, and it was just too thin #craftfail. The foam will add the thickness to allow you to use a push pin easily.
-
- Cutting the foam cork board is a little tedious, but it will be worth it, so don’t give up! I felt like it was easier to have the map hanging off the table a little, and then I carefully cut the map using a precision craft knife.
-
- Use a bit of sandpaper to smooth jagged edges. I had a lot of jagged edges from cutting the foam board, but luckily all it needed was some gentle sanding to make it look neat.
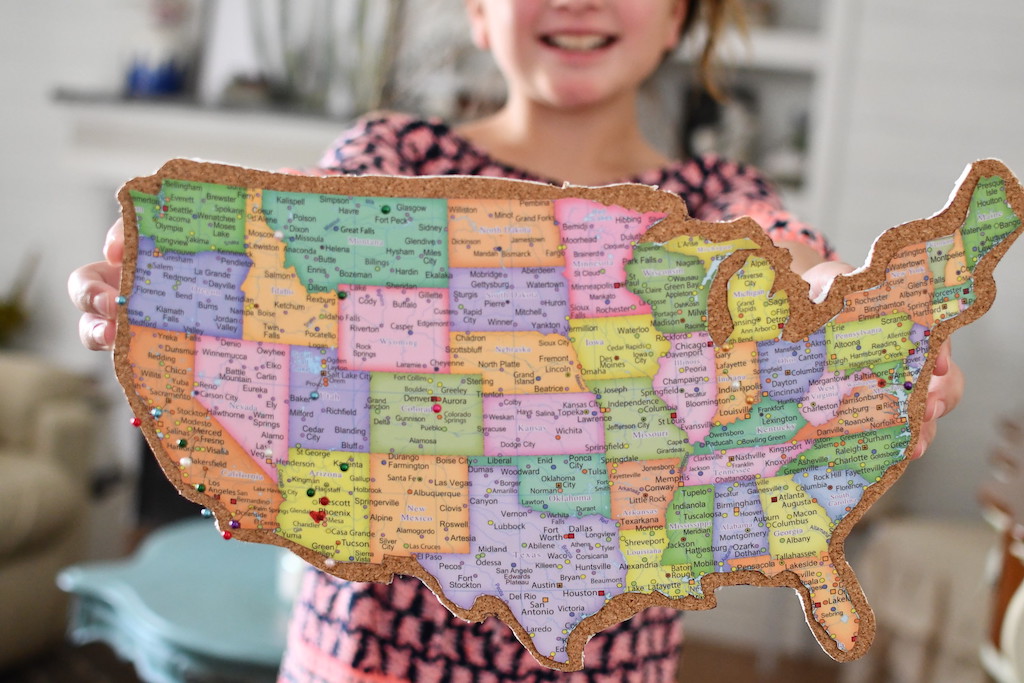
I think this is such a creative family project.
We really enjoyed putting together our map and are pretty psyched about it! It’s a cute and easy craft project that’s unique to display in the home as well. Additionally, it’s a great geography lesson and a visual reminder of where all the states are located.
Have fun creating yours!

