DIY Sliced Wood Christmas Ornaments
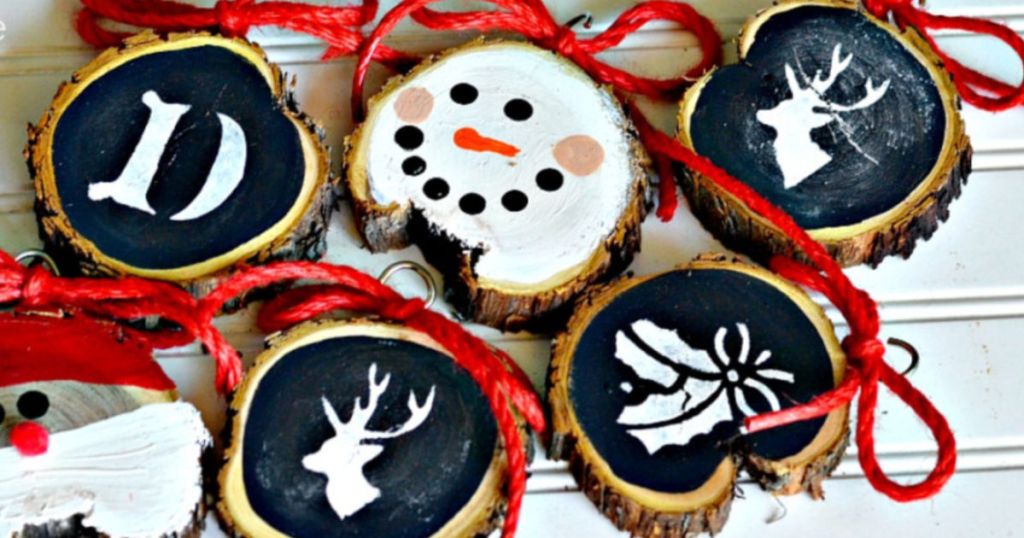
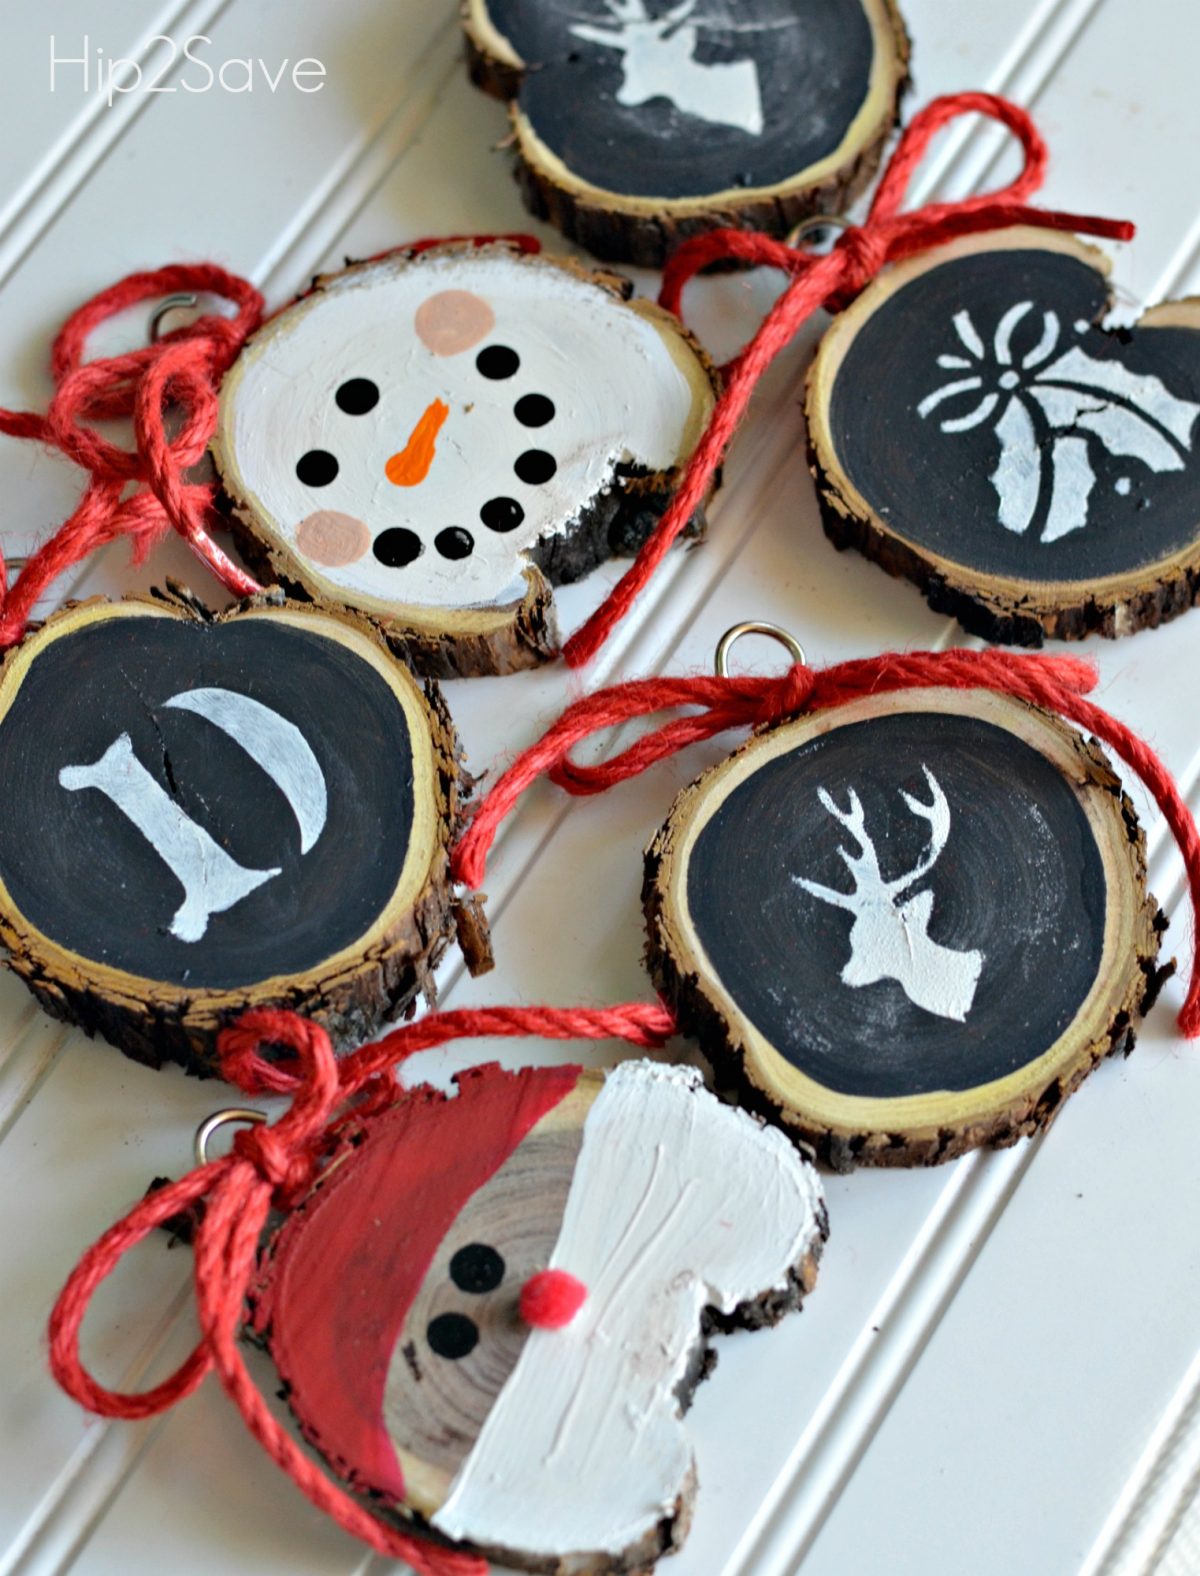
If you like making homemade Christmas ornaments, try this easy and frugal craft using sliced pieces of wood and paint. This project offers a unique way to up-cycle any wood you may have on hand and also makes a thoughtful gift idea. Note that I used mesquite wood that I had at home and cut the pieces with a table saw. If you do not have access to a saw, you can purchase sliced birch pieces online or at your local craft store.
 DIY Sliced Wood Christmas Ornaments:
Supplies Needed:
- 3/4 inch thick sliced wood about 3-4 inches in diameter
- small screw in eye hooks (from the hardware store)
- holiday-colored ribbon or twine
- craft acrylic paint of various colors
- small craft paintbrush
- small holiday-themed or monogram stencils if desired (I used the Martha Stewart brand)
Directions:
- Paint and embellish wood slices as desired and let dry.
- Screw-in eye hooks to the top of each ornament and embellish with a ribbon or twine.
- You could also drill a hole towards the top of each circle and tie the twine to hang instead of using eye hooks.
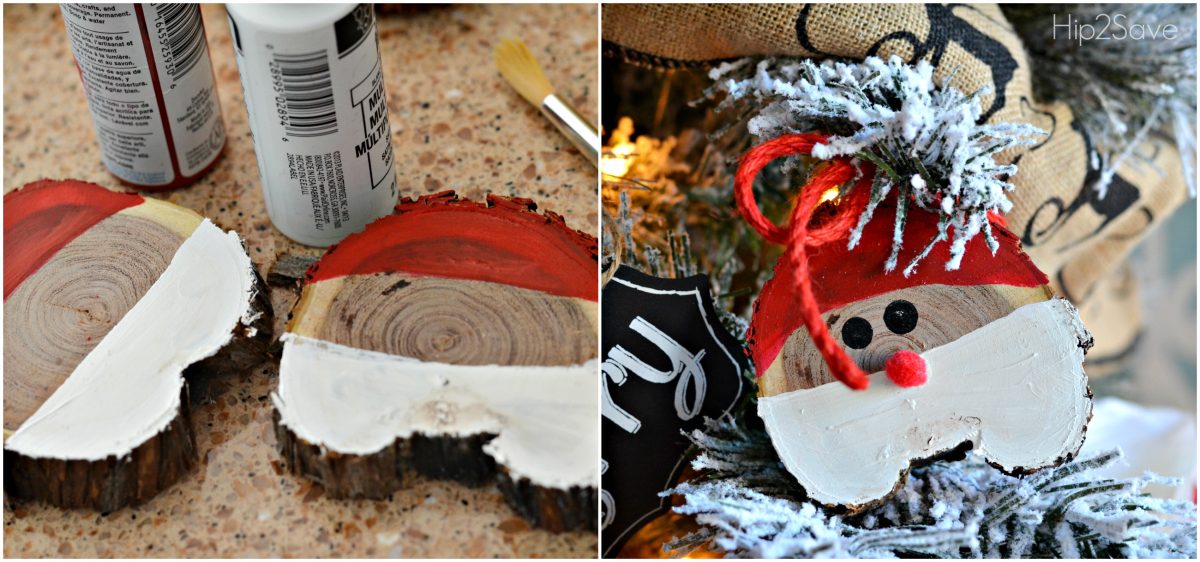
To make the Santa ornaments pictured above, first, paint the top 1/3 of the wood slice in red and the bottom 1/3 in white. It’s best to use two coats of paint and let dry in between coats. Add a small red craft pom using glue for Santa’s nose or a red dot of paint.
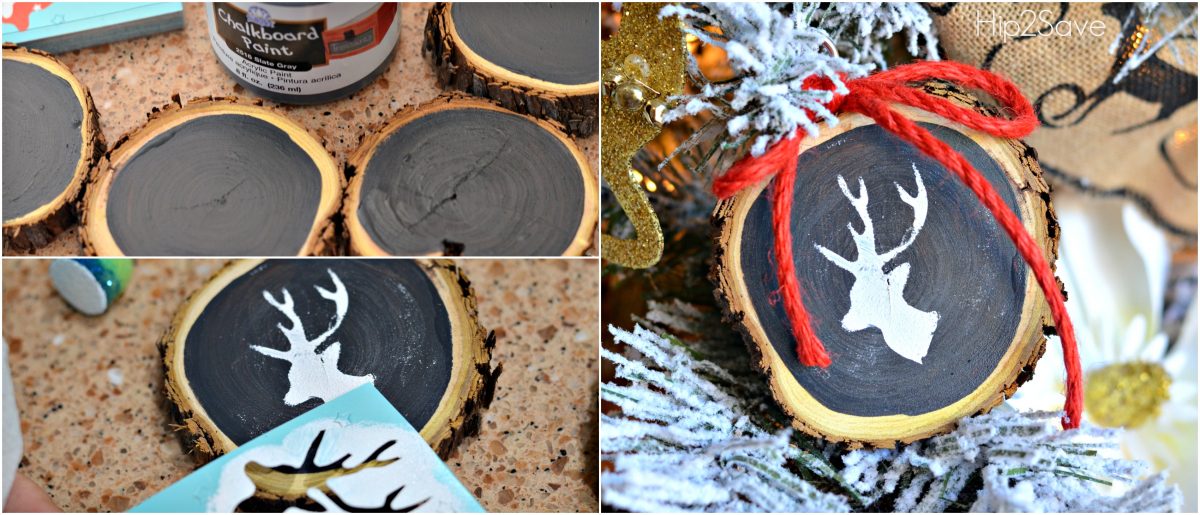
To make these chalkboard inspired ornaments above, first, paint two coats of black paint or chalkboard paint on one side of the wood and let dry. Then use white paint and stencil a holiday-related image or monogram letter.
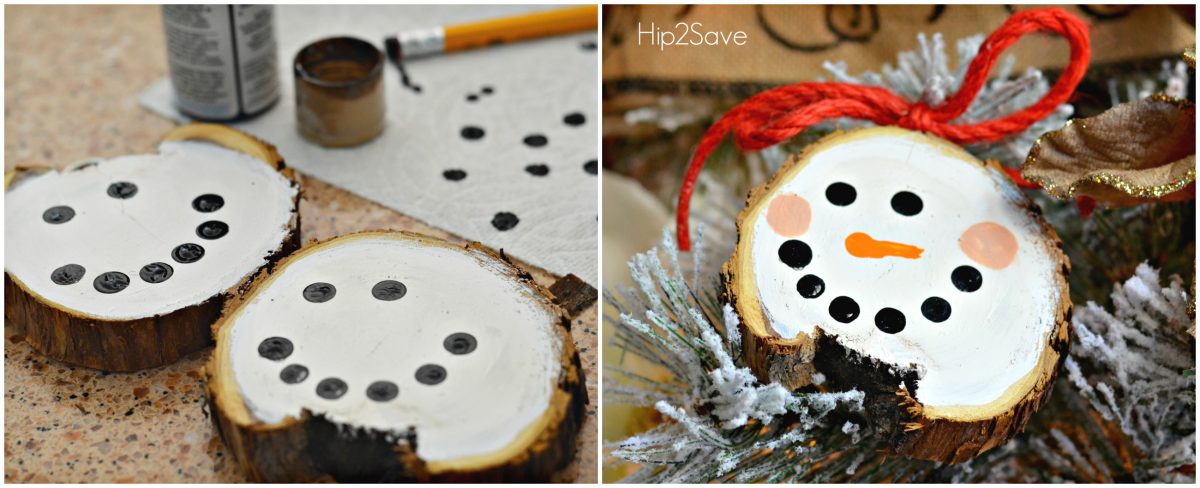
To create this snowman pictured above, first, paint the entire side of ornament white and let dry. Then use a pencil eraser tip to stamp on circles with black paint for eyes and mouth. Use orange paint for the nose and pink or flesh-colored paint for cheeks.
