DIY Kid’s Artwork Display Wall

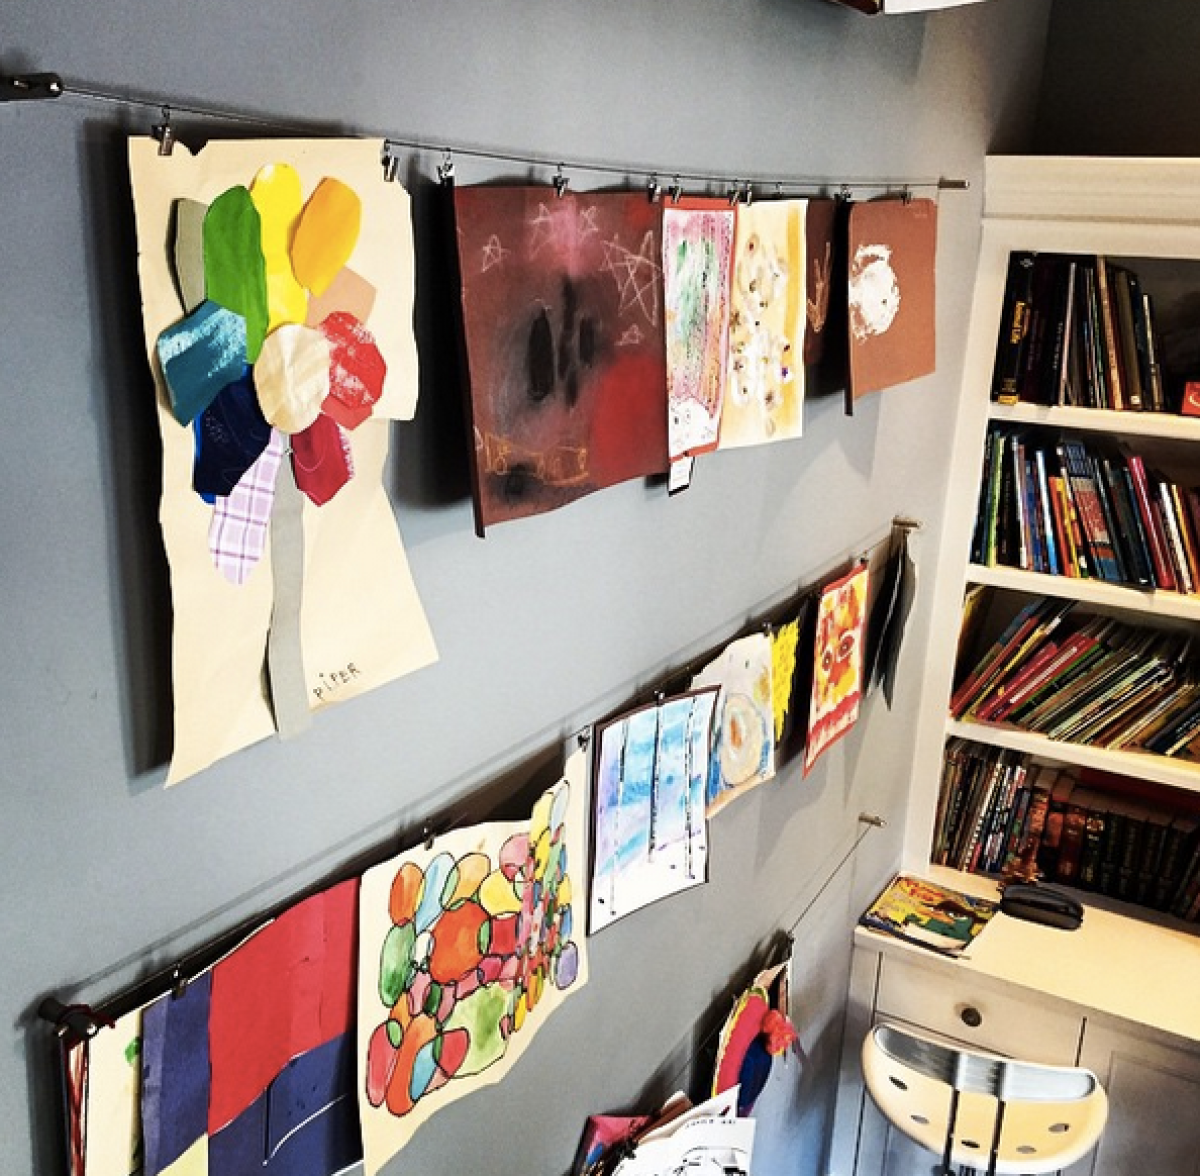
Are you looking for an easy way to display kid’s artwork and keepsakes?
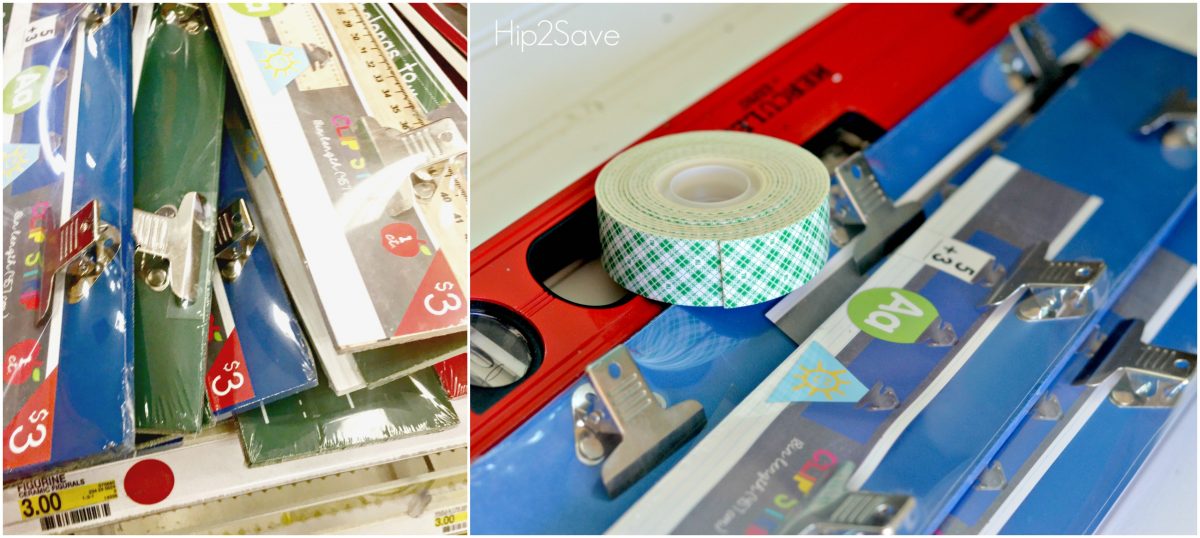
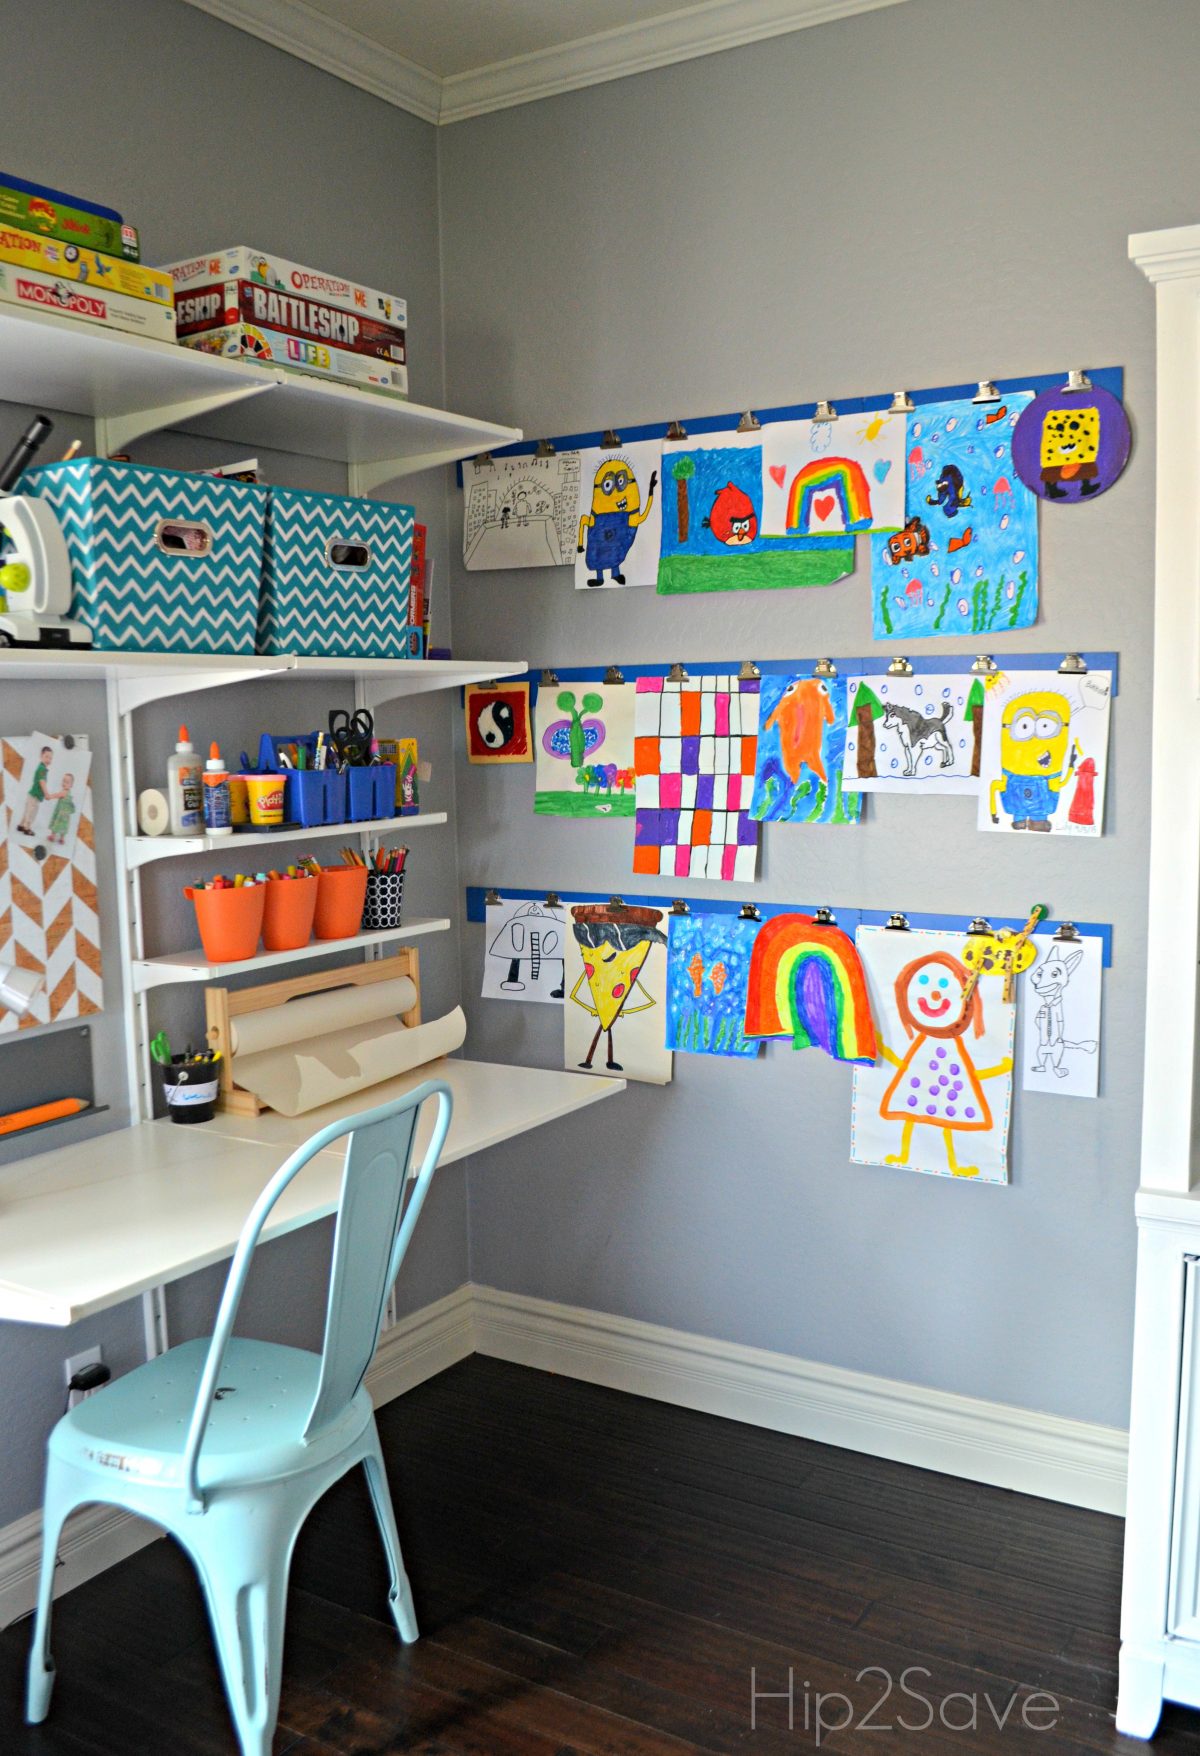
If so, check out this large gallery wall that I created using 9 of these strip clips found at my local Target store and mounting tape (I prefer the tape as it’s easier than using nails and avoids a bunch of holes in the wall). The clips are actually very lightweight so the tape holds them without any issue. I hung three rows of three strip clip units, but you can hang as many or as little as you’d like.
I found these clips in the One Spot area typically located in the front of Target stores – these wood “Strip Clips” were available in different wood colors and were priced at just $3 each. Each unit has three clips so they are perfect for hanging art and/or photos.
I am having trouble finding anything similar online, so if you find something like these, let me know and I’ll add a link.
DIY Art Display Wall
Supplies Needed:
- $3 Clip Strips (I found them in the Target One Spot)
- Heavy Adhesive Mounting Tape
- Level Tool
- Measuring Tape
- Chalk and/or Pencil
Directions:
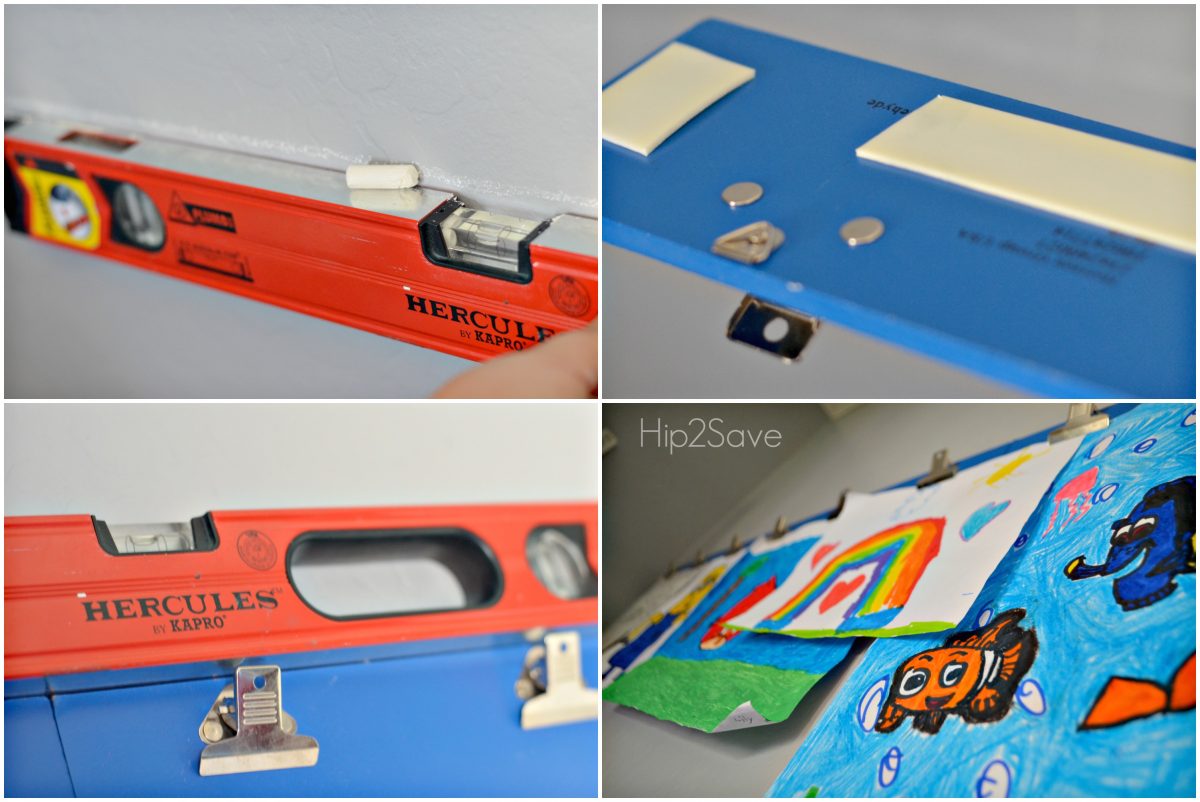
- Clean and dry the wall making sure to get rid of dust on the areas the tape will touch.
- Use a good leveling tool, measuring tape, and piece of chalk or a pencil to mark three straight and evenly spaced lines on the wall.
- Place mounting tape on the back of a strip clip and press against the wall using the line you marked as a guide. It’s also good to place the level on top of the strip clip as you press down.
- Repeat the process with the rest of your strip clips, and hang your art.

This was a pretty easy and inexpensive DIY project that has had a big impact on this room! I love to look at the colorful artwork my kids create and now we can easily move pieces around as new ones are made throughout the year.
Another option for hanging artwork, do what Collin does and use the IKEA Wiring Hanging System!
